
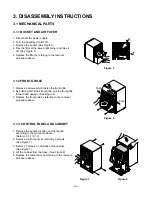


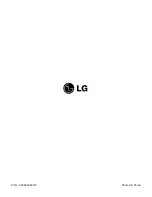
3.2.5 DRAIN PAN
1. Remove the shroud. (Refer to section 3.2.4)
2. Remove 2 screws which fasten drain pan.
3. Remove drain pan by unhooking both sides slots.
(See Figure 13)
4. Replace the components by referring to the
removal procedure above.
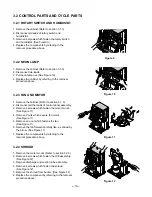
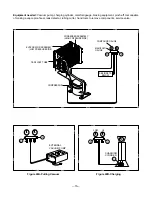
3.2.6 TERMINAL BLOCK
1. Remove the cabinet. (Refer to section 3.1.3)
2. Disconnect all the leads terminal block.
3. Unfasten the screw which fastens the terminal
block. (See Figure 14)
4. Replace the components by referring to the
removal procedure above.
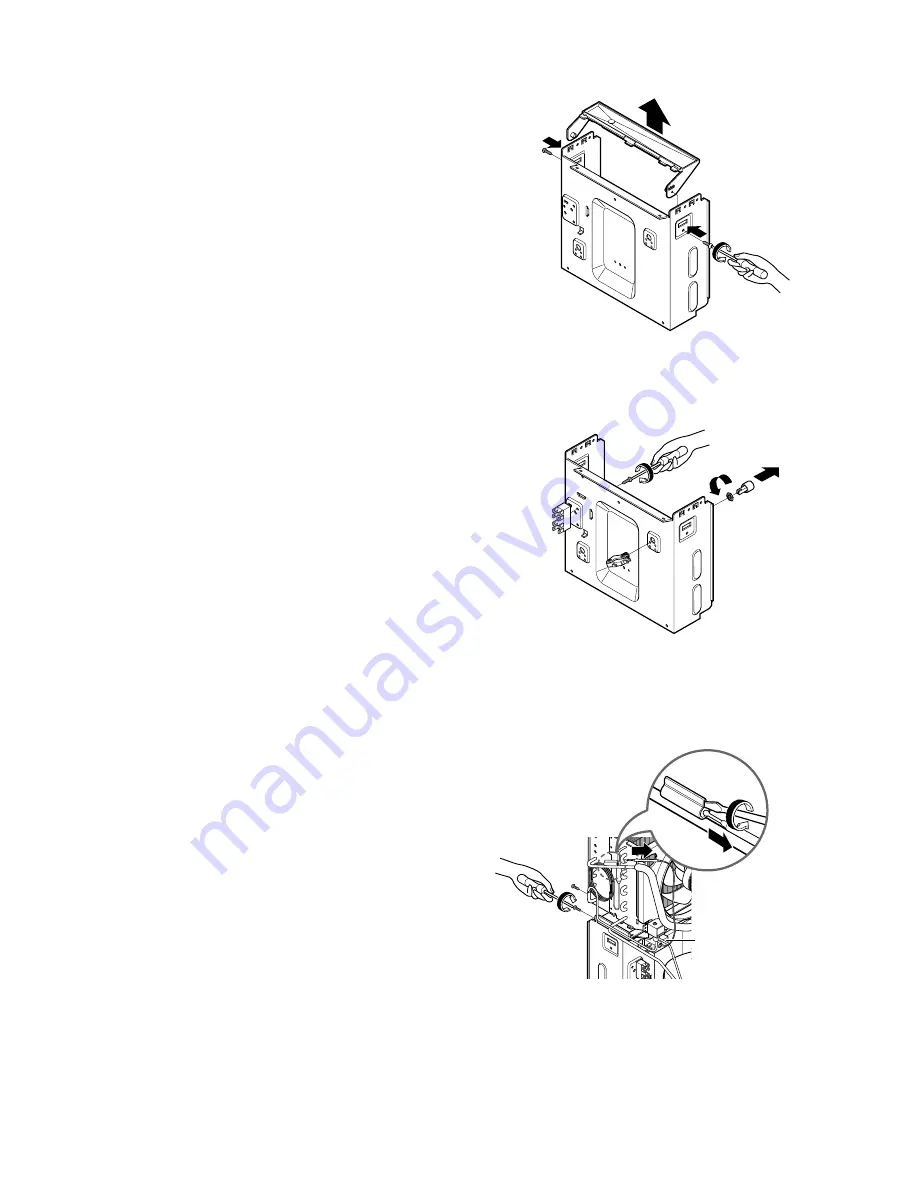
3.2.7 MICRO SWITCH ASSEMBLY
1. Remove the cabinet. (Refer to section 3.1.3)
2. Disconnect all the leads of micro switch assembly.
3. Turn the nut left and take off the micro switch
assembly. (See Figure 14)
4. Replace the components by referring to the
removal procedure above.
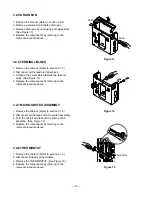
3.2.8 THERMOSTAT
1. Remove the cabinet. (Refer to section 3.1.3)
2. Disconnect all leads of thermostat.
3. Remove the THERMOSTAT. (See Figure 15)
4. Replace the components by referring to the
removal procedure above.
—11—
Push
Push
Thermostat
Figure 13
Figure 14
Figure 15
Содержание DHA1260HL
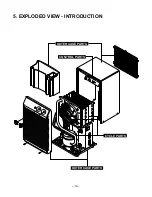
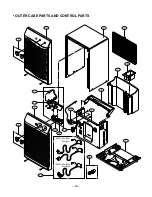
Страница 19: ...5 EXPLODED VIEW INTRODUCTION 19 OUTER CASE PARTS OUTER CASE PARTS CONTROL PARTS CYCLE PARTS ...
Страница 21: ... CYCLE PARTS AND CONTROL PARTS 21 21 20 32 36 19 30 33 18 35 34 25 26 27 ...
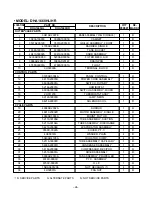
Страница 22: ... CYCLE PARTS 22 22 23 29 24 29 24 28 31 MODEL DHA1660HL HR MODEL DHA1260HL HR ...
Страница 25: ...P No 3828A30001W Printed in China ...


