Behind the ink cartridge access door, you will find the customer support label, which contains the ink
cartridge information, model number, product Web site, and customer support number.
Note:
Do not open the ink cartridge access door during the 12
‑
minute printhead preparation.
27
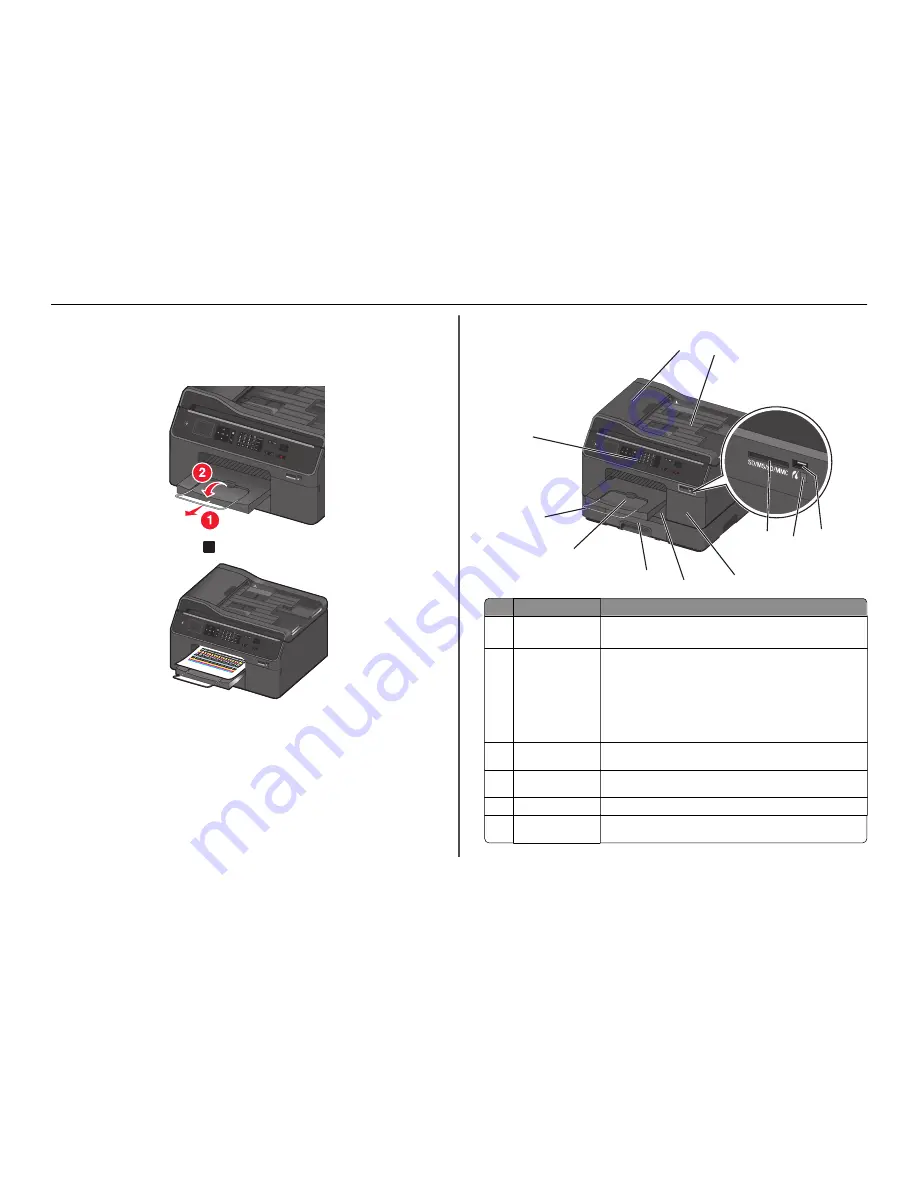
Fully extend the exit bin and flip out the bin extender.
28
From the printer control panel, press
O K
to print an alignment page.
Notes:
•
The alignment page prints.
•
Do not remove the page until printing is finished. The alignment page may take a while to print.
•
Streaks on the alignment page are normal and not an indication of a problem.
•
The alignment page that prints may differ from the one shown.
•
Recycle the alignment page.
Understanding the parts of the printer
1
2
3
4
6
9
7
8
10
SD/MS/xD/MMC
5
Pause
D ialT
on
e
R edial
A ddre
ss Bo
o
k
11
Use the
To
1
Automatic Document
Feeder (ADF)
•
Scan, copy, or fax multiple
‑
page documents.
•
Access ADF paper jams.
2
ADF input tray
Load original documents into the ADF.
Notes:
•
Do not load postcards, photos, small items, or thin media (such as
magazine clippings) into the ADF. Place these items on the scanner
glass.
•
After scanning, copying, or faxing, you can lift the right end of the
input tray to retrieve the original documents easily.
3
PictBridge and USB
port
Connect a PictBridge-enabled digital camera or a flash drive to the printer.
4
Card reader light
Check the card reader status. The light comes on when a memory card is
inserted and blinks when a memory card is being accessed.
5
Memory card slot
Insert a memory card.
6
Ink cartridge access
door
Install, remove, or replace ink cartridges.
About your printer
12


