•
Make sure the guides in the tray or the multipurpose feeder are properly positioned and are not pressing tightly
against the paper or envelopes.
•
Push the tray firmly into the printer after loading paper.
Use recommended paper
•
Use only recommended paper or specialty media.
•
Do not load wrinkled, creased, damp, bent, or curled paper.
•
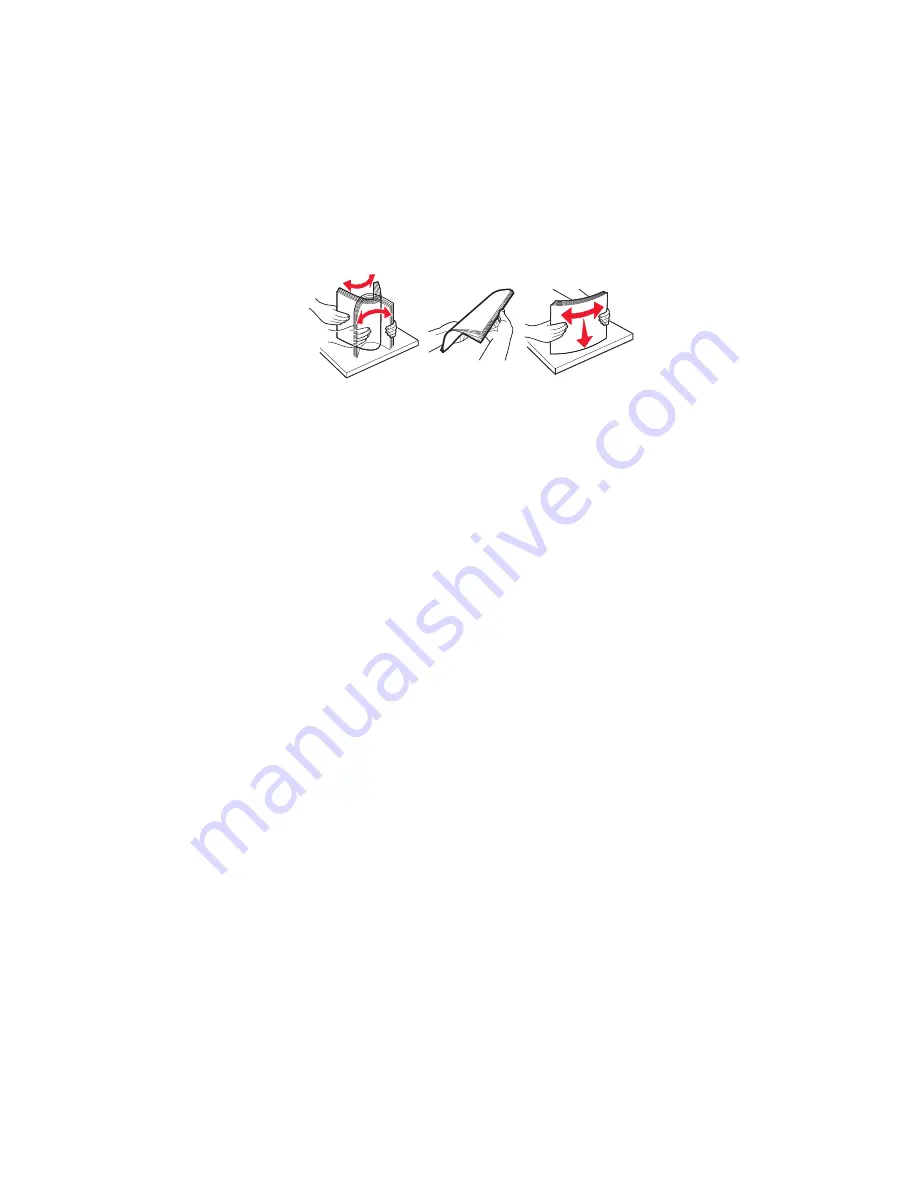
Flex, fan, and straighten paper before loading it.
•
Do not use paper that has been cut or trimmed by hand.
•
Do not mix paper sizes, weights, or types in the same tray.
•
Make sure the paper size and type are set correctly on the Embedded Web Server or the computer.
Note:
Depending on your operating system, access the Paper menu using Local Printer Settings Utility or Printer
Settings.
•
Store paper according to manufacturer recommendations.
Understanding jam messages and locations
When a jam occurs, a message indicating the jam location and information to clear the jam appears on the printer
display. Open the doors, covers, and trays indicated on the display to remove the jam.
Notes:
•
When Jam Assist is set to On, the printer automatically flushes blank pages or pages with partial prints to the
standard bin after a jammed page has been cleared. Check your printed output stack for discarded pages.
•
When Jam Recovery is set to On or Auto, the printer reprints jammed pages. However, the Auto setting does not
guarantee that the page will print.
4514
Diagnostic information
41
Содержание M1140
Страница 18: ...4514 18 ...
Страница 20: ...4514 20 ...
Страница 30: ... Spring hook Feeler gauges Analog or digital multimeter Flashlight optional 4514 General information 30 ...
Страница 142: ...4514 142 ...
Страница 175: ...5 Remove the three screws B and then remove the left front mount B 4514 Repair information 175 ...
Страница 193: ...5 Remove the four screws B and then remove the right front mount B 4514 Repair information 193 ...
Страница 197: ...b Set the spring over the plunger 4514 Repair information 197 ...
Страница 204: ...3 Squeeze the latches B to release the left and right links B 4514 Repair information 204 ...
Страница 224: ...c Bring the cable in front of the two cable holders near the ACM shaft 4514 Repair information 224 ...
Страница 228: ...10 Remove the screw C and then detach the trailing edge sensor A 4514 Repair information 228 ...
Страница 229: ...11 Disconnect the two springs D 4514 Repair information 229 ...
Страница 231: ...15 Rotate and then remove the 2nd pickup bushing 16 Pull out the shaft and remove the ACM 4514 Repair information 231 ...
Страница 246: ...3 Swing the right cover backward to remove 4 Remove the screw D 4514 Repair information 246 ...
Страница 248: ...4514 248 ...
Страница 253: ...4514 253 ...
Страница 255: ...Assembly 1 Covers 4514 Parts catalog 255 ...
Страница 257: ...Assembly 2 Electronics 1 4514 Parts catalog 257 ...
Страница 259: ...Assembly 3 Electronics 2 4 3 2 1 6 5 4514 Parts catalog 259 ...
Страница 261: ...4514 Parts catalog 261 ...
Страница 262: ...Assembly 4 Frame 4514 Parts catalog 262 ...
Страница 264: ...4514 Parts catalog 264 ...
Страница 265: ...Assembly 5 Option trays 3 4 5 6 1 2 4514 Parts catalog 265 ...
Страница 268: ...4514 Parts catalog 268 ...
Страница 270: ...4514 270 ...
Страница 274: ...4514 274 ...
Страница 276: ...4514 276 ...
Страница 298: ...4514 Part number index 298 ...
Страница 302: ...4514 Part name index 302 ...
Страница 303: ......


