12
ENGLISH
TAKING PHOTOS
Single shooting
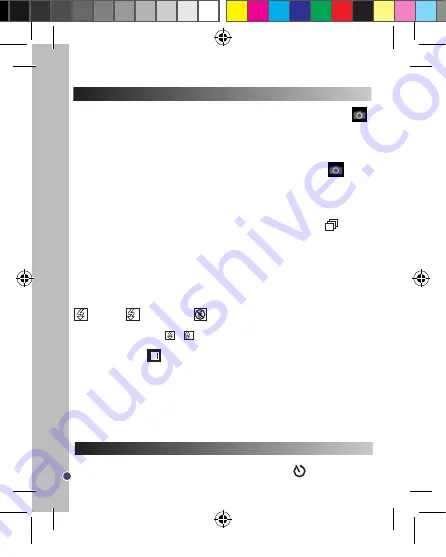
You are already in ‘Single shooting’ mode when you switch on the camera and the camera icon
appears. Press the Shutter button (13) to take a photo. The camera will beep to confirm that a picture
is taken. The number of pictures that you can take and store in the memory appears in the bottom
left-hand corner of the screen.
If you are not in ‘Single shooting’ mode because you have been using another mode, press the Menu
button (7) once. Press the Shutter button (13) repeatedly until you see the camera icon
. Press
the Menu button (7) to confirm.
Note:
If there is not enough light to take a photo, ‘Too dark’ will appear on the screen. You need to
turn the flash on to take a photo. See the ‘Flash function’ section below for how to do this.
Continuous shooting
1. When you are in ‘Single shooting’ mode, press the Menu button (7) once.
2. Press the Shutter button (13) repeatedly until you see the continuous shooting icon
.
3. Press the Menu button (7) to confirm.
4. Press the Shutter button (13) to take three pictures continuously.
Note:
• When the camera’s built-in memory is full, you will not be able to take any pictures.
• You cannot use the flash feature in ‘Continuous shooting’ mode.
Flash function
To use the flash, repeatedly press the Flash button (12) until your desired setting is shown by the
icon on the screen:
SELF-TIMER
Note:
• When the flash is recharging, or
A
will flash on the screen and the red LED will turn on. Wait
until the red LED has turned off before you take your next photo.
• When batteries are low
the flashlight does not work.
Display button
You can turn off the LCD screen and use the viewfinder to select your photo. Press the Display button
(11) to turn the LCD screen on or off.
Inserting a photo frame
I
n the “Take a photo” mode, press once on the Up button (10). The screen will display an example of
a photo frame (to see other photo frame examples, press the Up button (10) again, and when you see
one that you like press the shutter-release button (13) to choose it and take the photo.
Note:
the photo frame function cannot be used in video mode.
1. In ‘Single shooting’ mode, press the Menu button (7) once.
2. Press the Shutter button (13) repeatedly until you see the self-timer icon
.
Flash is on /
A
Auto flash is on /
Flash is off
SELECTING THE PHOTO RESOLUTION BY INTERPOLATION
1. In ‘Single shooting’ mode, press the Menu button (7) once.
2. Use the Up (10) and Down (12) buttons to select the resolution icon
. Press the Shutter button
(13) repeatedly to toggle between:
3. Press the Menu button (7) to confirm your selection.
High resolution – 5 MP /
Meduim resolution – 3 MP /
Low resolution - 1.3 MP
SELECTING THE IMAGE QUALITY
1. In ‘Single shooting’ mode, press the Menu button (7) once.
2. Use the Up (10) and Down (12) buttons to select the image quality icon
. Press the Shutter
button (13) repeatedly to toggle between:
High image quality /
Low image quality
3. Press the Menu button (7) to confirm your selection.
Note:
When you select ‘Low image quality’ the camera will compress the photo so that the file saved
is smaller. Compressing a photo reduces the image quality.
SELECTING THE LIGHT SOURCE FREQUENCY
CAPTURING VIDEO CLIPS
1. Switch on the camera and press the Menu button (7) once.
2. Press the Shutter button (13) repeatedly until you see the video icon
.
3. Press the Menu button (7) to confirm.
4. Press the Shutter button (13) to start taking a video. The recording length is displayed on the
bottom right-hand corner of the screen.
5. Press the Shutter button (13) again to stop videoing and automatically save it in AVI format.
6. To delete videos, see the ‘Deleting photos and videos’ section.
Note:
• The flash function is disabled in video mode.
• Once downloaded onto your computer, you can use Media player and Quick time to play the AVI files.
• The video clip’s length may change according to the memory space available on the camera.
3. Press the Menu button (7) to confirm.
4. Press the Shutter button (13) and the camera will take a picture 10 seconds later.
DJ028seriesIM1182_V04.indb 12
18/04/2012 4:49 PM


