


Configuring Inputs
EZ- MAX Plus Quick Start Guide
Page 27
to navigate to the next field and toggle I GNORE to
YES
if you want to assign the relay.
Step 7:
Continue to use the
to move between the RELAY
field and the behavior field, and cycle through all relays
until you have set all of them to YES or I GNORE. Press
Select/ Save
when you have finished assigning all
relays.
NOTE:
Occupancy sensor Delay times and Retrigger times
must be set on the occupancy sensor itself.
LV I NPUT—Photocell
Step 1:
Press the
MENU
button.
Step 2:
Press
or
until the display reads as below, then
press
SELECT/ SAVE.
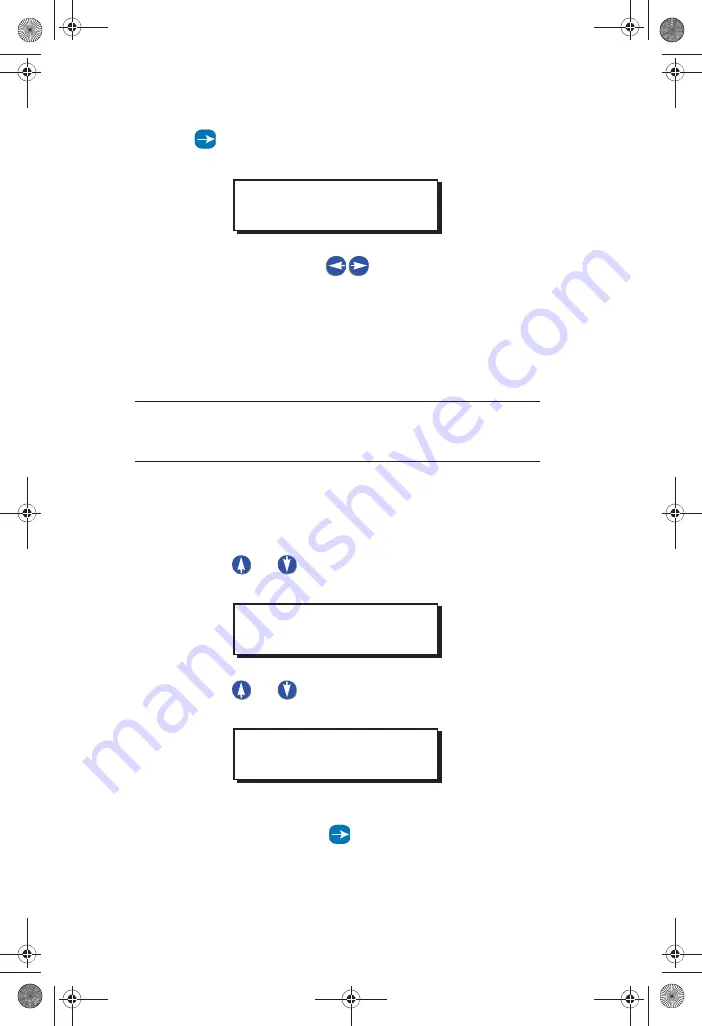
Step 3:
Press
or
to navigate to LV I NPUT, and press
Select/ Save
.
Step 4:
Use the numeric keypad to enter the input number for
the photocell. Press
to navigate to the next field,
ASSIGN RELAYS
RELAY# 3: YES
MAIN MENU SELECT
CONFIG INPUTS
INPUT TYPE
LV INPUT
EZ-MAX Plus QuickStart.book Page 27 Thursday, January 22, 2009 1:55 PM
WEB
VERSION
Содержание EZ-MAX Plus 16
Страница 1: ... 0 3OXV 4XLFN 6WDUW XLGH 0 3OXV 5HOD 3DQHOV 6RIWZDUH 5HYLVLRQ DQG DERYH WEB VERSION ...
Страница 35: ...NOTES WEB VERSION ...
Страница 36: ...NOTES WEB VERSION ...
Страница 37: ...NOTES WEB VERSION ...
Страница 38: ...NOTES WEB VERSION ...
Страница 39: ...NOTES WEB VERSION ...
Страница 40: ...NOTES WEB VERSION ...
Страница 41: ...NOTES WEB VERSION ...
Страница 42: ...NOTES WEB VERSION ...
Страница 43: ...NOTES WEB VERSION ...
Страница 44: ...NOTES WEB VERSION ...
Страница 45: ...NOTES WEB VERSION ...
Страница 46: ...NOTES WEB VERSION ...
Страница 47: ...NOTES WEB VERSION ...
Страница 48: ...NOTES WEB VERSION ...
Страница 49: ...NOTES WEB VERSION ...


