13 / 27
2.3 Console Installation
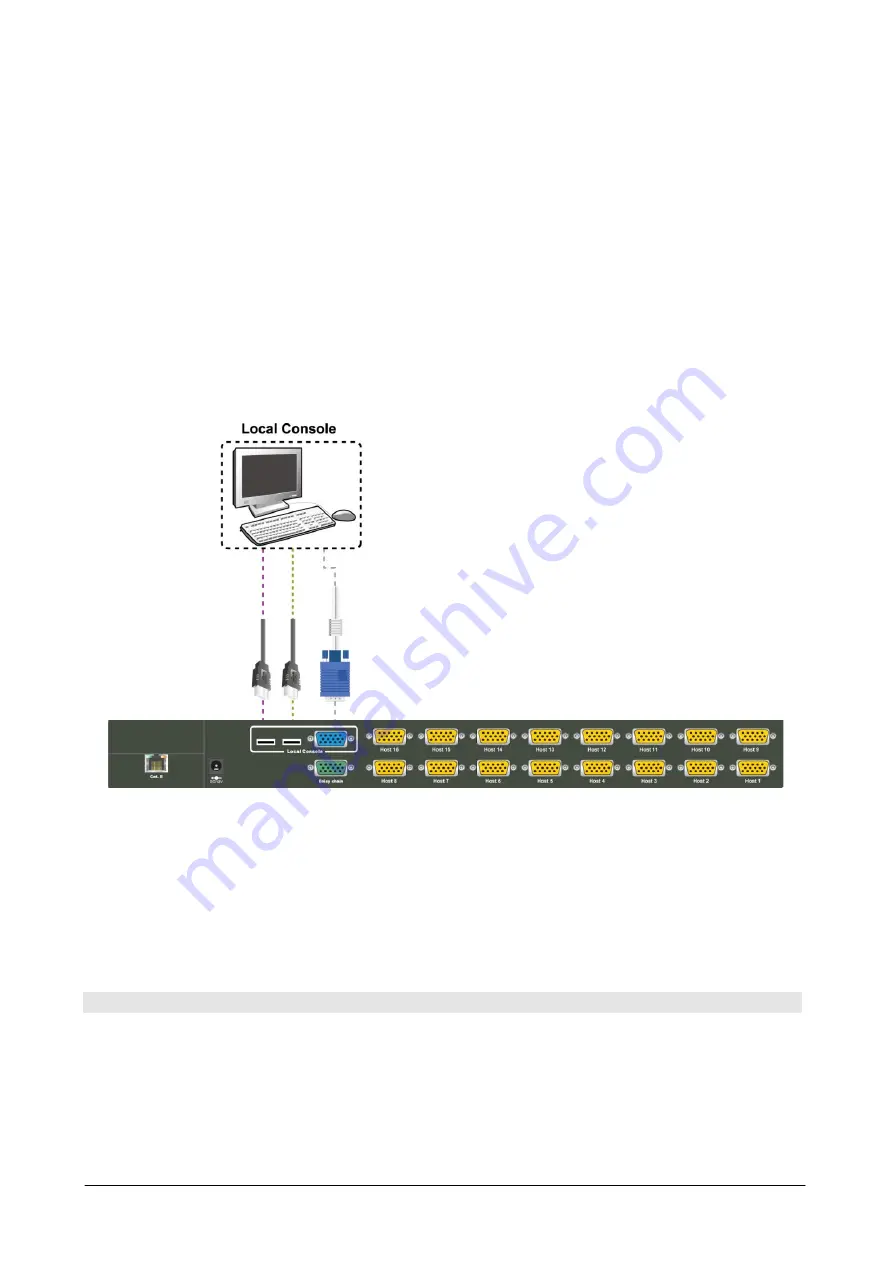
2.3.1 Local Console
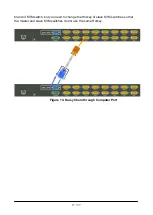
Connect the monitor to the HDDB15 female port on the back of the KVM unit labeled with
the monitor symbol at the Local Console connector.
There may be USB local console or PS/2 local console. For USB local console, connect
the USB keyboard to either one of USB local port and USB mouse to the other USB port.
These USB ports are special designed for keyboard and mouse, and can not work with
USB hub or other USB devices. For PS/2 local console, connect keyboard to purple PS/2
port and mouse to green PS/2 mouse port. There is a Daisy chain port under VGA ports.
Figure 11. Local Console Installation
2.4 Optional Remote Console Installation
2.4.1 IP Module
Please refer to “IP KVM Module User Manual” for details.
IP Remote Console
Installation
: Power off the KVM switch firstly. Remove the cover of the add-on slot, slide in
the IP Module and make sure the module is fully inserted into the slot.
The IP Module redirects local keyboard, mouse and video data to a remote administration
console. It allows you to control one or many computers locally at the server site or
remotely via the Internet using a standard browser.
Содержание KVM-8908
Страница 1: ...KVM 8908 KVM 8916 19 Widescreen LCD Rack Console with 8 16 Port KVM Switch User Manual...
Страница 10: ...10 27 2 Slide the unit into the rack and secure it to the rack Figure 7 Rack Mount Installation 2...
Страница 23: ...23 27 5 4 CAT5 5E 6 Straight Through UTP STP Cable Figure 18 CAT5 5E 6 Straight Through Cable Connector 8P8C...


