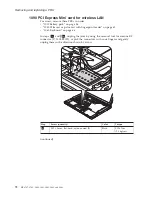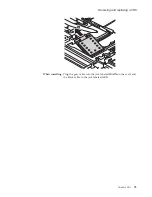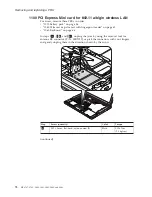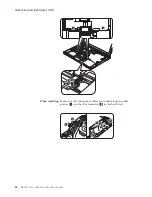
1050
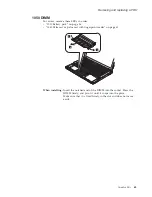
DIMM
For
access,
remove
these
FRUs
in
order:
v
“1010
Battery
pack”
on
page
56
v
“1040
Palm
rest
or
palm
rest
with
fingerprint
reader”
on
page
61
2
1
1
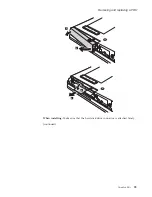
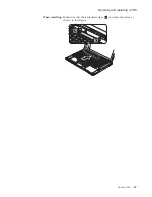
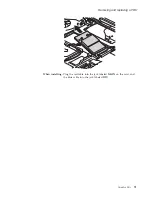
When
installing:
Insert
the
notched
end
of
the
DIMM
into
the
socket.
Press
the
DIMM
firmly,
and
pivot
it
until
it
snaps
into
the
place.
Make
sure
that
it
is
fixed
firmly
in
the
slot
and
does
not
move
easily.
Removing
and
replacing
a
FRU
ThinkPad
Z61t
65
Содержание Z61t
Страница 2: ......
Страница 3: ...ThinkPad Z61t Hardware Maintenance Manual ...
Страница 6: ...iv MT 8747 8749 9440 9441 9442 9443 and 9448 ...
Страница 8: ...2 MT 8747 8749 9440 9441 9442 9443 and 9448 ...
Страница 68: ...2 3 4 Removing and replacing a FRU 62 MT 8747 8749 9440 9441 9442 9443 and 9448 ...
Страница 94: ...5 5 Removing and replacing a FRU 88 MT 8747 8749 9440 9441 9442 9443 and 9448 ...
Страница 116: ...3 5 4 6 continued Removing and replacing a FRU 110 MT 8747 8749 9440 9441 9442 9443 and 9448 ...
Страница 122: ...Wireless LAN antenna cable MAIN gray a Removing and replacing a FRU 116 MT 8747 8749 9440 9441 9442 9443 and 9448 ...
Страница 125: ...Parts list Overall 1 2 3 4 6 5 9 8 7 10 12 11 13 14 16 b 17 c 18 19 21 23 24 22 20 15 a d Parts list ThinkPad Z61t 119 ...
Страница 144: ...LCD FRUs e d a b 1 7 9 8 10 11 3 2 4 5 6 c Parts list 138 MT 8747 8749 9440 9441 9442 9443 and 9448 ...
Страница 171: ...Trademarks ThinkPad Z61t 165 ...
Страница 172: ...Part Number 42T7845_02 1P P N 42T7845_02 ...

