Lenovo 1371
51
1060 Hinge frame latch
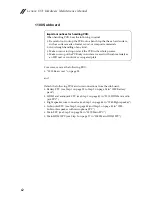
For access, remove the following FRUs in order:
• “1010 Rear cover” on page 28
and
Detach the following FPC from the main board:
• Battery FPC (see Step 1 on page 32 to Step 3 on page 34 in “1020 Battery
pack”)
1.
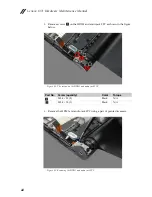
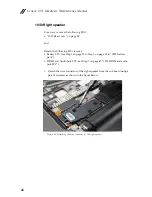
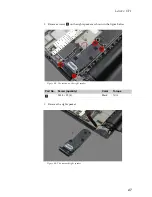
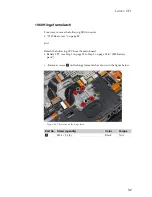
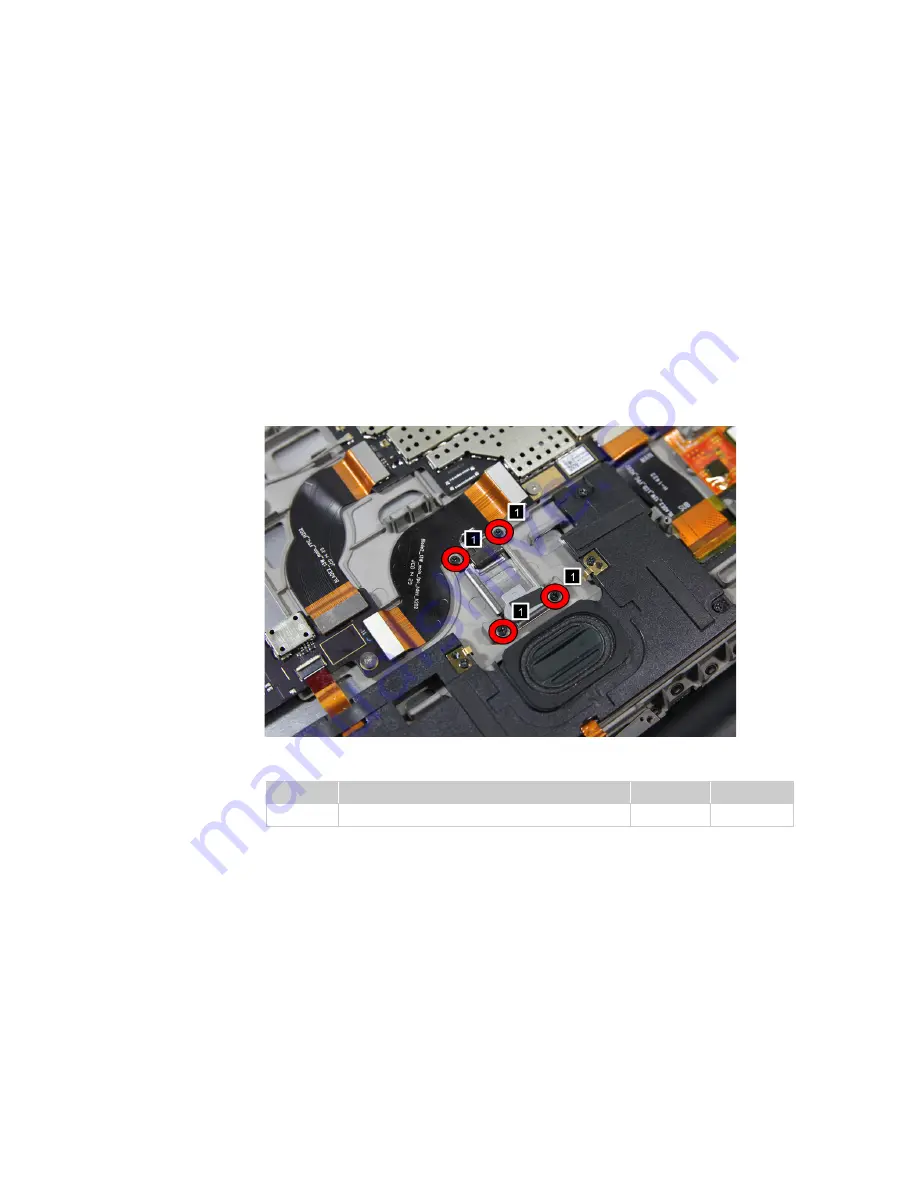
Remove screws
on the hinge frame latch as shown in the figure below.
Figure 6-1. The screws on the hinge latch
Part No.
Screw (quantity)
Color
Torque
M1.4 × 2.5 (4)
Black
N/A
a
a
Содержание YOGA Tablet 2-1371F
Страница 1: ...YOGA TABLET 2 with Windows Hardware Maintenance Manual YOGA Tablet 2 1371F ...
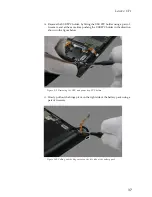
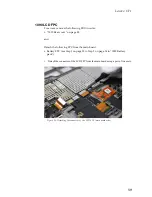
Страница 35: ...Lenovo 1371 31 7 Slowly remove the rear cover Figure 1 7 The removed rear cover ...
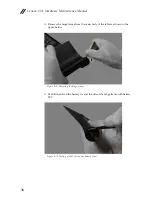
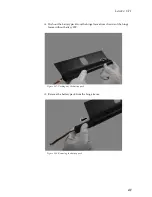
Страница 37: ...Lenovo 1371 33 2 Remove the metal piece using a pair of pointed tweezers Figure 2 2 Removing the metal piece ...
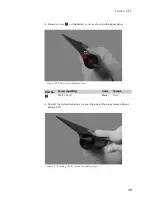
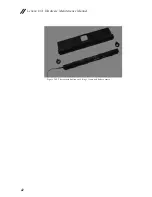
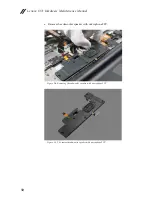
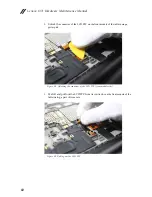
Страница 46: ...Lenovo 1371 Hardware Maintenance Manual 42 Figure 2 19 The removed battery pack hinge frame and battery covers ...
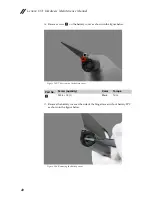
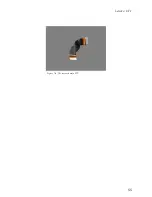
Страница 49: ...Lenovo 1371 45 Figure 3 4 The removed HDMI and audio jack FPC ...
Страница 59: ...Lenovo 1371 55 Figure 7 4 The removed main FPC ...
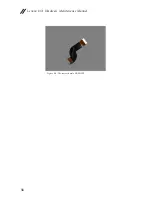
Страница 62: ...Lenovo 1371 Hardware Maintenance Manual 58 Figure 8 4 The removed main HDMI FPC ...
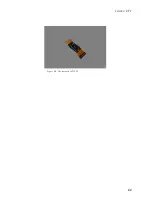
Страница 65: ...Lenovo 1371 61 Figure 9 4 The removed LCD FPC ...
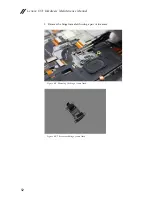
Страница 68: ...Lenovo 1371 Hardware Maintenance Manual 64 Figure 10 3 The removed sub board ...
Страница 74: ...Lenovo 1371 Hardware Maintenance Manual 70 Figure 12 4 The removed volume key FPC ...
Страница 84: ...Lenovo 1371 Hardware Maintenance Manual 80 Figure 17 4 The removed the front camera ...
Страница 87: ...Lenovo 1371 83 Figure 18 4 The removed camera FPC ...
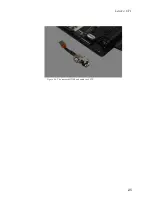
Страница 90: ...Lenovo 1371 Hardware Maintenance Manual 86 Figure 19 4 The USB and power key FPC with holder ...
Страница 94: ...Lenovo 1371 Hardware Maintenance Manual 90 Figure 20 5 The removed main board ...
Страница 96: ...Lenovo 1371 Hardware Maintenance Manual 92 Front view Front camera Microphone Locations ...
Страница 99: ...Lenovo 1371 95 ...

