D1012/D1024 Hardware Installation and Maintenance Guide
25
4
Installing the enclosures
Installation checklist
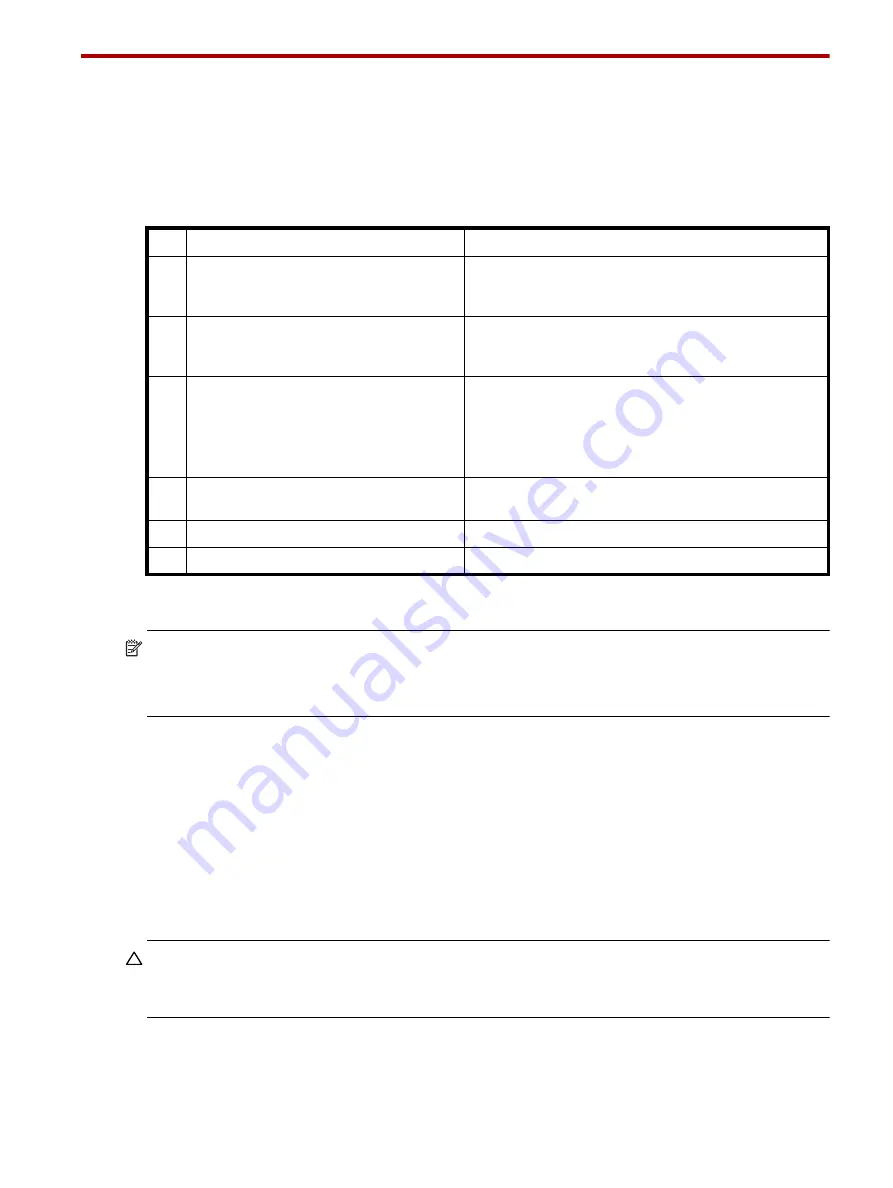
The following table outlines the steps required to install the enclosures, and initially configure and provision
the storage system. To ensure successful installation, perform the tasks in the order presented.
1
See
Enclosure bezel attachment and removal
on page 18 for more information about installing enclosure bezels to 2U24 and 2U12
chassis.
NOTE:
Additional installation notes:
•
ESMs within the same enclosure must be of the same type.
•
For optimal performance, do not mix 6 Gb and 3 Gb disk drives within the same enclosure.
Connecting Storage Enclosures
Lenovo Storage D1012/D1024 Storage Enclosures support these maximum configurations:
•
Up to eight D1012 Storage Enclosures with12 3.5"drives for a maximum of 96 disk drives.
•
Up to eight D1024 Storage Enclosures with 24 2.5" drives for a maximum of 192 drives.
A mix of SFF and LFF Storage Enclosures is supported.
D1012 and D1024 ESMs support both 3-Gbps and 6-Gbps internal disk drive speeds together with 3-Gbps
and 6-Gbps expander link speeds.
CAUTION:
Some 6-Gbps disks might not consistently support a 6-Gbps transfer rate. If this happens, the
system automatically adjusts transfers to those disks to 3 Gbps, increasing reliability and reducing error
messages with little impact on system performance.
Cable requirements for storage enclosures
Use only Lenovo Storage or OEM-qualified cables, and observe the following guidelines:
•
When installing SAS cables to Storage Enclosures, use only supported mini-SAS cables.
Table 9
Installation checklist
Step Task
Where to find procedure
1.
Install the Storage Enclosure in the rack, and
attach the enclosure bezel.
1
See the rack-mount bracket kit installation instructions
pertaining to your enclosure. Also refer to the bezel
attachment instructions for your enclosure
2.
Connect Storage Enclosure to the server’s
RAID adapter.and optional Storage
Enclosures.
See
3.
Connect an optional Storage Enclosure to the
first Storage Enclosure as shown. Connect
additional optional Storage Enclosures in the
same fashion as appropriate.
See
4.
Connect power cords to each Storage
Enclosure.
See
5.
Test enclosure connectivity.
See
6.
Connect hosts.
2
Refer to your RAID controller documentation.


