8.
Install
the
new
power
supply
assembly
into
the
chassis
so
that
the
screw
holes
in
the
new
power
supply
assembly
align
with
those
in
the
chassis.
9.
Install
and
tighten
the
four
screws
at
the
rear
of
the
chassis
to
secure
the
power
supply
assembly.
Note:
Use
only
the
screws
provided
by
Lenovo.
10.
Reconnect
all
the
power
supply
assembly
cables
to
the
drives
and
the
system
board.
11.
Go
to
“Completing
the
parts
replacement”
on
page
36.
Replacing
the
heat
sink
and
fan
assembly
Attention
Do
not
open
your
computer
or
attempt
any
repair
before
reading
and
understanding
the
“Important
safety
information”
in
the
ThinkCentre
Safety
and
Warranty
Guide
that
came
with
your
computer.
To
obtain
a
copy
of
the
ThinkCentre
Safety
and
Warranty
Guide
,
go
to:
http://www.lenovo.com/support
CAUTION:
The
heat
sink
and
fan
assembly
might
be
very
hot.
Turn
off
the
computer
and
wait
three
to
five
minutes
to
let
the
computer
cool
before
opening
the
computer
cover.
This
section
provides
instructions
on
how
to
replace
the
heat
sink
and
fan
assembly.
To
replace
the
heat
sink
and
fan
assembly:
1.
Open
the
computer
cover.
See
“Opening
the
computer
cover”
on
page
12.
2.
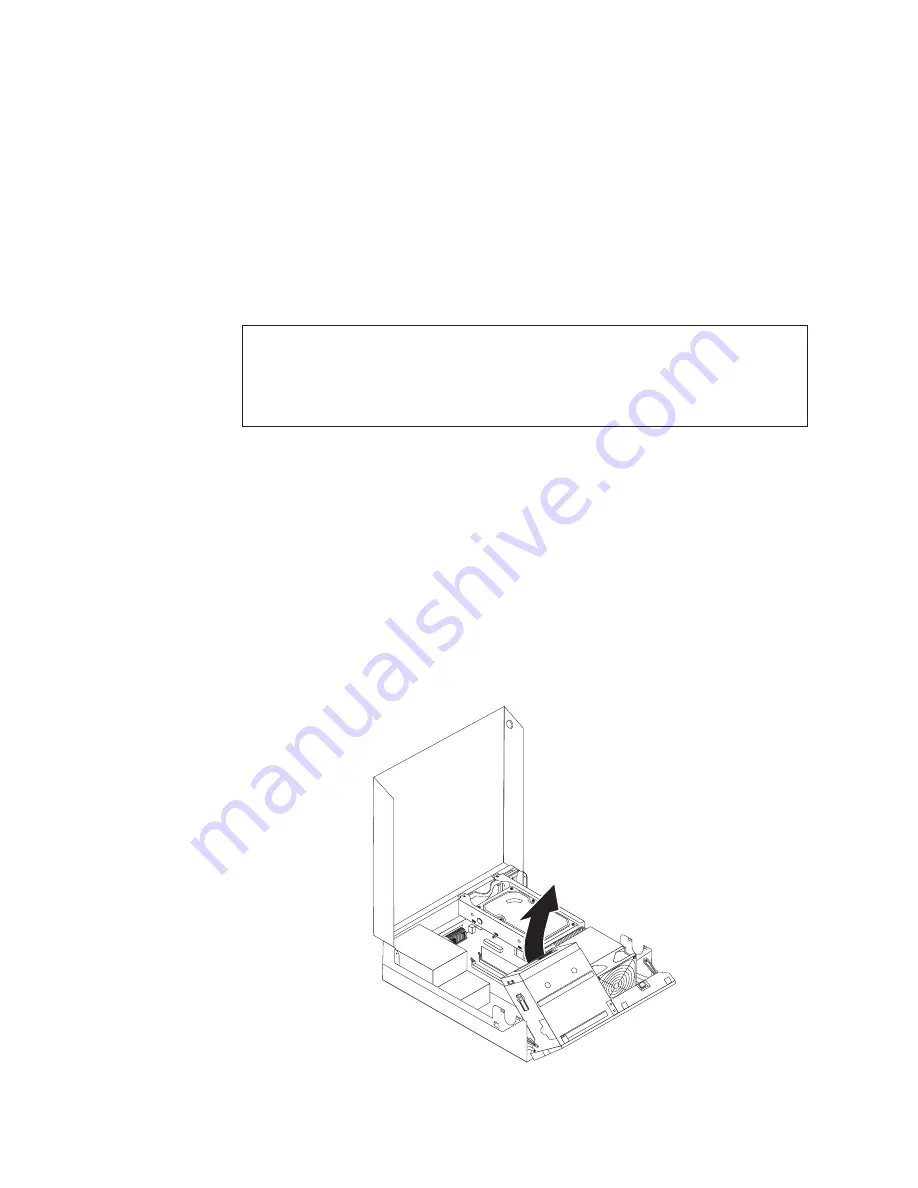
Pivot
the
drive
bay
assembly
upward
to
gain
access
to
the
heat
sink
and
fan
assembly.
Figure
27.
Accessing
the
heat
sink
and
fan
assembly
30
User
Guide
Содержание 8820ADU
Страница 1: ...Machine Types 7259 7267 7269 7279 7290 7297 7303 7306 7408 7487 7506 and 7514 ThinkCentre User Guide ...
Страница 2: ......
Страница 3: ...ThinkCentre User Guide ...
Страница 6: ...iv User Guide ...
Страница 8: ...vi User Guide ...
Страница 48: ...40 User Guide ...
Страница 56: ...48 User Guide ...
Страница 64: ...56 User Guide ...
Страница 70: ...11 Reconnect the mouse cable to the computer 12 Turn your computer back on 62 User Guide ...
Страница 80: ...72 User Guide ...
Страница 81: ......
Страница 82: ...Part Number 53Y6367 Printed in USA 1P P N 53Y6367 ...


