506052−01 11/09
Page 8
Installer setup − Page 3 of 8
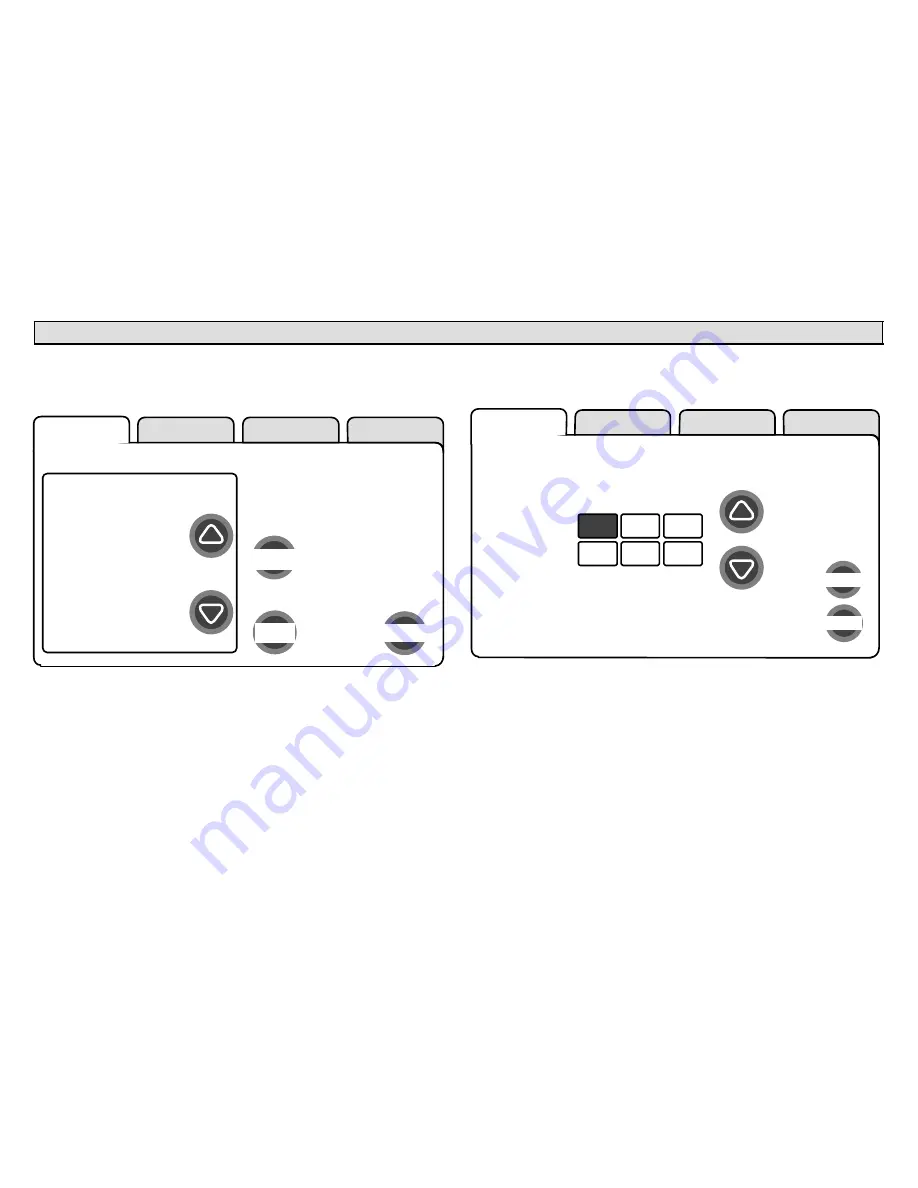
Setting time and date
Use the arrows to select
Time and Date;
press
edit
(see figure 7). Press
next
to proceed to the Set current time and date" screen (figure 8).
tests
setup
HELP
system settings
to adjust a setting, highlight
it, then press edit.
Current Value:
(September 15, 2009,
09:23 AM)
edit
next step
back
Time and Date
Daylight Saving
Time
Circulate Fan ON
time
Dealer Name
Dealer Address
Dealer Phone
Number
Dealer Email
Figure 7. View/edit time and date
When the Time and Date" screen appears, enter the correct date as fol-
lows:
Press one of the time and date boxes − the text will change to white
type in a dark box (for example, press the 10" box in figure 8).
Press the
up/down arrows
to change the data.
Press other boxes and adjust with the arrows for all time and date
information. When the date and time is correct, press
save
to save
settings and return to previous settings screen.
adjust
Time and Date
10
:19
AM
Oct
15
2009
save
cancel
setup
HELP
Figure 8. Set current time and date
NOTE − After setting the time and date, if you don’t need to add any non−
communicating devices, you may wish to accept the default system pa-
rameters and skip forward to tests". To do so, repeatedly press
next
step
on each screen until you get to the
tests
screen. From there, you
can check the systems operation. Thereafter, should you need to
change a communicating device parameter, access those settings by
pressing the
equipment
tab in the installer section.


