18
Repeat a specific section
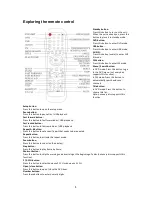
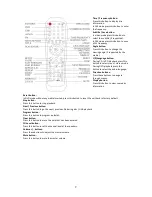
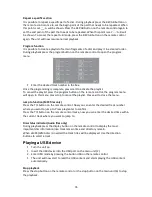
It is possible to repeat a specific part of a disc. During playback press the REP.AB button on
the remote control once to set the begin point of the part that needs to be repeated. When
this point is set
A will be shown. Press the REP.AB button on the remote control again to
set the end point of the part that needs to be repeated. When this point is set
A-B will
be shown. To cancel the repeat A-B mode, press the REP.AB button on the remote control
again. The unit will now resume normal playback.
Program function
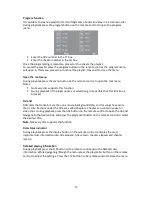
It is possible to create a playlist of certain fragments of a disc and play it in a desired order.
During playback press the program button on the remote control to open the program
menu.
Enter the desired track number in the box.
Once the programming is complete, press start to activate the playlist.
To cancel the playlist press the program button on the remote control, the program menu
will open. In this menu press stop to cancel the playlist. Press exit to close the menu.
Jump to function (MP3 files only)
Press the T/F button on the remote control. Now you can enter the desired track number
where you want to jump to. Press play/enter to confirm.
Press the T/F button on the remote control twice, now you can enter the desired time within
the current track where you want to jump to.
Disc status indicator (Audio files only)
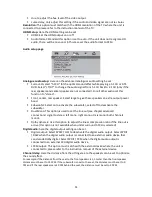
During playback press the display button on the remote control to display the most
important disc information like: track remain time and directory remain.
When a MP3/WMA disc is inserted the track titles will be displayed. Use the direction
buttons to select a track.
Playing a USB device
Turn the unit on.
1.
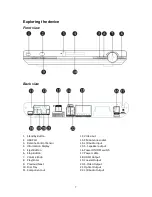
Insert the USB device into the USB port on the main unit (2).
2.
Enter USB mode by pressing the button USB on the remote control.
The unit will now start to read the USB content and starts playing the USB content
automatically.
Stop playback
Press the stop button on the remote control or the stop button on the main unit (6) to stop
the playback.
Содержание DVD-519 H
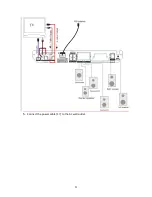
Страница 11: ...11 5 Connect the power cable 17 to the AC wall outlet ...
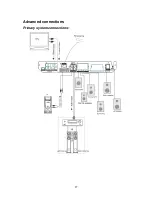
Страница 27: ...27 Advanced connections Primary system connections ...
Страница 28: ...28 Video connections in detail ...
Страница 29: ...29 Advanced audio connections ...

