background image


xPico 200 Series - JTAG Programming 


8.  Install Win-USB on Olimex 

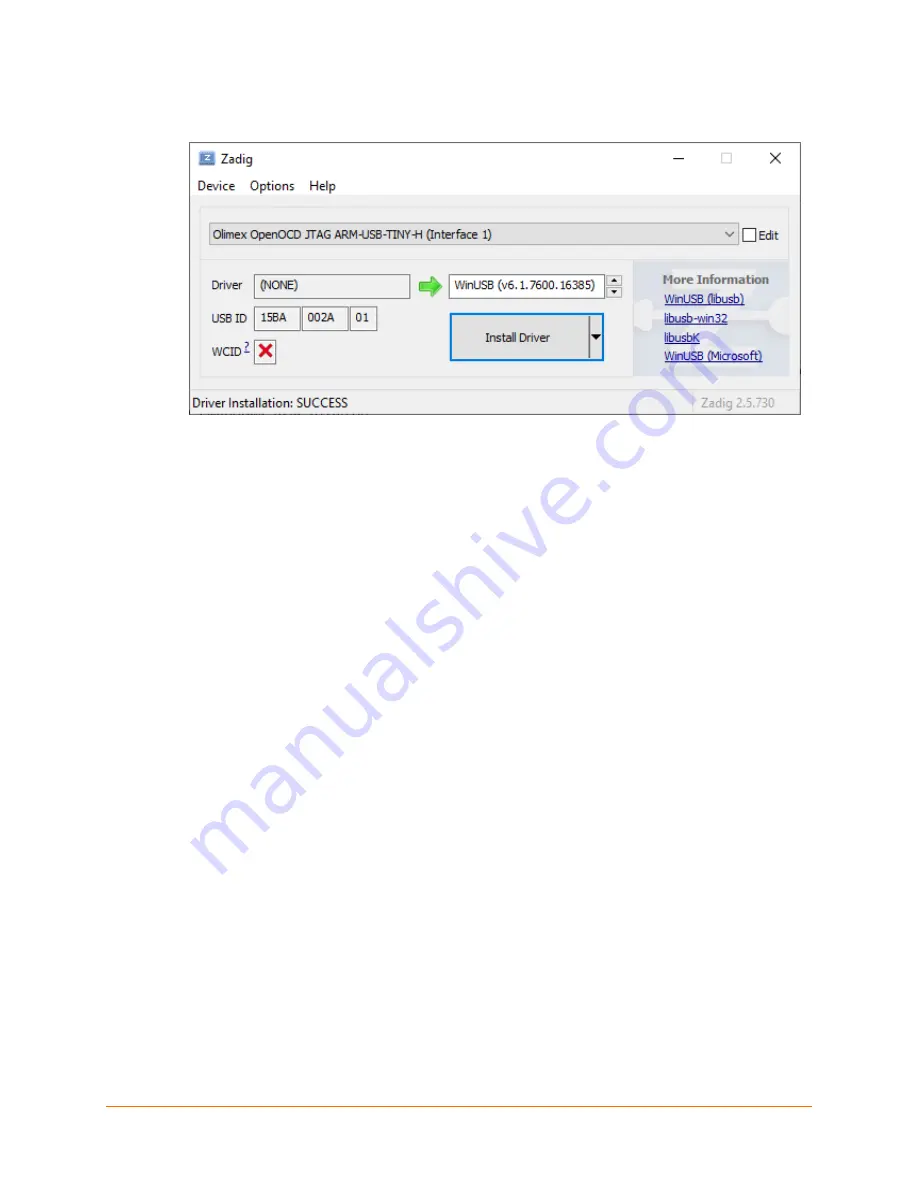
Interface 1

. When complete, the message "Driver Installation: 

SUCCESS" will appear as shown in the image below: 


Note

:  If issues arise when trying to install the Win-USB drivers from Zadig to the Olimex 

JTAG programmer, isolate the USB cable being used with the Olimex to an exclusive 

USB port on the PC (no USB hubs).  

If programming fails, but the Olimex "Interface X" is displayed numerically (where X is 

0 or 1): 

     1. Select Advanced Mode under the Options menu 

     2. Select the desired interface 

     3. Click 

Reinstall Driver


9.  Perform the above Olimex driver installation steps just one time per PC. 
10. Copy the desired firmware image into the 

C:\xPico200Recovery\

 directory. It must have 

a name of the form 

xPico200_*_partition1.signed.rom

, where 

*

 is the version. 

11. From the extracted files, run the 

msys2_shell

 shortcut file to open your MINGW64 window. 

12. In the window, type 

cd /c/xPico200Recovery

 to set the directory. 

13. Connect the JTAG to the board you want to program. 
14. Type 

make download

 to install the firmware. 

15. Type 

make run

 to run the firmware. 

16. You may combine Steps 14 & 15 as 

make download run

 to install and run with a single 

command. 


Содержание xPico 200 Series

Страница 1: ...Application Note xPico 200 Series JTAG Programming Part Number APP 0120 Revision A November 2021...

Страница 2: ...fices For a current list of our domestic and international sales offices go to the Lantronix web site at www lantronix com about contact Disclaimer All information contained herein is provided AS IS L...

Страница 3: ...Initial document For the latest revision of this product document please check our online documentation at www lantronix com support documentation Contents Overview 4 Hardware and Software Requirement...

Страница 4: ...ters There are numerous JTAG programmers available other brands and adapter types may also work Note The hardware adapters and tools are not provided by Lantronix and should be purchased from an elect...

Страница 5: ...apters to the USB cable as shown in the image below Note that the grey ribbon cable 10 pin and PCB 20 pin adapter are keyed which will prevent any mistakes in assembly 2 Using the xPico 200 Series Eva...

Страница 6: ...t the Olimex ARM USB TINY H to a USB port on the PC a Setting up device message will appear 4 Wait for the Device is ready message to appear 5 From the extracted files locate and run zadig 2 5 exe 6 F...

Страница 7: ...the Options menu 2 Select the desired interface 3 Click Reinstall Driver 9 Perform the above Olimex driver installation steps just one time per PC 10 Copy the desired firmware image into the C xPico2...

Отзывы: