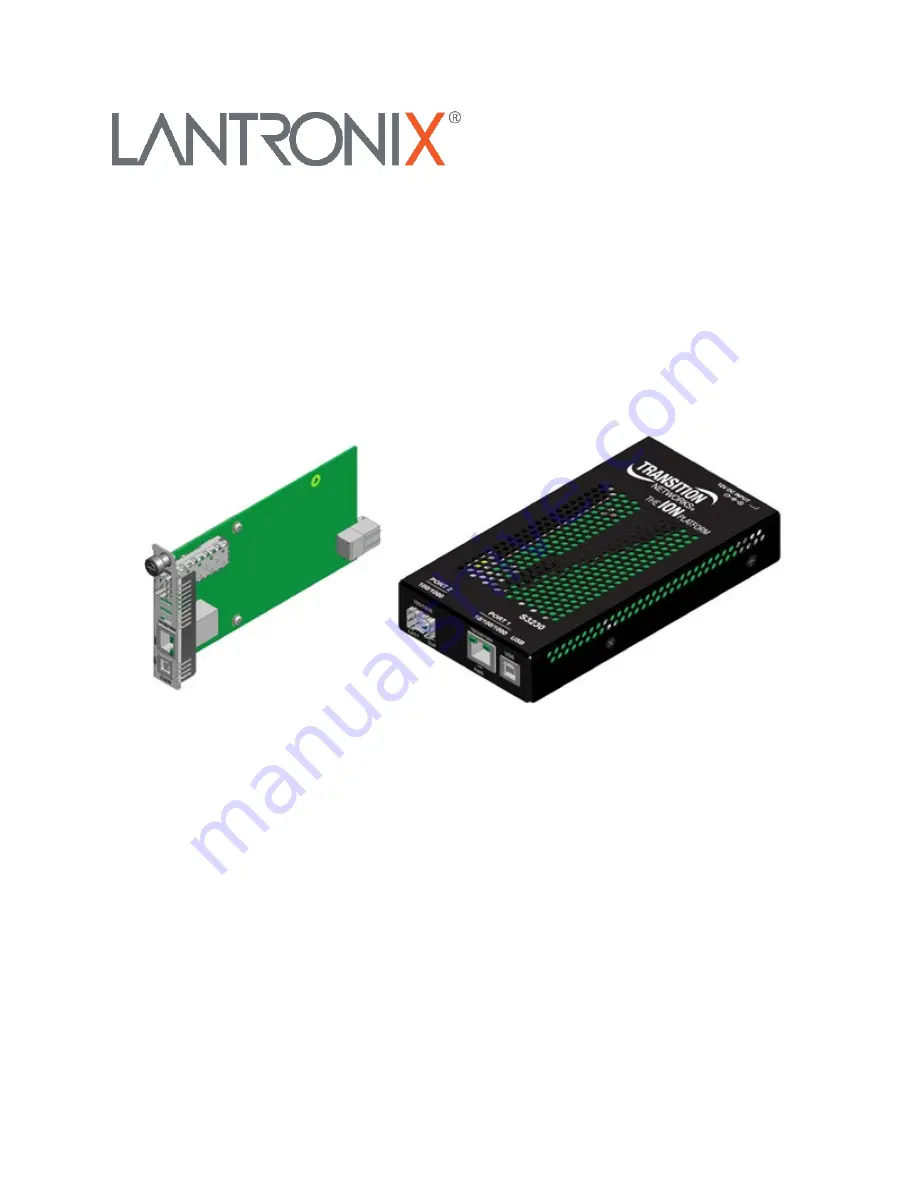
ION System
x222x / x32xx Remotely Managed Network
Interface Device (NID)
Install Guide
Part Number 33433
Revision D August 2023
Страница 1: ...ION System x222x x32xx Remotely Managed Network Interface Device NID Install Guide Part Number 33433 Revision D August 2023...
Страница 2: ...ll information contained herein is provided AS IS Lantronix undertakes no obligation to update the in formation in this publication Lantronix does not make and specifically disclaims all warranties of...
Страница 3: ...could result in poor performance or damage to the equipment Caution Only trained and qualified personnel should install or perform maintenance on the ION NID Failure to observe this caution could resu...
Страница 4: ...USB Driver Windows 8 21 Access via an Ethernet Network 25 Initial Setup with a Static IP Address via the CLI 27 Accessing the NIDs 28 Access via Local Serial Interface USB 29 Changing Switch Mode Loc...
Страница 5: ...del C2220 1040 Connectors and LEDs 15 Figure 6 Model S2220 1040 Connectors and LEDs 15 Figure 7 Model C3221 1040 Connectors and LEDs 17 Figure 8 Model S3220 1040 Connectors and LEDs 17 Figure 9 Model...
Страница 6: ...on in an ION system chassis or as stand alone modules These devices can be managed via Command Line Interface CLI Web Interface or Telnet The x222x x32xx NIDs support Link layer OAM LOAM per IEEE 802...
Страница 7: ...II support for use with 10 100 1000Base T copper SFPs Features See the x222x x32xx Web User Guide for features MEF 9 14 and 21 certified IEEE 802 3ah Link OAM 10K Jumbo Frame Support Two selectable Re...
Страница 8: ...322x Series Standards IEEE Std 802 3 IEEE Std 802 3ah IEEE Std 802 1P IEEE Std 802 1Q Data Rate Copper 10 100 1000Mbps Fiber 1000Mbps Max Frame Size 10 240 bytes Power Consumption 4 5 Watts Shipping W...
Страница 9: ...ion Networks named or pictured Transition Networks was acquired by Lantronix in August 2021 The ION system and related device manuals are listed below 1 ION x222x x32xx NID User Guide 33472 2 ION Syst...
Страница 10: ...ction Telnet session or Web interface Installing the Chassis Model C222x C32xx The Cx2xx NID is a slide in module that can only be installed in a Lantronix ION chassis ION001 x and ION219 x For a comp...
Страница 11: ...ssis back panel 5 Push in and rotate clockwise the panel fastener screw to secure the card to the chassis see Figure 1 Chassis Installation on the previous page 6 Note that the card s Power LED lights...
Страница 12: ...four rubber feet for optional installation on a table or other flat stable surface in a well ventilated area 1 Remove the rubber feet from the card 2 On the bottom of the NID place one foot in each co...
Страница 13: ...gure below Figure 3 Wall Mount Installation 2 Mount one of the bracket assemblies to the device using two of the 4 Philips head screws 3 Mount the other bracket assembly to the other side of the devic...
Страница 14: ...the AC DC power adapter Use the AC power adapter shipped with the NID Warning Risk of electrical shock 1 Insert the barrel connector of the AC power adapter to the power inlet on the back of the stan...
Страница 15: ...d LEDs The connections and LEDs resident on the various models are described on the following pages Model x2220 1040 The x2220 1040 connectors and LEDs are shown in the two figures below and described...
Страница 16: ...rect serial interface Through this connection a system administrator can access and control the NID using CLI commands 10 100 1000 Copper port connector One connector for Ethernet 10 100 1000 Base T T...
Страница 17: ...ev D https www lantronix com Page 17 of 42 Model x3221 1040 The x3221 1040 connectors and LEDs are shown in the two figures below and described in Table 7 Figure 7 Model C3221 1040 Connectors and LEDs...
Страница 18: ...ect serial interface Through this connection a system administrator can access and control the NID using CLI commands 10 100 1000 Copper port Network connectors One connector for Ethernet 10 100Base T...
Страница 19: ...ev D https www lantronix com Page 19 of 42 Model x32x0 10xx The x32x0 1040 connectors and LEDs are shown in the two figures below and described in Table 7 Figure 9 Model C32x0 10xx Connectors and LEDs...
Страница 20: ...1 RoHS and CEC and Energy Star Level V compliant It meets FCC Part 15 class B and CISPR 22 class B emission limits It also meets new CE requirements and has UL cUL UL 60950 1 2nd edition and TUV GS EN...
Страница 21: ...ill reboot 7 Your PC will boot into a Startup Settings screen Select 7 Disable driver signature enforcement 8 Your PC will reboot one more time and will not load normally 9 Plug the USB into the PC an...
Страница 22: ...rminal software a Click Start b Select All Programs Accessories Communications c Click HyperTerminal The Connection Description window displays 6 Type in a name and select an icon that will be used fo...
Страница 23: ...e New or select an existing connection File Open 4 Press the Enter key The Password prompt displays If Login incorrect displays ignore it If the login prompt does not display try unplugging and re plu...
Страница 24: ...standalone card 10 Enter commands to set up the various configurations for the NID For a description of all available CLI commands see the ION Systems CLI Reference Manual 33461 Note If required by y...
Страница 25: ...inal settings for the PC as you will need to reset them after setting the IP configuration for the NID Starting a Telnet Session The NID can be controlled from a remote management station via a Telnet...
Страница 26: ...15 l1d l2d l3d for a Slide in card or go c 0 16 s 0 32 l1ap 1 15 l2ap 1 15 l1p 1 5 l2p 1 15 l3p 1 15 l1d l2d l3d for Standalone card 12 Enter commands to set up the various configurations for the NID...
Страница 27: ...ude 10 0 0 0 10 255 255 255 172 16 0 0 172 31 255 255 and 192 168 0 0 192 168 255 255 The following procedure is for setting a static IP address for the x222x x32xx NID When this procedure is complete...
Страница 28: ...ver index addr_type address DNS server1 ipv4 192 168 1 30 DNS server2 ipv4 0 0 0 0 DNS server3 ipv4 0 0 0 0 DNS server4 ipv6 DNS server5 ipv6 DNS server6 ipv6 Agent III C1 S9 L1D For more information...
Страница 29: ...See the Web User Guide Changing Switch Mode Local Remote Management and configuration control can be switched between local management control via CLI Telnet or Web or remote management control via t...
Страница 30: ...ower restart of the chassis or a reset to factory removes temporary files e g configuration backup files Syslog file A Factory Reset also removes the permanent settings e g configuration files HTTPS c...
Страница 31: ...on equipment battery backup 3rd party client or server software RADIUS or TFTP etc When troubleshooting an ION system network problem on site 1 Document the operation taking place when the failure occ...
Страница 32: ...auses as possible 14 Isolate on the 1 2 most likely root causes of what went wrong and gain as much information as you can to prove the suspected cause s 15 If you find a sequence of actions that caus...
Страница 33: ...e Jumper Settings section on page 41 LACT Link Activity LED off not lit 1 Check the data cables for obvious problems incorrect type incorrect wiring etc 2 See if the administrator has manually disable...
Страница 34: ...purposes PCB Identification This section covers the following PCBs printed circuit boards x2220 NID PCB 11321 Rev 04 this information is silkscreened on the bottom of the PCB x3220 NID PCB 11320 Rev 0...
Страница 35: ...l current configuration details and loads the system configuration with the factory default settings See Reset To Factory Config in the related manual J11 Jumper Pin s Function 1 2 N None 2 3 F Reset...
Страница 36: ...port Specialist 2 Record the Model Information for your system Serial Number _____________________ Model ____________________________ Software Revision __________________ Hardware Revision ___________...
Страница 37: ...k ________________________________________________________________________________ _________________________________________________________________________________ A description of your network envir...
Страница 38: ...e in which case the user will be required to correct the interference at his own expense CE Marking This is a Class A product In a domestic environment this product could cause radio interference as a...
Страница 39: ...e les measures sp cifiques appropri es In accordance with European Union Directive 2002 96 EC of the European Parliament and of the Council of 27 January 2003 Lantronix will accept post usage returns...
Страница 40: ...i port NIDs conform to the following directive s and standard s EMC Directive 2004 108 EC EN 55022 2006 A1 2007 Class A EN 55024 1998 A1 2001 A2 2003 EN61000 2 3 EN6100 3 3 CFR Title 47 Part 15 Subpar...
Страница 41: ...chriften worden ge nstalleerd S curit lectrique IMPORTANT Cet quipement doit tre utilis conform ment aux instructions de s curit S hk turvallisuus T RKE T m laite on asennettava turvaohjeiden mukaises...
Страница 42: ...rvine CA 92618 USA Toll Free 800 526 8766 Phone 949 453 3990 Fax 949 453 3995 Technical Support Online www lantronix com technical support Sales Offices For a current list of our domestic and internat...