22
Hardware Setup
Chapter 5
Embedded and Industrial Computing
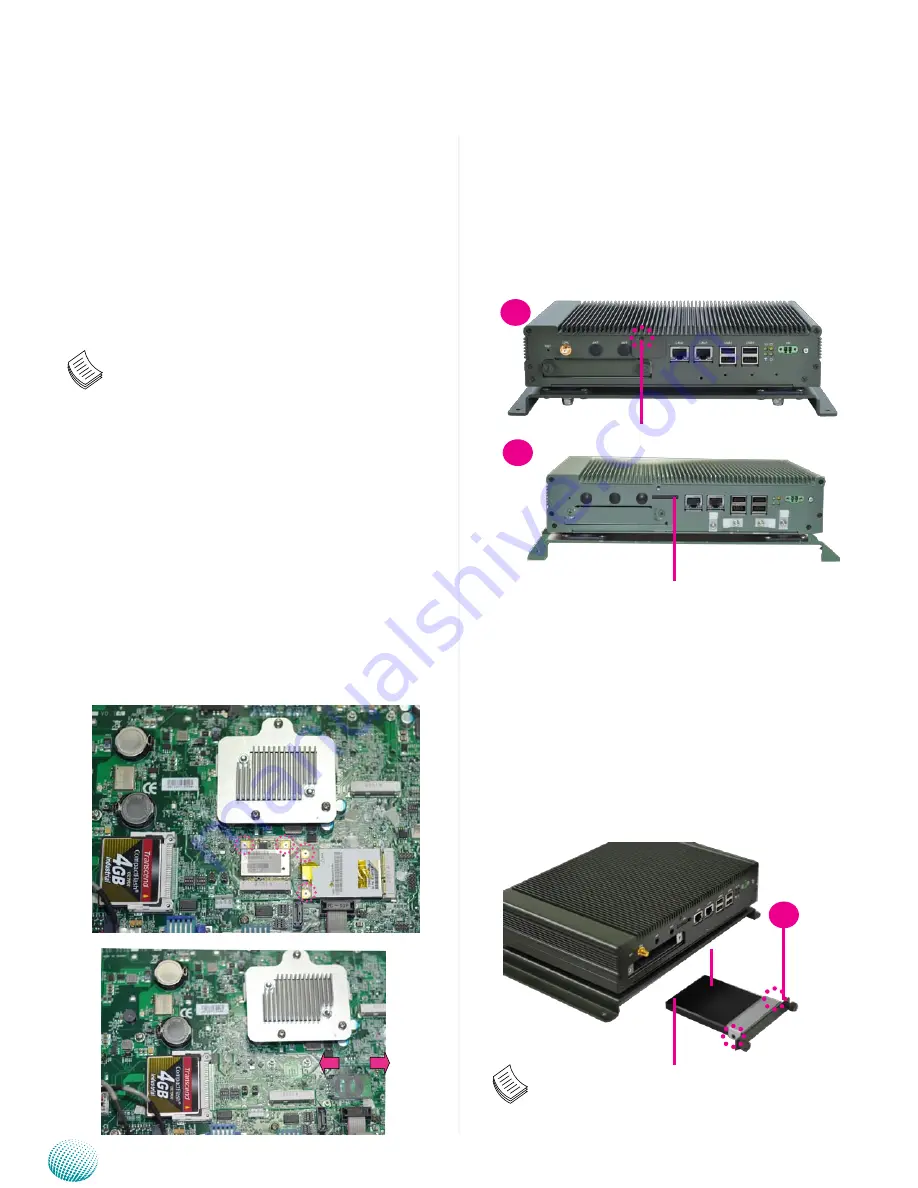
External SIM Card Installation
Take out the SIM Card tray by pushing the ejector with
1.
a pointed object.
Place the SIM card on the SIM card tray. Notice the
2.
notch on the tray to prevent wrong orientation.
Hard Disk Installation
The system can accommodate one SATA hard drive. Follow
these steps to install a hard disk into the system:
Place the HDD/SSD on the hard disk tray of the front
1.
panel and align the holes of the hard disk with the
mounting holes on the tray.
Fix the HDD/SSD on the hard disk tray by using 2
2.
mounting screws
Push the HDD/SSD into the hard disk slot and secure it
3.
in place with the thumb screws attached on the tray.
Note:
The system only supports 2.5” HDD/SSD.
3G SIM Card Installation
Unlock the SIM card tray by sliding it outward and
1.
open it.
Align the cut corner of the SIM card with the cut corner
2.
of the SIM card socket. Make sure the ICs is in contact
with the socket.
Insert the
3.
SIM card into the tray diagonally. Close and
lock the tray. You should feel a click when the SIM card
is locked securely in the socket.
Note:
The system supports dual Internet connections
1.
with 2 SIM card reader. There are three MPCIE slot;
MPCIE1 and MCARD1 slot support 3G SIM Card
reader installation. MPCIE2 (Mini PCIe half card
size) slot is for Wi-Fi or Bluetooth installation. For
more information, see MPCIE1/MPCIE2/MCARD1
on page 17 and 18.
We recommend the following 3G modules which
2.
are fully tested while designing of the system:
Sierra Wireless AirPrime™ MC MC809x series: These
modules offer tri-band (850/1900/2100 MHz) or dual-band
(900/2100 MHz) HSPA+ connectivity for roaming on high-
speed networks at speeds up to 14.4 Mbps downlink and
up to 5.76 Mbps uplink, as well as quad-band GSM/GPRS/
EDGE and voice support.
Open
Close
1
ejector
front cover screw
1
2
Silver plate
Power Connector
Drive Connector


