background image

®

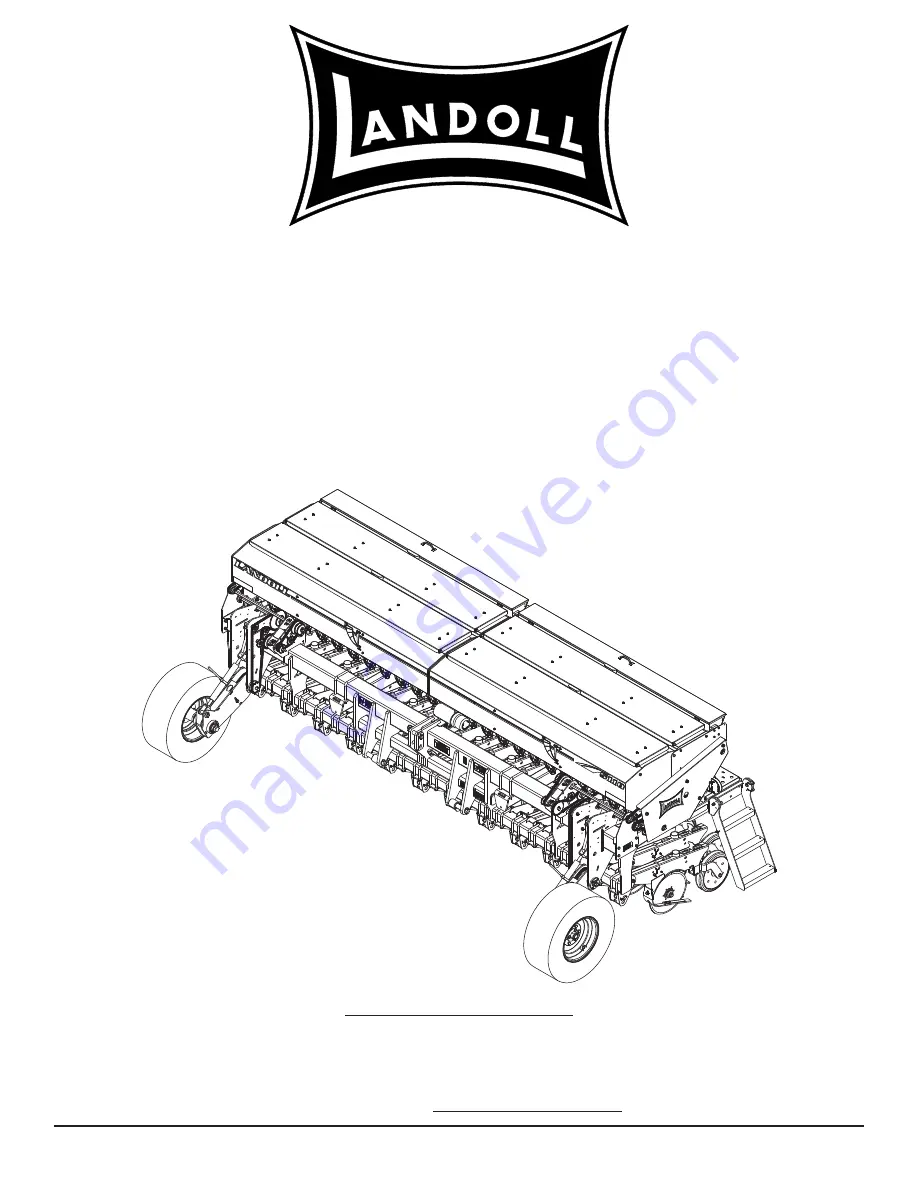
Model 5110NG

Native Grass Drill

Operator’s Manual

LANDOLL COMPANY, LLC

1900 North Street

Marysville, Kansas 66508

(785) 562-5381

800-428-5655 WWW.LANDOLL.COM

F-1058-0820

08/2020-Present

Содержание 5110NG

Страница 1: ...Model 5110NG Native Grass Drill Operator s Manual LANDOLL COMPANY LLC 1900 North Street Marysville Kansas 66508 785 562 5381 800 428 5655 WWW LANDOLL COM F 1058 0820 08 2020 Present...

Страница 2: ...Manuals for the 5110NG GD MANUAL NUMBER MANUAL NAME F 1058 5110NG GD Operator s Manual F 1059 5110NG GD Parts Manual...

Страница 3: ...n Safety Statements 4 1 Tractor Preparation 4 2 Grain Drill Preparation 4 2 Attaching Grain Drill To The Tractor Three Point 4 2 Attaching Grain Drill To The Tractor Pull Hitch Optional 4 4 Transport...

Страница 4: ...Scraper Adjustment 4 37 Opener Soil Strip Adjustment 4 38 Walkboard 4 39 Ladder Use and Transport Requirements 4 40 Battery Operated Acre Counter Operation Optional 4 41 Field Acres 4 42 Pulses per 40...

Страница 5: ...t before using it and describes adjustments needed It also gives practical advice for the care and maintenance of your Landoll equipment Drawings in this section locate adjustment points on the equipm...

Страница 6: ...tly than the implement Wash with soap and water or a cleaning solution as required 3 Replace decals that become damaged or lost Also be sure that any new implement components installed during repair i...

Страница 7: ...res of the implement so it will not roll when unhitched from the tractor 3 Store in an area where children normally do not play Maintenance Safety 1 Understand the procedure before doing the work Use...

Страница 8: ...eels use wheel handling equipment adequate for the weight involved Safety Chain 1 Use a chain with a strength rating equal to or greater than the gross weight of towed machinery which is 10 100 pounds...

Страница 9: ...L HITCH WEIGHTS Model Weight W Out Markers Empty Weight W Markers Empty 5110 12 1 2 NG 12 800 LBS 13 400 LBS 5110 15 NG 13 800 LBS 14 400 LBS NOTE Specifications Are Subject To Change Without Prior 51...

Страница 10: ...2 2 F 1058 0820 STANDARD SPECIFICATIONS Recommended Torque Specification For Lug Bolts and Nuts Bolt Size Torque FT LBS 9 16 18 70 80 FT LBS...

Страница 11: ...2 9 16 12 55 62 80 100 110 137 9 16 18 60 75 90 112 130 162 5 8 11 75 94 110 137 170 212 5 8 18 85 106 130 162 180 225 3 4 10 130 162 200 250 280 350 3 4 16 150 188 220 275 320 400 7 8 9 125 156 320 4...

Страница 12: ...on grade 8 capscrews Use value in if using prevailing torque nuts Parker Brand Fittings Dash Size 37 Degree JIC O Ring ORS O Ring Boss ORB 4 11 13 15 17 13 15 5 14 16 21 23 6 20 22 34 36 25 29 8 43 47...

Страница 13: ...STANDARD SPECIFICATIONS 2 5 Table provided for general use NOTES...

Страница 14: ...ECIFICATIONS Figure 2 1 5110 12 1 2 3 Point Placement GAUGE WHEEL DRIVE ASSEMBLY NG DRIVE ASSEMBLY 33 3 4 7 1 2 TYPICAL REAR PARK STAND LH REAR PARK STAND RH SPRING OPENER 19 3 4 3 3 4 35 1 4 35 1 4 1...

Страница 15: ...2 Pull Hitch Placement GAUGE WHEEL DRIVE ASSEMBLY NG DRIVE ASSEMBLY 33 3 4 7 1 2 TYPICAL REAR PARK STAND LH REAR PARK STAND RH SPRING OPENER 18 1 8 3 3 4 35 1 4 7 3 8 35 1 4 18 1 8 FRONT PARK STAND L...

Страница 16: ...3 5110 15 Placement 26 11 16 26 11 16 GAUGE WHEEL DRIVE ASSEMBLY LH 8 5 16 8 5 16 NG DRIVE ASSEMBLY LH NG DRIVE ASSEMBLY RH GAUGE WHEEL DRIVE ASSEMBLY RH 49 7 16 49 7 16 7 1 2 TYPICAL PARK STAND LH P...

Страница 17: ...des are extremely sharp Exercise extreme care when working on or near opener blades Do not allow opener blades to roll over or fall onto any body part Do not allow wrenches to slip when working near b...

Страница 18: ...ion to support front of hitch assembly 4 Carefully move the fully assembled hitch assembly in front of drill 5 Remove the lower and upper hitch pins lower hitch spacers 6 Align the holes in the rear o...

Страница 19: ...CH PIN LOWER HITCH PIN LYNCH PIN 396 LIGHT HARNESS PLUG LOWER HITCH SPACER HOSE SUPPORT CLAMPS PULL HITCH AXLE ASSEMBLY TIRE WHEEL ASSEMBLY LUG NUT 2 HOLE PLATE 3 4 LOCK NUTS AG FLASHER PLUG DRAWBAR H...

Страница 20: ...K HITCH PIN LOWER HITCH PIN LYNCH PIN 396 LIGHT HARNESS PLUG LOWER HITCH SPACER HOSE SUPPORT CLAMPS PULL HITCH AXLE ASSEMBLY TIRE WHEEL ASSEMBLY LUG NUT 2 HOLE PLATE 3 4 LOCK NUTS AG FLASHER PLUG DRAW...

Страница 21: ...entive measures against accidental lowering can result in serious personal injury Keep all bystanders away from the machine when folding unfolding raising lowering openers and transporting Always lock...

Страница 22: ...se nuts or bolts Check the lift wheel lug nuts daily 5 Check the lift wheel tire inflation Follow the tire manufacturer s recommended pressures listed on the sidewall of the tires 6 Check opener scrap...

Страница 23: ...d Location During Storage On 9 On the 5110 12 1 2 drills fully raise the Grain Drill and adjust both front parking stands and place in transport position See Figures 4 4 and See Figure 4 5 Figure 4 4...

Страница 24: ...in use See Figure 4 7 To install the transport locks a The hitch clevis must be attached to the tractor Then fully raise the hitch of the Grain Drill b Remove the L pins and hairpin clips from the st...

Страница 25: ...or lower use the lower hitch clevis holes For drawbars 20 tall use the middle hitch clevis holes and for 22 or greater use the top mounting holes Figure 4 8 Hitch Clevis Height 7 PIN CONNECTOR DRAWBA...

Страница 26: ...Block tires to prevent rolling or shifting of drill f Move the jack from the storage position and place in the parking position at the front of the hitch See Figure 4 11 If storing on soft ground pla...

Страница 27: ...ng and Storage Position Pull Hitch 7 PIN CONNECTOR DRAWBAR HYDRAULIC HOSES SAFETY CHAIN TRANSPORT LOCK PINS TRANSPORT POSITION TRANSPORT LOCK PINS STORAGE POSITION JACK STORAGE POSITION IMPLEMENT HITC...

Страница 28: ...ll frame f Unplug any optional drill monitor harnesses g Loosen any optional marker hoses from the hitch and leave with the drill h Slowly lower the drill to the ground until weight is relieved from t...

Страница 29: ...HYDRAULIC HOSES SAFETY CHAIN TRANSPORT LOCK PINS TRANSPORT POSITION TRANSPORT LOCK PINS STORAGE POSITION JACK STORAGE POSITION IMPLEMENT HITCH JACK PARKING POSITION HOSE HOLDER MOUNT STOR A WAY TOP LI...

Страница 30: ...PIN CONNECTOR DRAWBAR HYDRAULIC HOSES SAFETY CHAIN TRANSPORT LOCK PINS TRANSPORT POSITION TRANSPORT LOCK PINS STORAGE POSITION JACK STORAGE POSITION IMPLEMENT HITCH JACK PARKING POSITION HOSE HOLDER...

Страница 31: ...OPERATION AND MAINTENANCE 4 11 Table provided for general use NOTES...

Страница 32: ...ght hours whenever possible Always use flashing warning lights except where such use is prohibited by law 10 Fully raise the drill for transport DANGER 11 Know the height and width of the implement be...

Страница 33: ...CE 4 13 Figure 4 14 Transporting Grain Drill Three Point Hitch SMV EMBLEM SPEED IDENTIFICATION SYMBOL SIS 20 MPH SPEED IDENTIFICATION SYMBOL SIS 20 MPH SAFETY LIGHTS SAFETY LIGHTS 3 POINT LINK PINS RE...

Страница 34: ...c hoses Route and secure the hydraulic hoses to avoid interference with the drawbar or three point hitch Do not allow the hydraulic hoses to drag on the ground 9 Whenever possible do not transport the...

Страница 35: ...ll Hitch 7 PIN CONNECTOR DRAWBAR HYDRAULIC HOSES SAFETY CHAIN TRANSPORT LOCK PINS TRANSPORT POSITION TRANSPORT LOCK PINS FIELD POSITION JACK STORAGE POSITION SMV EMBLEM SPEED IDENTIFICATION SYMBOL SIS...

Страница 36: ...5 4 Field Operation a Before starting field operation fully raise the drill and remove transports locks See Transport Locks Pull Hitch on page 4 4 b Lower the drill completely when planting to insure...

Страница 37: ...the ratchet jack assembly on each drive wheel See Figure 4 18 Measure the pin to pin length of both ratchet jacks and set them the same so the unit depth will be even Some drills will drive the seed b...

Страница 38: ...remove any unwanted seed or debris from the seed box NOTE Adjust the native grass seed drive to the desired rate Verify rate with calibration test 3 Load the seed evenly in the seed box es 4 Adding p...

Страница 39: ...position for large peas large soybeans etc 4 Use the fourth seed gate position when planting extra large irregular seeds such as garbanzo beans NOTE Adjust the seed gate to the desired setting before...

Страница 40: ...seed rate chart the meter opening for the desired seed rate The seed rate chart is located inside the lid of the center seed box See Figure 4 26 b Loosen the locking nut on the square seed shaft on t...

Страница 41: ...the meter housing to the bottom of the seed box The meter housing should be square with the seed shaft and not twisted when tightening the meter housing bolts Seed Rate Calibration 1 The seed rate ch...

Страница 42: ...f using the 12 tooth drive sprocket move the 24 tooth sprocket to the other side of the contact drive wheel for drive chain clearance Route the drive chain as shown and readjust the idler sprocket to...

Страница 43: ...Figure 4 25 Drive Type Settings 43 12 43 24 TYPE I TYPE II TYPE III 22 24 CONTACT DRIVE TYPES TYPE I TYPE II TYPE III GAUGE WHEEL TYPES NOTE DRIVE TYPE I IS STANDARD SPEED DRIVE TYPE II IS HALF SPEED...

Страница 44: ...896 AVG SEED WEIGHT X 65896 SEED RATE X SEEDS LB x NO OF ROTATIONS x ROW SPACING SEEDS per ROW 65896 POPULATION X NO OF ROTATIONS X ROW SPACING EXAMPLE 20 ROTATIONS X 7 5 1707 LBS X 65896 75 LBS ACRE...

Страница 45: ...5 inch 7 10 14 18 22 26 30 35 39 44 50 56 61 10 inch 5 8 10 13 16 20 23 26 30 33 38 42 46 Drive Type III 1 8 1 4 3 8 1 2 5 8 3 4 7 8 1 1 1 8 1 1 4 1 3 8 1 1 2 1 5 8 1 3 4 7 5 inch 28 42 56 72 88 104...

Страница 46: ...II 1 8 1 4 3 8 1 2 5 8 3 4 7 8 1 1 1 8 1 1 4 1 3 8 1 1 2 1 5 8 1 3 4 7 5 inch 4 8 13 18 24 10 inch 3 6 10 14 18 Drive Type III 1 8 1 4 3 8 1 2 5 8 3 4 7 8 1 1 1 8 1 1 4 1 3 8 1 1 2 1 5 8 1 3 4 7 5 in...

Страница 47: ...1 4 1 3 8 1 1 2 1 5 8 1 3 4 7 5 inch 13 19 26 33 41 47 56 65 76 81 91 95 10 inch 7 14 20 25 31 35 42 49 57 61 68 70 Drive Type III 1 8 1 4 3 8 1 2 5 8 3 4 7 8 1 1 1 8 1 1 4 1 3 8 1 1 2 1 5 8 1 3 4 7 5...

Страница 48: ...eed rate to find the rate for the desired seed or similar seed Locate the desired seed setting for the ground drive type being used NOTE Changing the ground Drive Type setting will affect the seeding...

Страница 49: ...18 24 18 22 15 24 15 30 15 7 5 inch 1 1 1 1 1 1 1 1 1 1 2 2 2 2 10 inch 1 1 1 1 1 1 1 1 1 1 1 1 1 2 Drive Type III 15 30 15 24 15 22 18 24 18 22 15 18 22 24 24 22 18 15 22 18 24 18 22 15 24 15 30 15 7...

Страница 50: ...15 7 5 inch 3 3 4 4 4 5 5 6 6 7 7 8 8 10 10 inch 2 3 3 3 3 3 4 4 5 5 5 6 6 8 Drive Type III 15 30 15 24 15 22 18 24 18 22 15 18 22 24 24 22 18 15 22 18 24 18 22 15 24 15 30 15 7 5 inch 10 12 14 16 16...

Страница 51: ...OPERATION AND MAINTENANCE 4 31 Table provided for general use NOTES...

Страница 52: ...eeding rate are based on clean untreated average size seed Actual rates may vary operator must verify actual seed output If a specific seed is not listed use a seeding rate for a similar sized seed an...

Страница 53: ...6 20 22 Drive Type Spacing 1 8 1 4 3 8 1 2 5 8 3 4 7 8 1 I 7 5 1 3 5 8 10 14 16 18 II 7 5 1 2 3 4 5 7 8 9 III 7 5 2 6 10 16 20 28 32 36 Drive Type Spacing 1 8 1 4 3 8 1 2 5 8 3 4 7 8 1 I 7 5 1 5 8 13...

Страница 54: ...against the meter cut off and tighten the lock collar d For each seed meter slide the right locking set collar next to the meter feed roll leaving 010 020 of clearance and tighten the set collar Make...

Страница 55: ...37 The lower spring mounting hole is the heavy down pressure setting and the upper hole is the light pressure setting To change the spring pressure setting raise the opener slightly to relieve the spr...

Страница 56: ...ch point that is too wide or too narrow can excessively preload the opener bearings and lead to premature bearing failure particularly in heavy soils or no till applications 4 The pinch point is adjus...

Страница 57: ...ry more weight raising the drill and keeping the openers from planting too deep Adjusting the gauge wheel height on 3 point drills for shallower seed placement Figure 4 39 Press Wheel Adjustment Opene...

Страница 58: ...an approximate 1 16 gap The soil strip should not be set so tight to the opener blade that will drag or prevent the opener blade from turning freely 3 The metal backing strip should be centered over...

Страница 59: ...d rotate forward A latch is provided to hold the walkboard in the raised position 3 To lower the walkboard release the latch at the end of the walkboard and slowly lower to a level position 4 Lower th...

Страница 60: ...t damage when working near trees fences power lines etc 2 When using the ladder a Lower ladder to the down position and place pin in the storage location to gain access to the seed boxes See Figure 4...

Страница 61: ...r of pulses in that distance Refer to the Loup manual for instructions 6 The drill monitor is operated on a 12 volt dc negative ground system The monitor may be connected using the existing connection...

Страница 62: ...hs of an acre up to 9999 9 acres Figure 4 46 Field Acres Display Total Acres 1 Press the FUNC button until the FIELD and TOTAL LEDs are lit The digits indicate the acres covered since the total acre c...

Страница 63: ...per 400 feet NOTE If a password is set you will not be able to adjust the pulses per 400 feet Figure 4 48 Pulses per 400 Feet Adjustment Width 1 Press the FUNC button until the WIDTH LED is lit The n...

Страница 64: ...s The password can also be changed using the UP and DOWN buttons Figure 4 50 Password Disabled 2 If the display shows Ent See Figure 4 51 a You must enter your password using the UP and DOWN buttons W...

Страница 65: ...t Password Battery Replacement The battery operated acre counter uses 3 AA batteries The batteries should last between 5 and 10 years The acre counter will last much longer than that Eventually you wi...

Страница 66: ...bearings periodically for excessive end play If needed adjust or replace them using the following procedure 1 Place the frame on blocks or stands sufficient to lift the tire clear of the ground 2 Rem...

Страница 67: ...warranty in good status Maintenance Lubrication on page 4 46 2 The drill should be lubricated after initial setup and prior to field operations When lubricating the Grain Drill SAE multi purpose EP g...

Страница 68: ...drill for worn or broken parts Make repairs and service during the off season to prevent delays 4 Check opener pinch point for proper adjustment See Opener Blade Adjustment on page 4 36 5 Clean and r...

Страница 69: ...too low Adjust pull hitch height Adjust 3 point top link Pull Hitch Lift cylinders not fully retracted UNEVEN SEED DEPTH Row unit depth not set the same Adjust press wheel height See Opener Press Whe...

Страница 70: ...ers set too deep Reduce depth PRESS WHEEL OR OPENERS PLUGGING Backed up with openers in the ground Clean out opener and press wheels and check for damage Scraper worn or not adjusted correctly Replace...

Страница 71: ...Document Control Revision Log Date Form Improvement s Description and Comments 11 29 2019 F 1058 New manual 08 11 2020 F 1058 0820 Initial Release...

Страница 72: ...ilities Model 5110NG Native Grass Drill Operator s Manual Re Order Part Number F 1058 0820 LANDOLL COMPANY LLC 1900 North Street Marysville Kansas 66508 785 562 5381 800 428 5655 WWW LANDOLL COM Copyr...

Отзывы: