1.7.5 Function Test (E)
The purpose of this test is to confirm the proper operation of the device. If from the test, doubts regarding the proper operation of the device are arisen, then contact a LALIZAS
authorized service station.
The test should last only a few seconds, so that no valuable air is spent. If you have doubts about your ability to test the SCBA quickly, you are advised to practice it close to a Lalizas
authorized service Station so that you can recharge the device if needed. For the function test procedure refer to Paragraph 6.1 “Checks prior to use”.
1.8 Transportation and Storage
1.8.1 Transportation
Before transportation, tightly pack the Self-Contained Breathing Apparatus in a strong box. Handle the box with care.
1.8.2 Storage
- The apparatus must be stored in a clean, dry environment away from direct heat, dust, sunlight, extreme cold and damaging chemicals. It must not be compressed in storage.
- Storage temperature should not exceed -30ºC to +65ºC.
1.8.3 Safety Notification
The products described in this operation manual are to be used only by well-trained personnel and still following the Manufacturer's instructions.
Misuse of the
respirators can lead to injuries or even death! It is not allowed to any non-trained personnel to use the respirators by any means, either for safety or for training reasons. In case
something is not clear please do not use the equipment and contact with Lalizas local representative / service station for clearing out.
ATTENTION!
The user instructions are to be followed strictly. In any other case the manufacturer bears no responsibility.
1.8.4 Life Expectancy
The shelf life of the Self-Contained Breathing Apparatus is
10 years
from the Date of Manufacture of the Product, as long as it is maintained per the Manufacturer's instructions and in
conformity with the National Regulations, Laws and Standards of the Country of use as well as it
is serviced annually by a LALIZAS Authorized Service Station
or more frequently
in case of severe use.
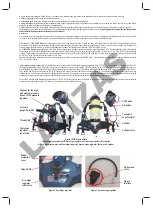
1.7.2 Visual Inspection (B)
Check good condition of:
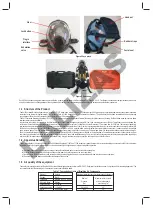
- Face piece and ''ON DEMAND'' valve
- Cylinder Valve, pressure regulator, hose, pressure gauge and Connections
- Straps and buckles.
Visual checking
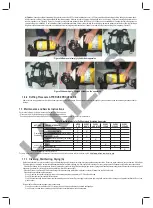
1. Conduct a visual check in the SCBA for external damages wear and material fatigue.
2. Don the apparatus and check shoulder straps and waist belt by fastening and loosening them. Doff the apparatus.
3. Check the good condition of face piece visor, sealing edge, head net and rubber straps
4. Check visually the second stage regulator for wear or broken parts. Check that the ON-OFF Buttons work satisfactorily.
5. Remove the cylinder and open the cylinder valve for the remaining air to be released. Then recharge it in 300bar pressure.
Charging
1. Air quality should conform to EN12021. Before charging the cylinder make sure that:
- It conforms to national standards.
- It features original test date and test mark of manufacturer.
- The test date of the next Hydraulic test has not been exceeded
(D)
. The hydraulic test should be conducted every five years after the manufacturing date of the cylinder.
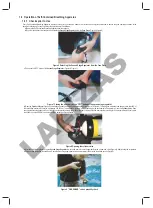
Steps for chargin
g
1. Open the cylinder valve.
2. In the charging port of the cylinder valve connect a G5/8 hand wheel of charging hose.
3. Set the filling pressure of the compressor at 300 bar to charge the cylinder.
4. 24 hours after charging assemble with apparatus.
5. Push the ''OFF'' button on the second stage reducing valve, open the cylinder valve for 15 sec and close it again to check the cylinder pressure, the first stage regulator and the
whistle
operation.
Important:
charging can induce an increase in temperature resulting in an incomplete charge.
6. At ambient the gauge needle should indicate about 300 bar pressure. If required “Boost” Charge. If the pressure is about 300bar and steady for 20 sec, push the ''ON'' button of
the second
stage reducing valve to vent the air. If the air does not remain steady for 20 sec search for the leakage reason.
7. When cylinder is fully charged, close the cylinder valve and then vent pressure from charging hose. Following venting, remove charging hose from charging port and then refit
protection
plastic plug.
In the end
1. Repack unit into suitcase
2. Equipment is now ready for use.
1.7.3 Service (C)
1.7.4 Inspection Intervals
It is important to comply with the test and service intervals, as recommended by the Manufacturer (Para. 1.7 Maintenance and Service Instructions) and with National Regulations,
Laws and Standards regarding the use of such equipment in the country of use.
This instruction also applies to non-used, in storage equipment.
LALIZAS


