20
PXl16 Sheartec:II Planer \ Setup Assembling
2. 2. Clean all rust protected surfaces with a commercial de-greaser. DO NOT use acetone, gasoline,
lacquer thinner or any type of cleaner that could damage paint. Coat cleaned surfaces with WD-40® or
20W machine oil.
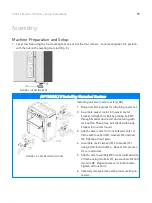
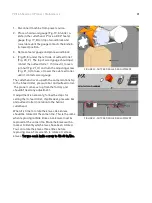
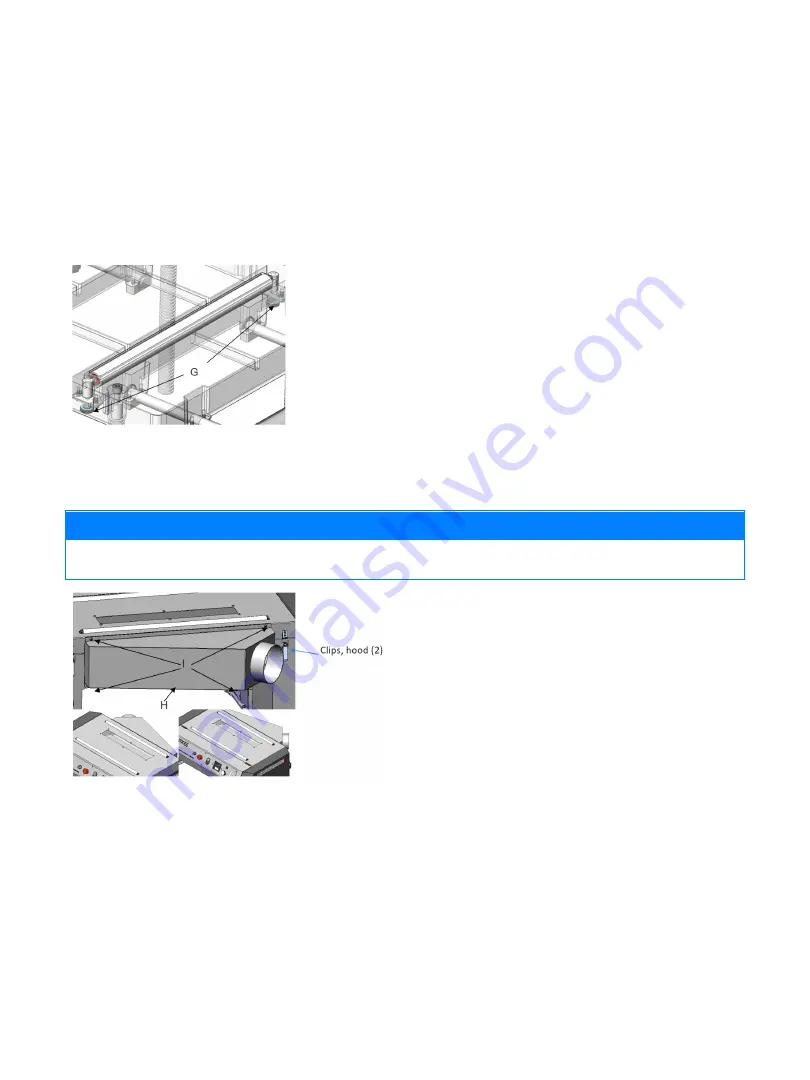
3. Table Roller adjustment: Turn the knobs (Fig. 4, G) to move the table roller up or down to the desired
position. NOTICE! The roller is typically set higher when planing rough stock. When planing smooth
stock, the roller should be set slightly above, or flush with the table.
FIGURE 4: TABLE ROLLER
ADJUSTMENT
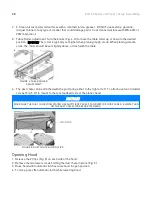
4. The dust chute can be attached with the port facing either to the right or left. To attach use four included
screws (Fig. 5, H) to mount to the rear (outfeed) side of the planer head.
NOTICE!
MAKE SURE THE DUST COLLECTION SYSTEM HAS SUFFICIENT CAPACITY AND CFM FOR THIS PLANER. ALWAYS TURN
ON THE DUST COLLECTOR BEFORE PLANNING.
FIGURE 5: DUST CHUTE & HOOD CLIPS
Opening Hood
1. Release the 2 Clips (Fig. 5) on each side of the hood.
2. Remove the two lower screws holding the dust chute in place (Fig. 5)
3. Raise hood until automatic latch secures hood in open position
4. To close, press IN automatic latch while lowering hood
Содержание Sheartec:II PXl16
Страница 1: ...PXl16 Sheartec II Planer Owner s Manual MPLANPX16 0130 3 10 2021...
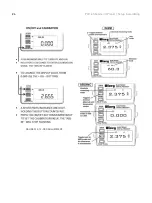
Страница 24: ...24 PXl16 Sheartec II Planer Setup Assembling FIGURES 10 12 DRO ADJUSTMENT...
Страница 36: ...36 PXl16 Sheartec II Planer Wiring Wiring WARNING REVIEW ELECTRICAL SAFETY PRIOR TO ANY WIRING PROCEDURES 9...
Страница 37: ...37 PXl16 Sheartec II Planer Replacement Parts Diagram Replacement Parts Diagram Cutterhead Drivetrain...
Страница 38: ...38 PXl16 Sheartec II Planer Replacement Parts Diagram Table Lift...
Страница 39: ...39 PXl16 Sheartec II Planer Replacement Parts Diagram Stand Motor...
Страница 47: ...47 PXl16 Sheartec II Planer Warranty...

