22
Connecting the dust extraction
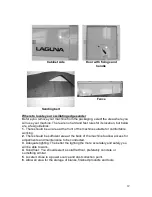
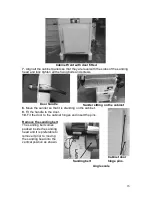
The dust collection port is located at
the end of the sander. It is not
possible to be exact when
recommending the size of the dust
collector to be connected to the
sander, as this will depend on the
type of work that you will be using
the sander for. Connect to your dust
collector with 4 inch dust hose. You
will need a dust collection system
with a minimum airflow of 65 feet per
second and 1000 cubic feet per
minute. The sander produces a lot of
dust, and the stronger the dust
collection the better. Ensure that the
hoses are securely connected as it is
very frustrating to have them fall off during production.
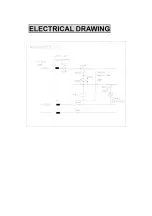
Connecting the electrical supply
The machine is supplied with an electrical cable and plug.
Ensure that the electrical supply corresponds with that of the machine [single
phase 220V].
It is recommended that you use a 30-amp main breaker.
Note:
A qualified electrician must carry out the installation.
Cleaning the machine
Remove the rust protection grease with WD 40 or a similar solvent.
It is important that you remove all the grease, and re-lubricate with a Teflon-
based lubricant. Teflon has fewer tendencies to attract sawdust or cause
clogging.
Testing the machine
Note:
Remove all tools, etc. from the machine prior to testing it.
1.
With the on / off switch in the off position, plug in the electrical supply.
2.
Switch on the machine momentarily. Check that the sanding belt is running
true and balanced on the rollers.
3
. If the belt is not running true, adjust the belt tracking.
4.
If the belt is running true and balanced on the rollers, switch on the machine
and allow the machine to run for a few minutes.
5.
While the machine is running check for rattles and vibration. If rattles or
vibration are detected investigate the cause and tighten the relevant part/s
4 inch dust port

