13. System configuration tutorial
37
D SERIES Lake Operation Manual rev 3.0.4
13. System configuration tutorial
3
6
D SERIES Lake Operation Manual rev
3
.0.
3
13.3. System setup
This tutorial provides a step–by–step guide for configuration of a typical professional loudspeaker system and
provides an overview of the basic features and operation of the frame. This tutorial describes how to configure
4–channel frame for use with a generic 3–way loudspeaker system (with separate HF, MF and LF drivers), plus
a separate subwoofer. It assumes that the system is fed with analog outputs from a mixing console with one
fullrange main output and a separate sub feed.
1. Connect the loudspeakers to the four power output channels:
a. Channel 1 – Low Frequency Driver
b. Channel 2 – Mid Range Driver
c. Channel 3 – High Frequency Driver
d. Channel 4 – Subwoofer
2. Connect the main output of the mixing console to analog input 1 of the frame and the sub feed to input 2.
While configuring, it is a good practice to make sure the volume is turned down on the console.
3. Ensure the frame is powered on and is in its default state, and that the computer has established an active
Ethernet connection.
4. On the Tablet PC, launch the Lake Controller software application. Select the appropriate network adapter if
more than one is enabled, and tap NO to the dialog asking whether to load the previous configuration.
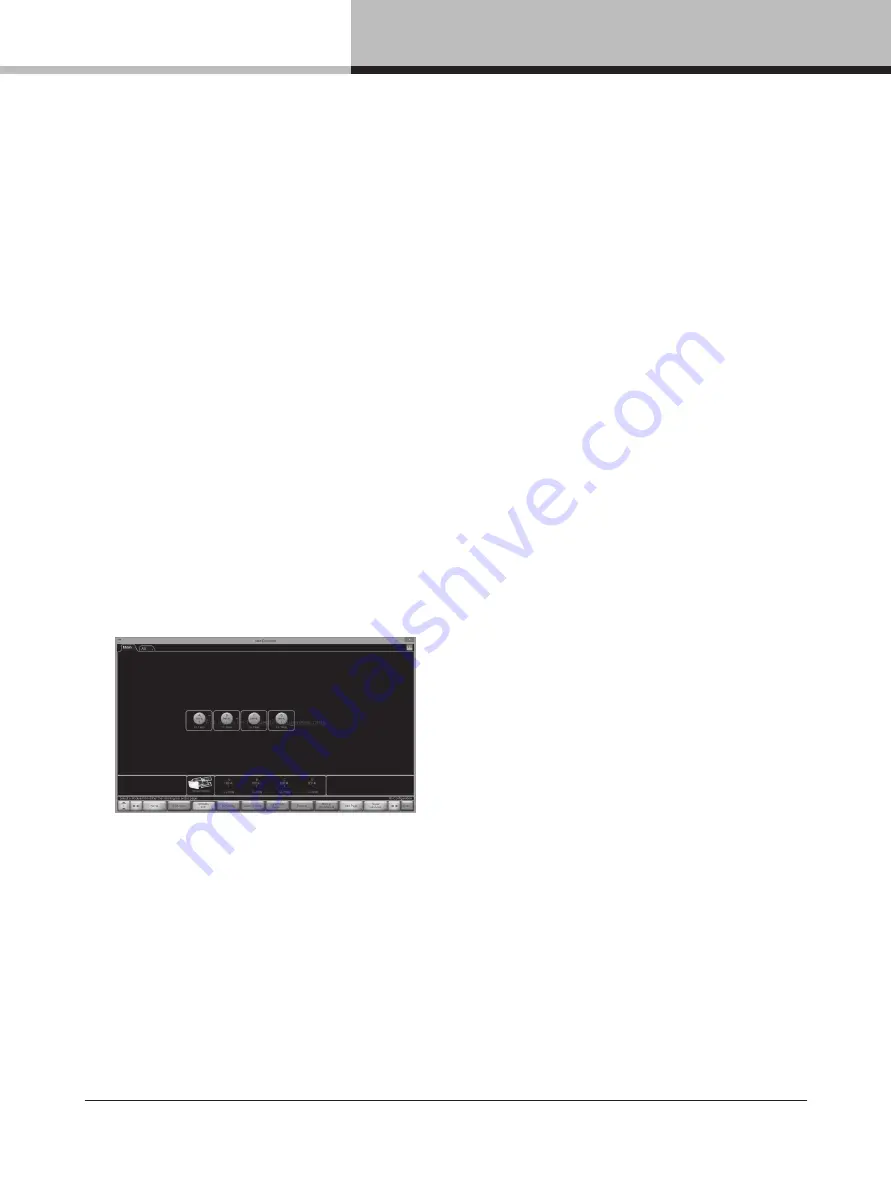
5. Tap MODULES button on the menu bar at the bottom of the screen to access the Module Menu and scroll
bar.
6. On the Module scroll bar, the frame is represented with a frame containing four discs. These are labeled A, B,
C and D, each representing one of the four Lake processing modules.
7. Tap the frame to select it, then tap again in the MAIN area of the screen to place all modules of the frame in
the current system configuration. The Lake Controller uploads settings from the frame.
8. Tap the icon for Module A; its border will turn yellow to confirm selection and an LED on the front panel of the
associated device will illuminate.
9. Tap the Module Store/Recall button on the Modules Menu; the menu will change to show additional options.
10. Double–tap the Default Modules folder, then double–tap the Contour Classic Crossovers folder. A set of
loudspeaker symbols will be displayed.
11. Tap CL3way, and then tap the RECALL button. This configures the DSP for the Module A as a 3–way
crossover for the 3 way speaker.
12. Tap Yes when asked to confirm that all data will be overwritten.
13. An Output configuration dialog will pop up to allow for routing of module outputs to power channels. Tap the
orange number buttons in the matrix to un–route, freeing up a power channel. Tap a blue number button at
the intersection of the appropriate module output and power channel, routing the module output to the power
channel. Proceed until you have routing according to the picture below and tap the bottom right return button
to exit the dialog.


