7-58
Using the Operation Panel
NetWare (NetWare setting)
NetWare is a PC-based network operating system specifically for
servers.
NetWare is a client-server system that operates by installing the
NetWare OS on the server and dedicated client modules (NetWare
clients) on the client machines (running MS-DOS, OS/2, Windows, etc.).
The basic network layer protocol used is NetWare's own IPX
(Internetwork Packet eXchange)/SPX (Sequenced Packet eXchange),
but the system also supports TCP/IP.
The feature of the NetWare OS is that it is specifically for servers, unlike
general-purpose operating systems such as Windows NT and UNIX.
Only the minimum required for server operation can be performed from
the NetWare OS console on the server. Server and file management is
basically carried out using management tools from the clients. Also, all
drivers and protocol stacks are in the form of modules called NetWare
Loadable Modules (NLMs), and the ability of NLMs to load and unload
flexibly and dynamically is a major advantage of this system.
The default setting is
On
.
1
After entering the administrator ID and password, press
U
or
V
repeatedly until
>NetWare >
appears.
2
Press [OK]. A blinking question mark (
?
) appears.
3
Select
On
or
Off
using
U
or
V
.
4
Press [OK].
5
Press [MENU]. The display returns to
Ready
.
Frame Type (Frame type setting)
Sets the NetWare frame type. Frame is a term referring to a set of data
that flows through the network. The default setting is
Auto
.
1
Press
Z
while
>NetWare On >
is displayed.
>>Frame Type
appears.
2
Press [OK]. A blinking question mark (
?
) appears.
3
Press
U
or
V
until the desired frame type appears and then press
[OK]. The message display toggles through the following types:
•
Auto
•
802.3
•
Ethernet-II
•
802.2
•
SNAP
4
Press [OK].
5
Press [MENU]. The display returns to
Ready
.
Note Check with your network administrator when selecting
network settings.
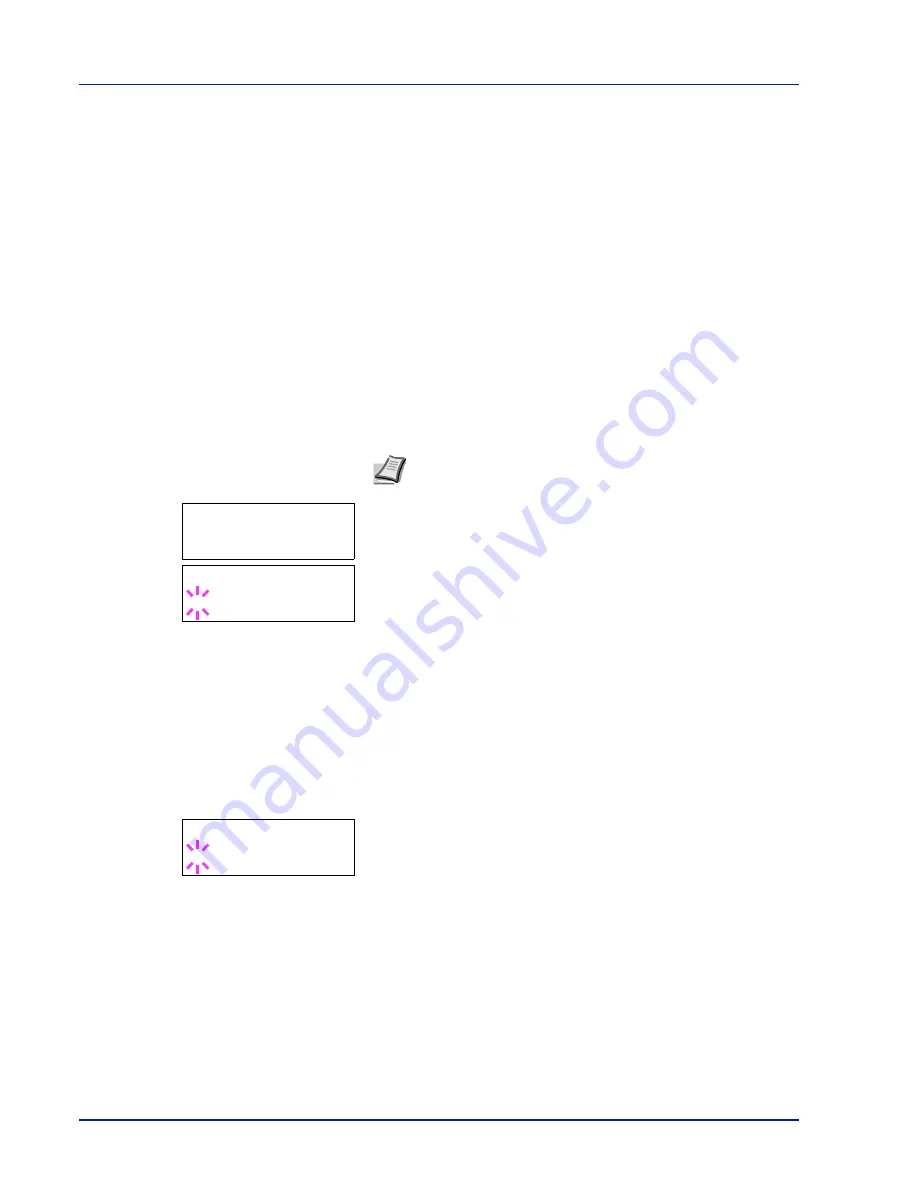
>NetWare >
>NetWare >
? On
>>Frame Type
? Auto
Содержание ECOSYS FS-1350DN
Страница 1: ...OPERATION GUIDE FS 1100 FS 1300D FS 1350DN ...
Страница 3: ...ii Network Interface 9 3 10 Appendix 10 1 Specifications 10 2 Glossary Index ...
Страница 27: ...1 4 Machine Parts ...
Страница 39: ...2 12 Paper Handling ...
Страница 63: ...4 18 Connecting and Printing 13The selected printer is added This completes the printer setup procedure ...
Страница 74: ...Maintenance 5 5 6 Turn the lock lever to the lock position 7 Close the top cover ...
Страница 79: ...5 10 Maintenance ...
Страница 97: ...6 18 Troubleshooting ...
Страница 109: ...7 12 Using the Operation Panel Menu Map Sample ...
Страница 165: ...7 68 Using the Operation Panel ...
Страница 183: ...Glossary 4 ...
Страница 189: ......
Страница 190: ...452 9 ...


