Using the appliance
Be sure to observe the safety instructions on page 15!
The glass shelf may be loaded up to max. 6 kg.
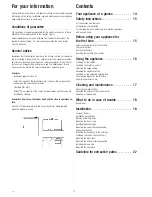
Switching on the lighting
–
Switch the halogen lamps on or
off using the control panel or the
remote control.
Switching the motor on and off
–
Press the On/Off button on the
control panel or on the remote
control to switch the hood on and
off. When the motor is running,
the control lamp on the control
panel comes on.
When the motor is switched on, the standard setting of medium speed is
selected; it combines good extraction with a low noise level. After initial
use, the speed setting last used is selected when the motor is switched on.
Note: The standard setting can also be activated by pressing a button. You
can change the standard setting at any time if you think a different speed
setting is more appropriate (see Section “Changing the standard setting”).
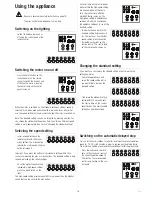
Selecting the speed setting
–
Select a speed setting on the
remote control with the plus or
minus buttons: The minus button
reduces the motor speed, the plus
button increases it.
Important: If you press the button for the standard setting within 10 se-
conds from pressing the plus or minus buttons, the standard setting is dele-
ted and replaced by the current settings.
–
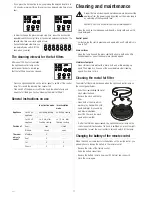
To set the highest speed setting
immediately (high-speed setting),
press the raised button on the
right.
The high-speed setting provides about 20% more power than the highest
speed that you can set with the plus button.
A control lamp on the control panel
indicates that the high-speed setting
has been selected; at the same
time, the control lamp with the
marking
15
also comes on: The
high-speed setting is automatically
switched off after 15 minutes and
the appliance continues to run at the
standard setting.
–
In order to change back to the
standard setting before expiry of
the 15 minutes or from another
speed setting, press the button
illustrated on the right on the
remote control. The control lamp
on the control panel comes on.
Changing the standard setting
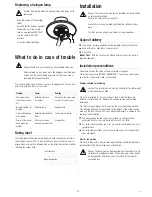
If you want, you can replace the standard setting at any time with the
setting you prefer.
–
Switch the appliance on and
select the speed setting which
you would like to store as the
standard setting.
–
Then press the standard setting
button within 10 seconds until
the control lamp on the control
panel flashes. The new standard
setting has now been stored.
Switching on the automatic delayed stop
You can let the hood continue to run after cooking at the preset operating
speed for 15, 30 or 60 minutes in order to remove any remaining fumes.
The motor and lighting are automatically switched off after the preset time.
–
Press the button with the clock
once so that the hood coasts at
the current operating speed for
15 minutes. The corresponding
control lamp flashes on the con-
trol panel.
16
IKD 908.1


