KUNBUS GmbH
10
KUNBUS Ethernet Test Access Point TAP-2100
3 Operation
3.1 Installation
1.
After taking the delivery, please check whether all items listed in Chapter
„1.1. Scope of delivery“are present.
2.
Connect the device using the included power cable
3.
The POWER LED lights
4.
Laden Sie sich die Netzwerkanalyse-Software „Wireshark“ auf den PC
und installieren Sie sie. Sie
fi
nden Wireshark auf www.wireshark.org.
4. Download the Wireshark plugin DLL from the KUNBUS website, and
copy it to the Wireshark plugin directory(e. g.: C:\Programme\Wireshark\
plugins\1.10.2).
• 32-Bit-Version: tap32_xxxx.dll (Wireshark-Plugin WIN32)
• 64-Bit-Version: tap64_xxxx.dll (Wireshark-Plugin WIN64)
xxxx stands for the version of Wireshark.(z.B. 1.10.2)
5.
Connect the TAP-2100 with the RJ45 cable to a Gigabyte Ethernet
interface of the PC.If the connection between PC and TAP is successful,
the X0 link LED lights up.
6.
Plug the line to be tested into the probe ports. The two ports ‘Port 1’ and
‘Port 2’ are connected directly. Therefore a connection is also possible
when the TAP is turned off. If the TAP is on and the a connection is
established, the link LEDs will be on. Between the two Ports the TX
and RX pins are exchanged. If a 1:1 cable must be monitored it must
be connected to the TAP and the TAP must be connected to the other
device using a crossover cable. If the devices are Auto-MDI-X capable
no attention must be paid on the kind of cable.
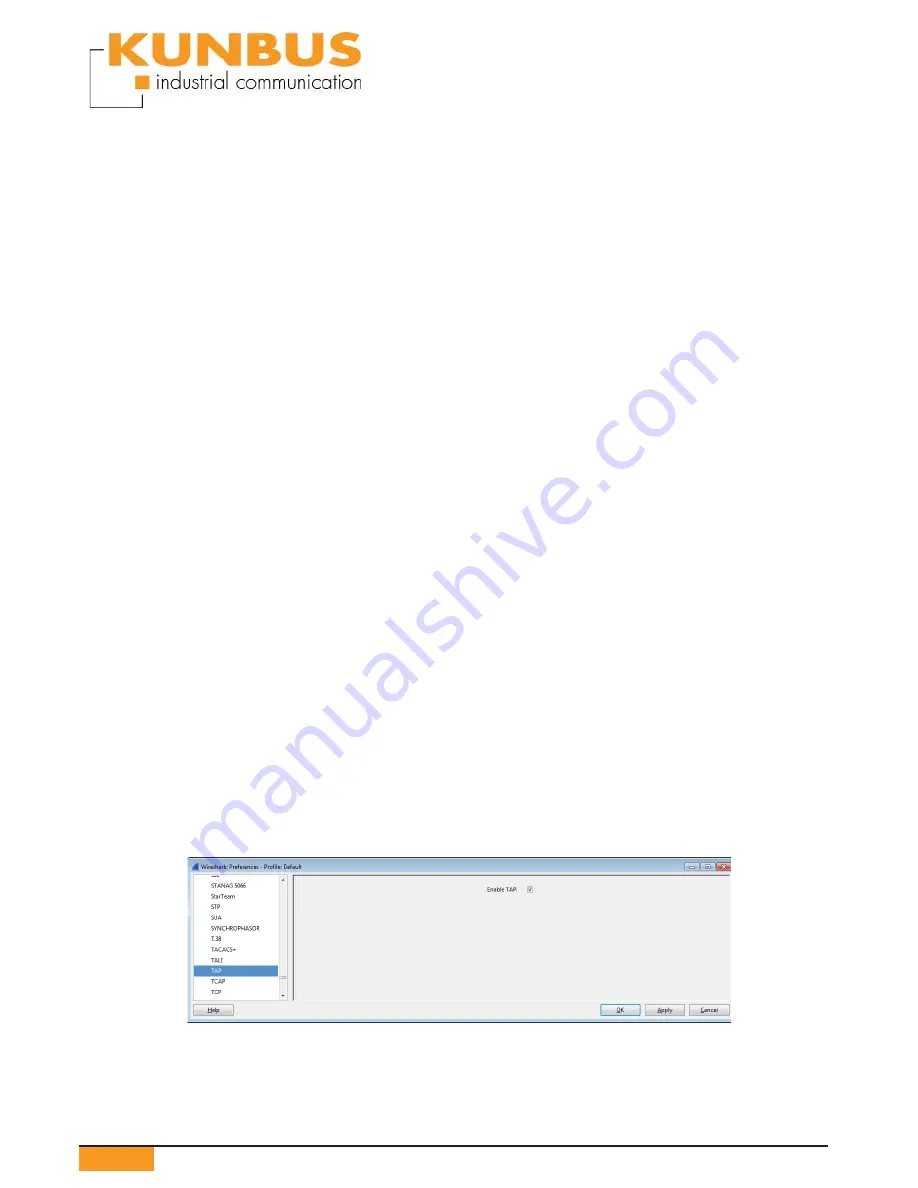
7. Start Wireshark on the PC. The plug-in ‚TAP‘ must be
‚enabled‘ in the menu „Edit > Preferences > Protocols > TAP“.
8.
In Wireshark, start data capture on the Gigabyte Ethernet interface used.
9.
Now the data can be analyzed using Wireshark.


