


60
Network Camera
User Manual
6.6.8 CONFIGURING INTRUSION DETECTION
Intrusion detection can set an area in the surveillance scene and once the area is been
entered, a set of alarm action is triggered.
STEPS
1. Check the “
Enable Intrusion Detection
” checkbox.
2. Click “
Draw Area”
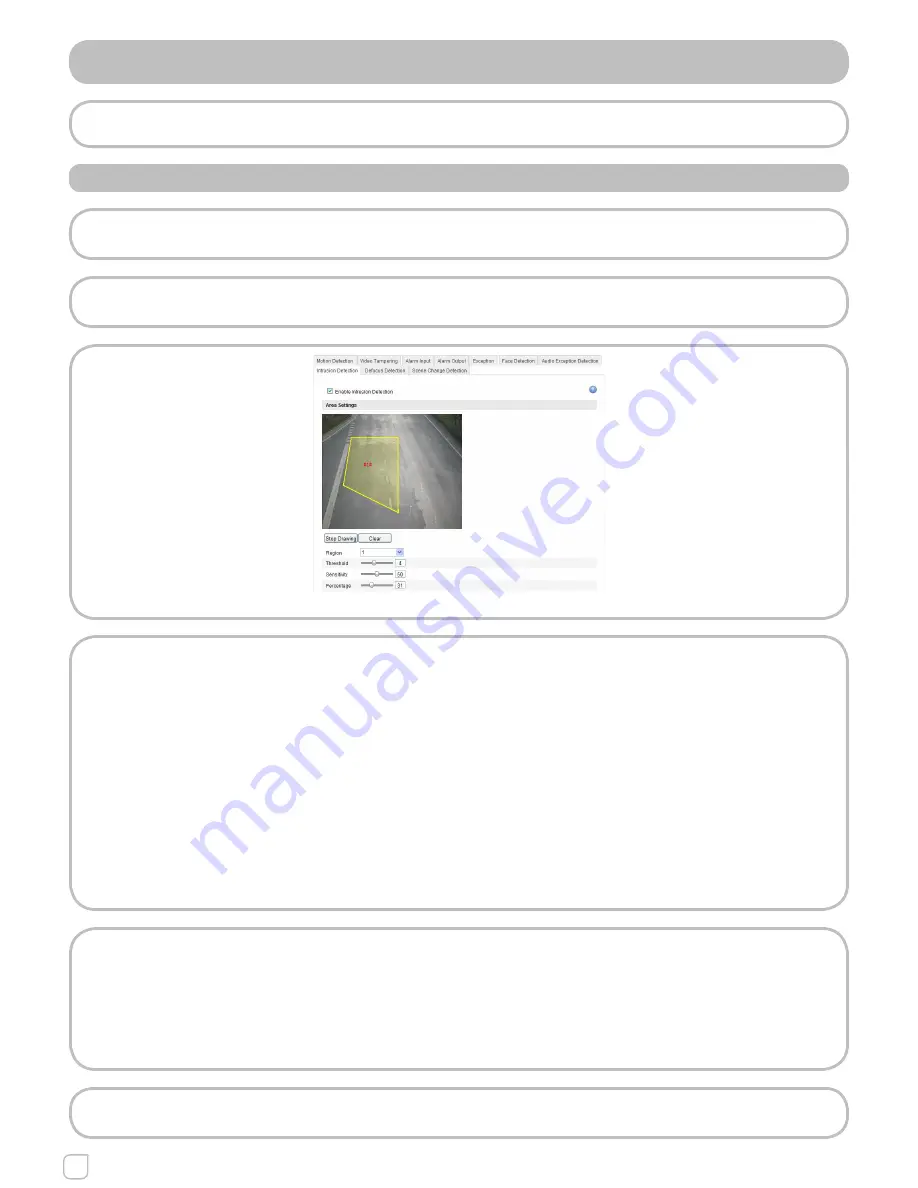
, and then draw a rectangle on the image as a defense region.
Note:
When you draw the rectangle, all lines should connect end to end to each other.
Figure 6.6.14 - Configuring Intrusion Area
You can click
Clear
to clear the areas you drawn. Choose the region to be
configured:
>Threshold:
Range [0-10s], the threshold for the time of the object loiter-
ing in the region. If you set the value as 0, alarm is triggered immediate-
ly after the object entering the region.
>Sensitivity:
Range [1-100]. The value of the sensitivity defines the size of
the object which can trigger the alarm, when the sensitivity is high, a very
small object can trigger the alarm.
>Percentage
: Range [1-100]. Percentage defines the ratio of the in-region
part of the object which can trigger the alarm. For example, when you set
the percentage as 50%, half of the object entering the region will trigger
the alarm.
Arming Schedule is configured to set the time you want the function to be
enabled.
1. Click “
Edit”
to set the arming schedule.
2. Choose to trigger alarm actions as Notify Surveillance Center, Send Email,
Upload to FTP and Trigger Channel or trigger the Alarm Output.
3. Click “
Save”
to save the settings.
Note:
Please refer to Tasks 2-3 of Section 6.6.1.
Содержание KSV0010013.300
Страница 1: ...Network Camera User Manual...


