17
OPERATION
Connecting the camera, microphone, main system, display and power will be turned on automatically
while been plugged onto a power socket. Power button starts blinking blue light, an animation and
music will be displayed. In 30 seconds camera image and home screen appear on screen. Start
configuring KZ-VC6000 after the Homepage of the setting section.
Before You Begin
Basic Operation
Navigation buttons:
Use the
,
,
and
buttons to move the selection on the remote
controller.
Enter button:
Use the
to confirm the selection on the remote controller.
Apply:
Make the changed value to take effect.
Save:
Accept the created value and save it to the system.
Cancel:
Cancel the changed value and exit the present screen.
Home Screen
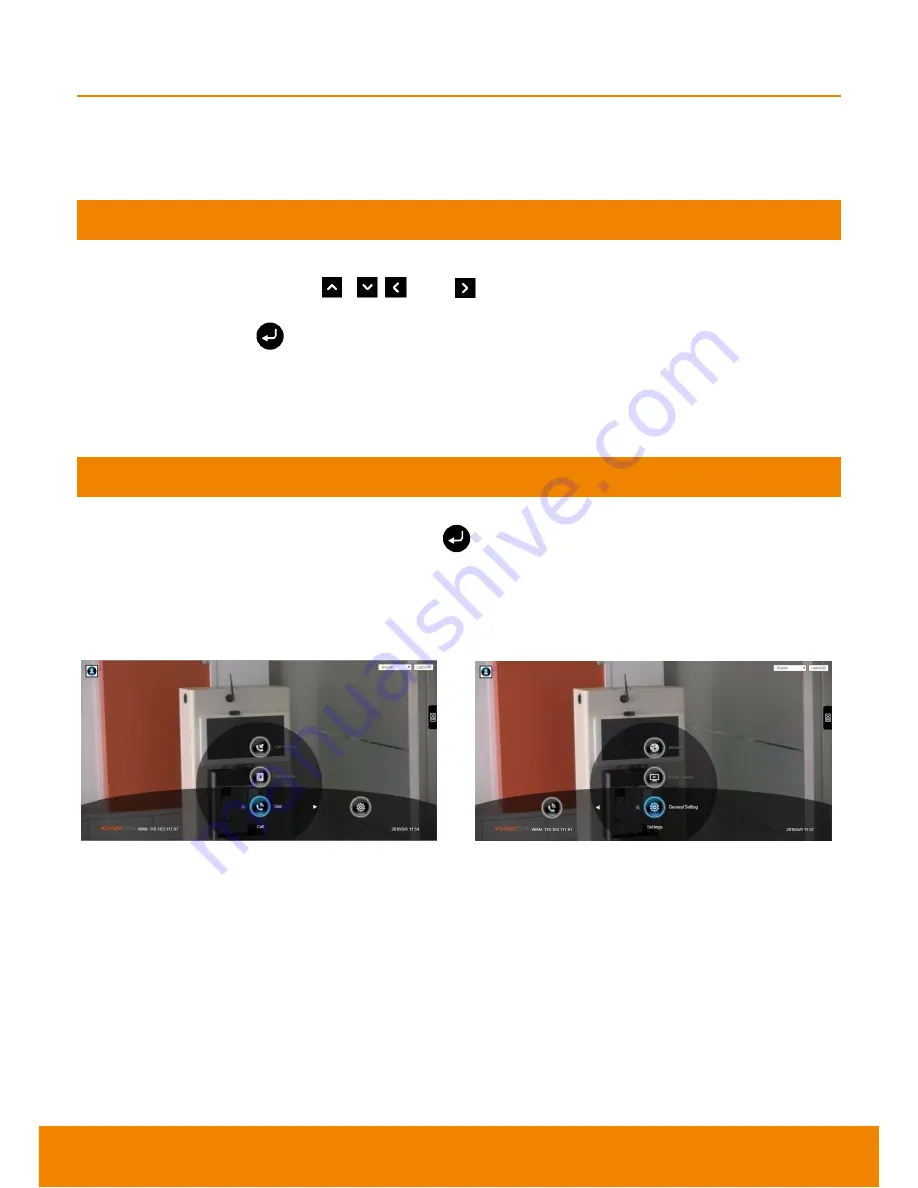
There are 2 selections divided on the Home screen:
Call
and
Setting
. Simply use the navigation
buttons to move between selections and press
to confirm the selection. You can easily place a
call and select the site contact either in
Dial, Phonebook
or
Call History
. You can easily setup up the
system in
General Setting
,
Video/Audio
, and
Network
. The administrator can set a security
password to prevent changes made to the system setting and Online WebTool access.
Configuration Icons
Call include Dial, Phonebook and Call History
Setting include General Setting, Video/Audio and
Network.
Menu function is divided into 2 parts
–
Call
and
Setting
.
Call function is included
Dial
,
Phonebook
and
Call History
.
Setting function is included
General Setting
,
Video/Audio
, and
Network
.


