9
ENGLISH
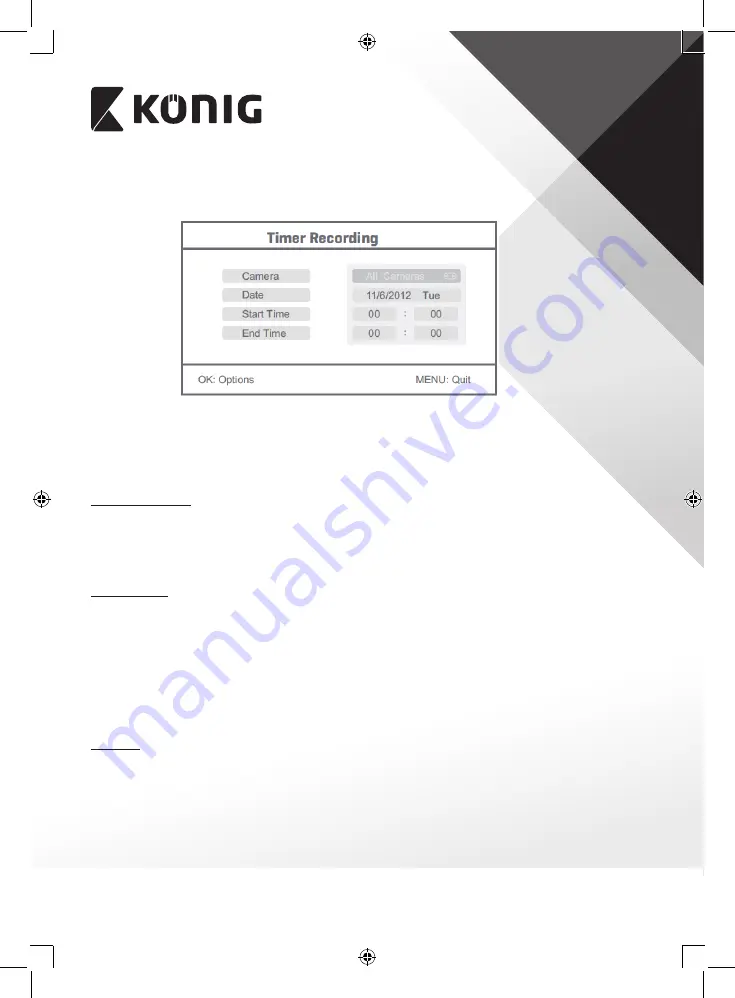
1. Select timer recording with the navigate button and press OK to enter a new schedule
setting.
• Press OK to enter the timer recording menu.
• Press the up or down arrow button to select.
• Press the left or right button to adjust.
• Press the OK button to confirm and exit.
2. After setting, the device automatically records according to the set start/stop time.
3. If you press the record/stop video button on the device during the recording process, set
by timer recording, the recording stops.
Manual Recording:
1. In live view monitoring, press the left and right arrow buttons to select the camera for
video recording.
2. Press the record/stop video button on the device. The recording icon is displayed on the
screen, indicating that recording is starting.
3. Press the button on the device again to stop recording.
PIR Recording:
PIR Recording: If there is human motion detected by any accessed camera, recording can be
triggered.
1. Select PIR recording with the navigate button and press OK to enter the PIR recording
setting.
• Press the up or down button to select the camera.
• Press the left or right arrow button to select “On”.
• Press the OK button to confirm and exit.
Note: when “Off” is set, the motion detection function is turned off. The infrared sensing
distance of PIR is 5m. If the distance exceeds 5m, sensing may fail.
Playback
Press the right arrow button in the main menu to select the playback settings and press OK.
Note: for playback functions it’s necessary that an SD card is inserted or an external hard disk
drive is connected.
The playback function can also be accessed in live view monitoring by pressing the playback
video button.
1. Press the up or down arrow button to select the folder.
2. Press the OK button to confirm and enter.


