11
ENGLISH
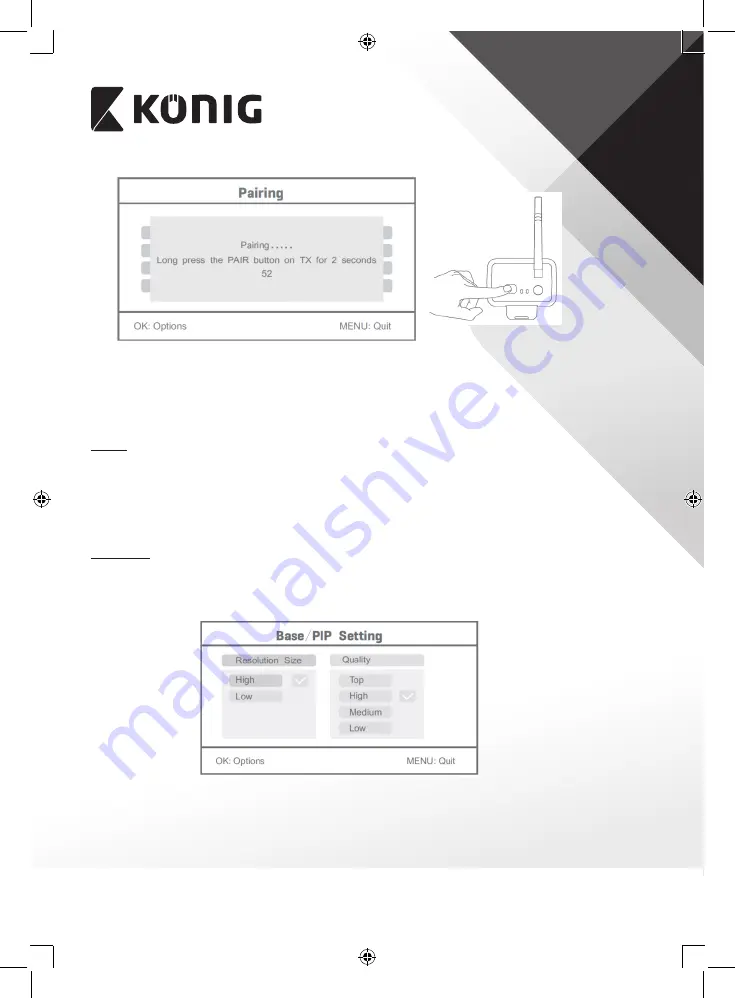
4. Press the pair button within 60 seconds for 2 seconds on the backside of the camera.
5. After the successful pairing of the camera and the monitor, the monitor shows PAIRING
OK.
6. Press the menu button to return to the camera menu.
Note: if pairing fails, retry the above steps and be sure that the monitor and camera are not
further away than 2 metres for pairing procedure.
Active:
1. Select active with the down arrow button and press OK.
2. Press the up or down arrow button to select the camera.
3. Press the left or right arrow button to select “On” or “Off”.
4. Press the OK button to confirm and exit.
Note: only paired cameras can be set to active or not active. When a camera is set to off, it
cannot be seen in live view, recorded, etc.
PIP setting:
Set the picture resolution size and recording quality.
1. Select PIP setting with the up and down arrow buttons and press OK.
2. Select the camera with the up and down arrow buttons and press OK. The following
screen appears.
3. Press the left or right arrow button to select “Resolution Size” or “Quality”.
4. Press the up or down arrow button to select “Top”, “High”, “Medium” or “Low”.
5. Press the OK button to adjust.
6. Press the MENU button to confirm and exit.
Note: the high resolution size is VGA and low is CIF.


