E-7
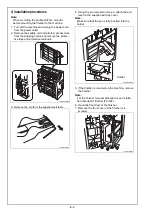
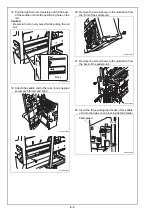
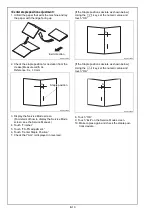
23. Secure the pantograph. (one screw removed in
step 21)
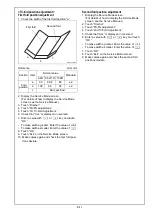
24. Connect the three pantograph connectors to the
finisher.
25. Close the guide plate opened in step 11.
26. Close the front door of the finisher opened in
step 6.
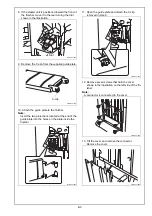
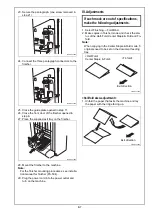
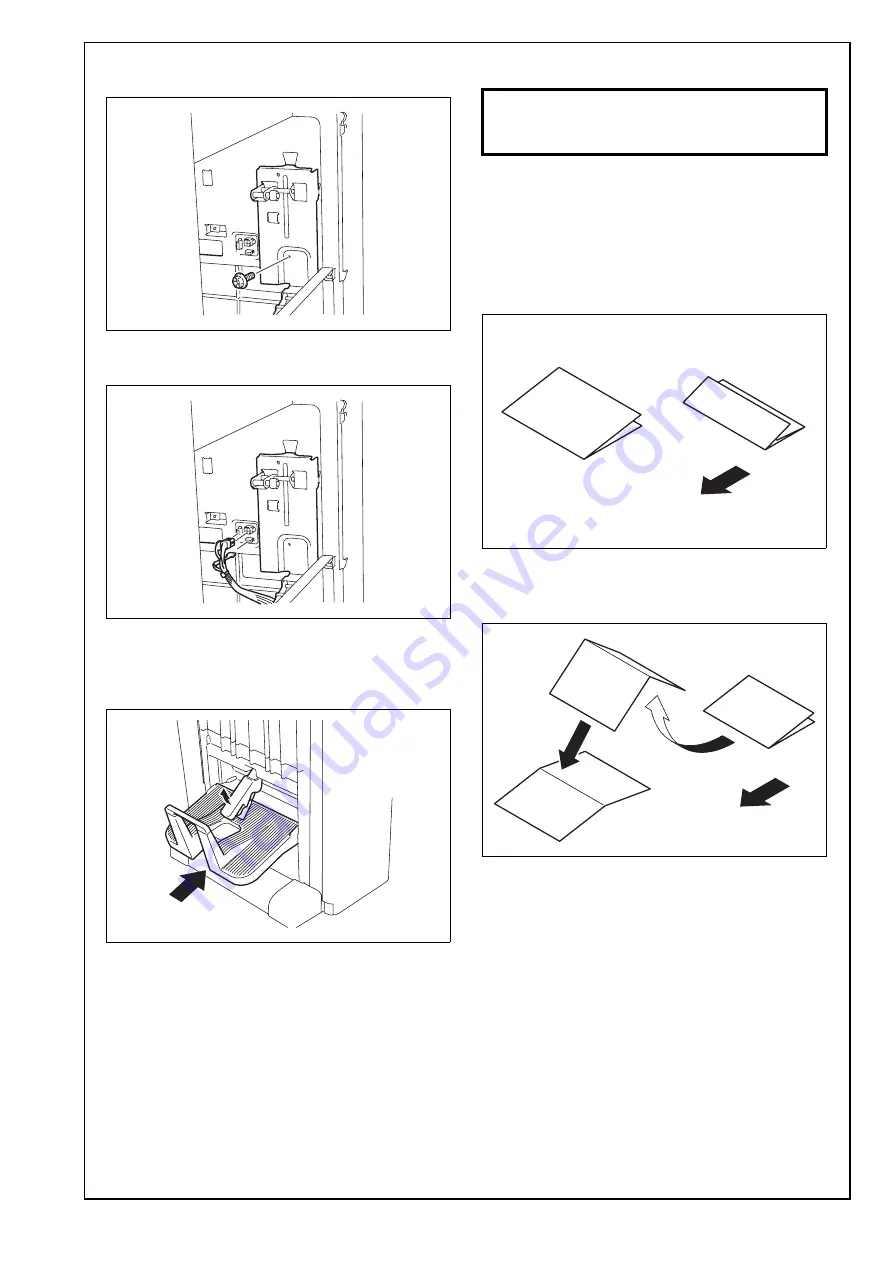
27. Place the supplied exit tray on the finisher.
28. Mount the finisher to the machine.
Note:
For the finisher mounting procedures, see installa-
tion manual for finisher (FS-534).
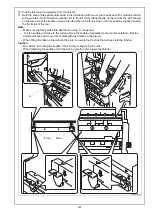
29. Plug the power cord into the power outlet and
turn on the machine.
III. Adjustments
1. Select Finishing
→
Fold/Bind.
2. Make copies in finisher mode and check the sta-
tus of the Half-Fold, Center Staple & Fold and Tri-
fold.
Note:
When copying in the Center Staple & Fold mode, 5
originals need to be set on the document feeding
tray.
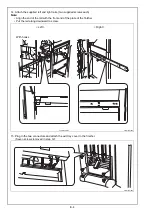
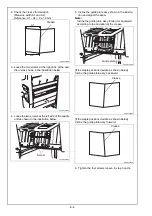
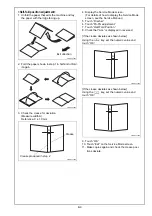
<Half-fold skew adjustment>
1. Unfold the paper that exits the machine and lay
the paper with the ridge facing up.
A3ERIXC026DA
A3ERIXC027DA
A3ERIXC028DA
If each mode are out of specifications,
make the following adjustments.
Exit direction
A3ERIXC033DA
<Half-Fold/
Center Staple & Fold>
<Tri-fold>
Exit direction
A10DIXC049DA


