3
Scanner
3-19
3.8
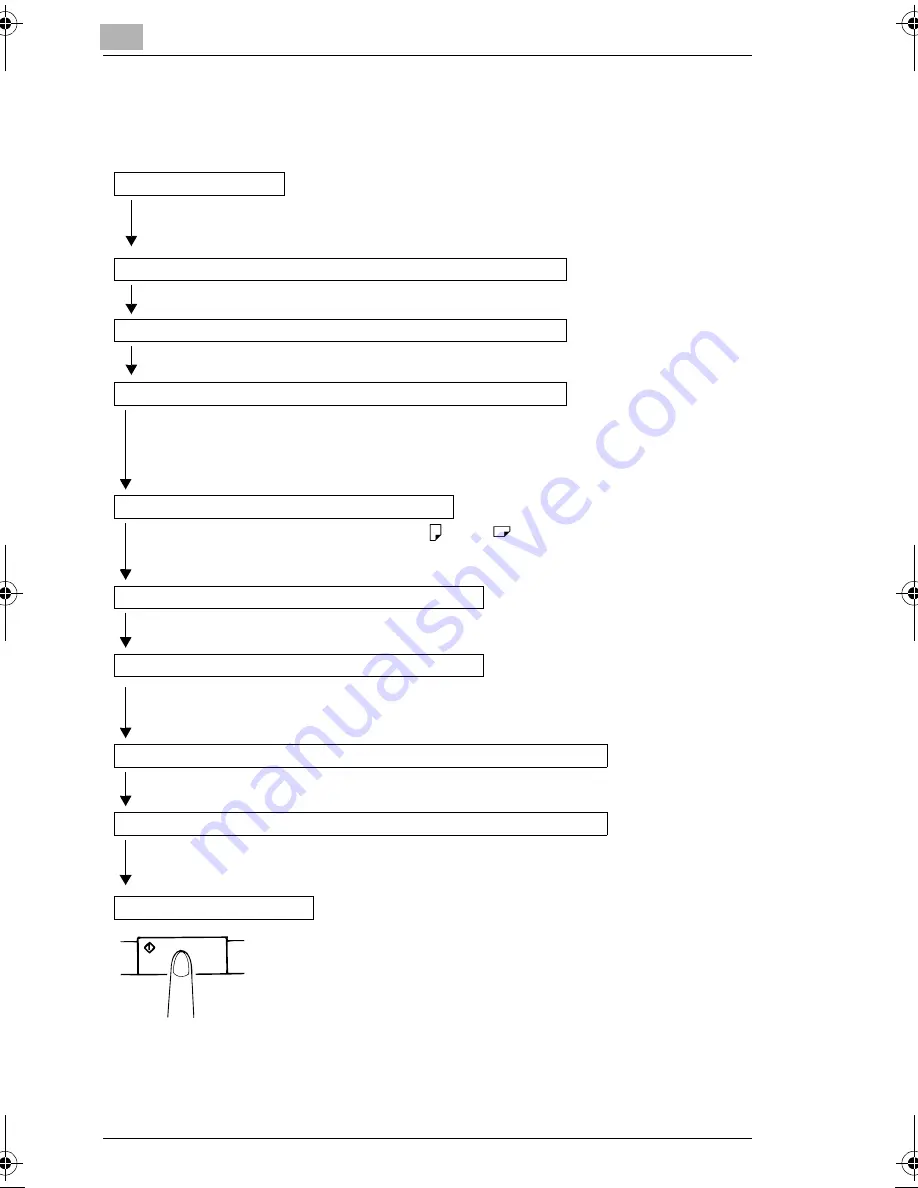
Printing or Scanning Procedure
Here is an outline of the printing or scanning procedure:
Select the appropriate lens for the type of film being used and install it in the Scanner.
Use the Zooming Ring Dial to frame a desired range of the image on the screen for printing.
Use the Focus keys to sharpen the clarity of the image on the screen.
Use the Image Rotation Knob to orient the image on the screen.
*Press the Auto Skew Correction key to have the skew of the image automatically corrected.
Select the appropriate paper size. If both A4
and A3
are loaded, the system can select the
correct size automatically.
Use Auto (auto paper selection).
→
See page 3-28.
Use the Print Position key to select between Left, Center or Page-by-Page.
Use Auto Exposure to automatically determine the optimum image density for the application.
The image density can also be set manually by using the Exposure Adjustment keys (Darker or
Lighter).
Using the Multi-Print keys (10, 1), enter the number of prints to be made.
Auto Masking
→
See page 3-33.
Manual Masking
→
See page 3-35.
Image Centering
→
See page 3-39.
The printing of the image appearing on the screen is initiated
after the Start key is pressed.
The procedure for loading film is determined by the type of Film Carrier (optional) that is being
used. Review the Operator's Manual that came with your Film Carrier for more information.
1. Load the film
2. Select and replace the Lens
→
See page 3-20, 3-21.
4. Zooming, focusing and image rotation
→
See page 3-23.
5. Select the paper size
→
See page 3-27.
6. Select the print position
→
See page 3-29.
7. Select the image density
→
See page 3-30.
8. Enter the number of prints to be made
→
See page 3-32.
9. If required, adjust the image processing functions.
10. Press the Start key.
Select either PC connection mode or PR connection mode.
3. Select the Connection Mode
→
See page 3-43.
0816773201.book 19 ページ 2004年6月24日 木曜日 午後6時14分
Содержание MS7000 MK II
Страница 1: ...MKII...
Страница 10: ......
Страница 20: ...Notes to Operators and Key Operators 1 1 6 WARNING LABEL...
Страница 43: ...3 Scanner 3 17 Turning OFF 1 Press the Power Switch of the scanner to the OFF position...
Страница 52: ...Scanner 3 3 26 Posi positive film 1 If positive film is to be used press the Film Type Key to select Posi Posi...
Страница 85: ...4 System Printer option 4 6 4 Close the Cover and insert the cassette into the Printer...
Страница 88: ...System Printer option 4 4 9 7 Close the Upper Unit...
Страница 112: ......


