8.3
Decoding the Barcode Area or Serial No. (0-9) Area to Check the Contents
8
Automatic Inspection Operation Manual
8-12
8
When you want to set two or more inspection areas, select [No.2] and subsequent numbers in the menu
list of No. Then, execute steps 6 and 7 again.
%
You can set up to 30 inspection areas in each of [Front Page] and [Back Page].
%
To delete the setting, select the No. you want to delete, and press [Delete].
%
If you want to change an area other than the specified inspection area, set [Inspection Excluding
Area]. For details on the procedure, refer to "7.2. Setting an Inspection Area" in this manual.
9
Press [Complete].
Procedure (Decoding)
1
Hold the print job including all the repeated parts on this machine.
2
Press [JOB LIST] on the [MACHINE] screen to display the [Hold Job] screen.
3
Select the print job held in step 1, and press [Job Ticket].
The [Job Ticket Edit] screen is displayed.
4
Press [Auto Inspection], set [Inspection Setting] to [ON], enable [Use Registered Image] in [Reference
Image Setting], and select the reference image created in "Procedure (Setting an Inspection Area)".
%
For details on the procedure, refer to "3.2. Selecting the Created Reference Image for Automatic
Inspection" in this manual.
5
Press [Output].
6
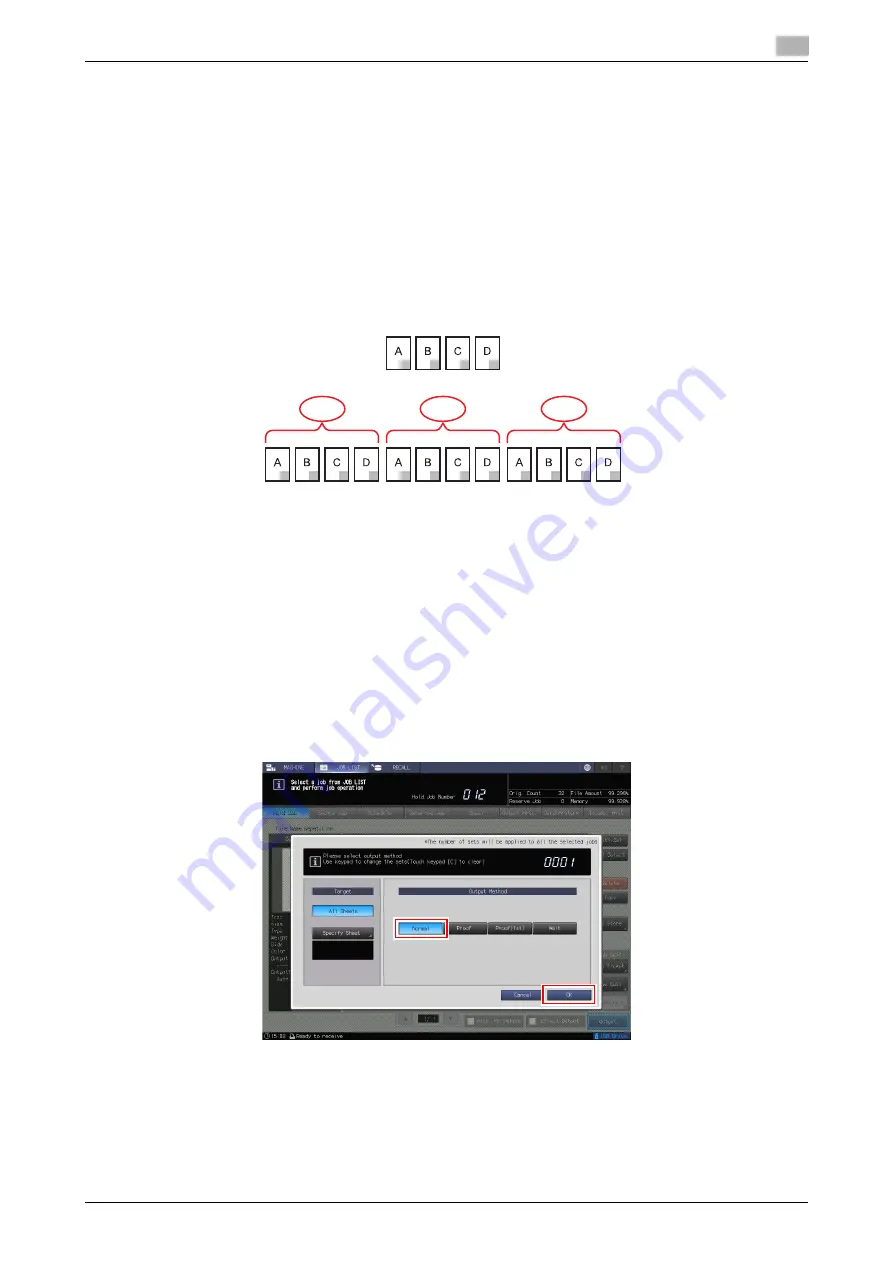
Press [Normal] in [Output Method], and press [OK].
Printing starts, and data in the inspection area is decoded from the print image.
%
You can check the decoding result (CSV file) in the automatic inspection report.
1
2
3
4
5
6
7
8
9
10
11
12
1st
2nd
3rd
Содержание accuriopress c6085
Страница 1: ......
Страница 5: ...1 Overview of Function ...
Страница 8: ...2 Automatic Inspection Setting ...
Страница 20: ...3 Performing Automatic Inspection ...
Страница 32: ...4 Automatic Inspection Report ...
Страница 46: ...5 Real time Inspection Display ...
Страница 48: ...6 Reference Image ...
Страница 51: ...7 Automatic Inspection Area ...
Страница 57: ...8 Output Setting ...
Страница 78: ...9 Troubleshooting ...
Страница 81: ... 2018 A92W IQ E 22 2020 9 ...


