Take a Snapshot:
To take a snapshot, press the Snapshot Button on the remote controller. This will
save a still JPEG image from the camera onto the microSD card. When you press this
button, the Blue LED will flash and then return to solid on (standby mode) to await further
commands.
Motion Detection Recording:
To begin motion detection mode from standby mode, press the Motion Detection Button
on the remote controller. This will start the motion detection recording mode, which will
record video and audio onto the microSD card when motion is detected by the PIR sensor.
The Blue LED will flash quickly to show that it is in motion detection mode. When motion
is detected, it will flash slowly 2 times and will start to record. Once motion is no longer
detected, it will return to flashing quickly. (The DVR will record for 3 minutes once motion
is detected, then will start a new file when motion is detected again.)
Return to standby mode by pressing the Motion Detection Button on the remote controller
again. (Blue LED lit solid).
Press the Power Button again to turn the DVR off (Blue light will not be lit).
Playback of Video:
Video from the alarm clock DVR can be played back on your computer through 2 different
methods. You can transfer the video to your PC over a mini-USB cable (included) or you
can remove the micro SD card and insert it into a card reader in your PC.
Video can playback on most PCs in Windows Media Player. Some PCs may not have the
required video codecs available. If the video does not play in Windows media player, you
can also try playback from a free video player found online called VLC media player.
Transfer Video to PC:
Video can be transferred from your alarm clock onto your computer using the included mini
USB cable. First, turn the master switch to “ON” and plug the alarm clock camera into your
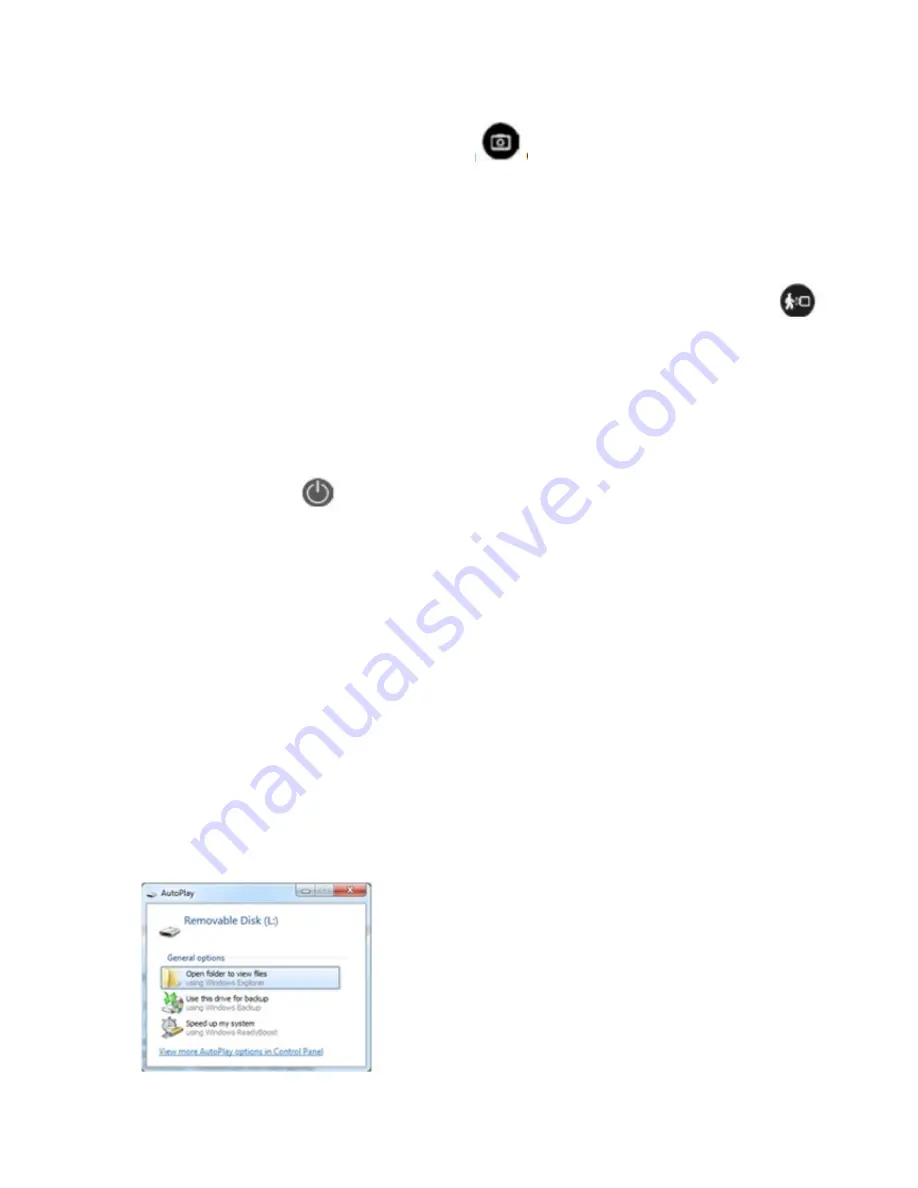
PC. After a moment, your PC should load drives automatically and then open a small
AutoPlay window (depending on your Windows version and settings).
Click on “Open folder to view files” to view and play
the files on the card.
Alternately, you can also remove the microSD card
from the clock and plug it into a card reader that is
attached to your PC.
Содержание KAALM8GSPYA
Страница 1: ...KAALM8GSPYA USER MANUAL...
Страница 3: ......


