the exposed logo may develop sharp edges. Be careful when handling the computer in this case
and avoid touching the raised LCD electro-plated logo. Avoid placing any items in the carrying
bag which may rub against the top of the computer during transport.
Polymer Battery Precautions
Note the following information which is specific to polymer batteries only, and where applicable,
this overrides the general battery precaution information.
•
Polymer batteries may experience a slight expansion or swelling. This is part of the
battery's safety mechanism and is not a cause for concern.
•
Use proper handling techniques when using polymer batteries. Do not use polymer
batteries in high ambient temperate environments and do not store unused batteries for
extended periods of time.
Battery Disposal & Caution
This product contains a rechargeable battery. This battery is recyclable. At the end of its useful
life, under various state and local laws, it may be illegal to dispose of the battery using the
general household waste collection system. Check with your local solid waste officials for details
in your area for recycling options or proper disposal.
There is danger of explosion if the battery is incorrectly replaced. Replace only with the same or
equivalent type recommended by Kogan.com.
Product Usage
System Startup
1.
Remove all packaging materials.
2. Place the computer on a stable surface.
3. Securely attach any peripherals you want to use with the computer (e.g.
keyboard and mouse) to their ports.
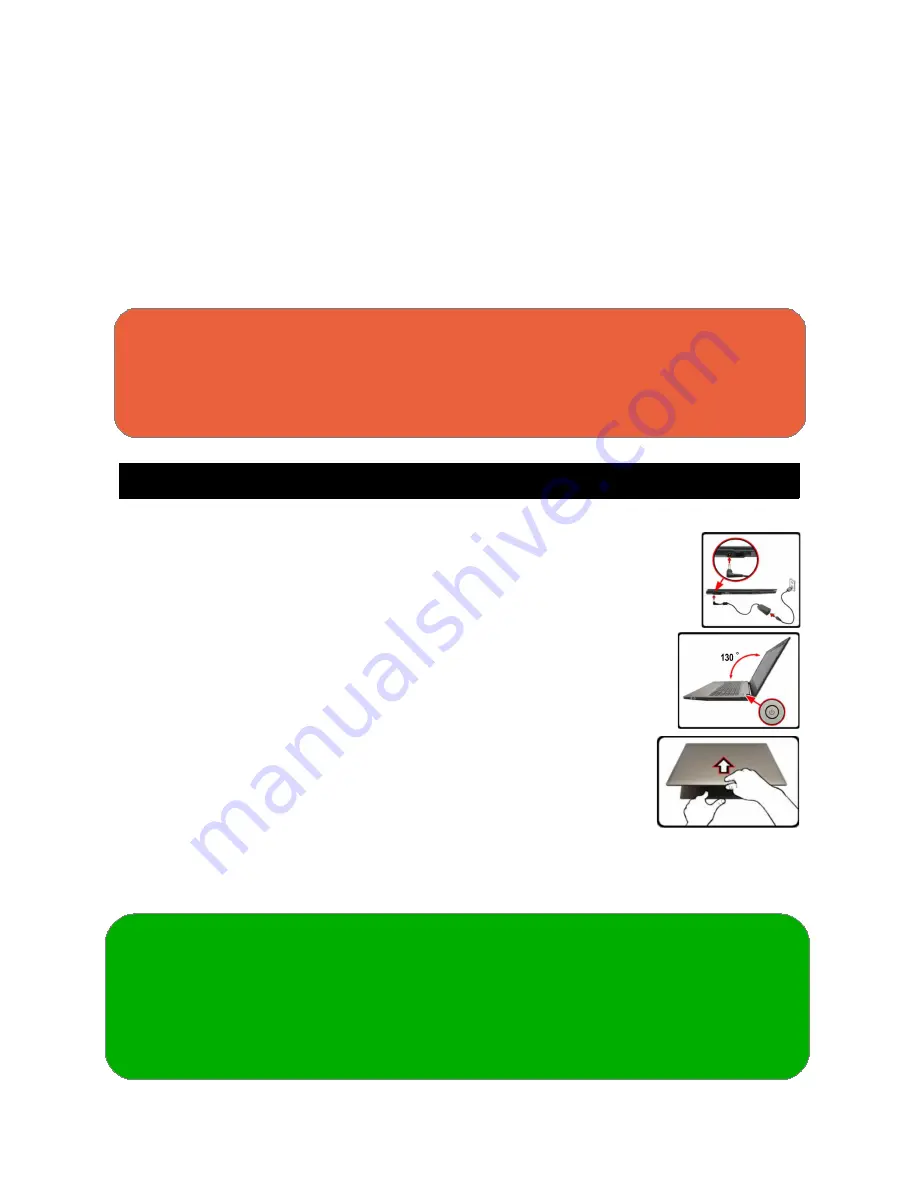
4. Attach the AC/DC adapter to DC-In jack on the left of the computer,
then plug the AC power cord into an outlet. Then connect the AC
power cord to the AC/DC adapter. (Make sure you use the adapter
when first setting up the computer, as to safeguard the computer
during shipping, the battery will be locked to not power the system
until first connected to the AC/DC adapter).
5. Use one hand to raise the lid/LCD to a comfortable viewing angle
(do not exceed 130 degrees); use the other hand (as shown) to
support the base of the computer.
(Note: NEVER lift the computer up by the lid/LCD).
6. Press the power button to turn the computer on.
System Software
Your computer may already come with the system software pre-installed. Where this is not the
case, or where you are re-configuring your computer for a different system, you will find that
this manual refers to
Microsoft Windows 8.1
Shut Down
You should always shut your computer down by choosing the Shut Down command to help
prevent hard disk or system problems.
Click
Settings
in the
Charms Bar
(use the
Windows Logo Key
+
C
to access the Charms Bar),
then choose
Shut Down
from the
Power
menu.
or
Choose
Shut Down or Sign Out
>
Shut Down
from the context menu (use the
Windows Logo
Key
+
X
to access the context menu.
3
Содержание Atlas X1510
Страница 1: ......


