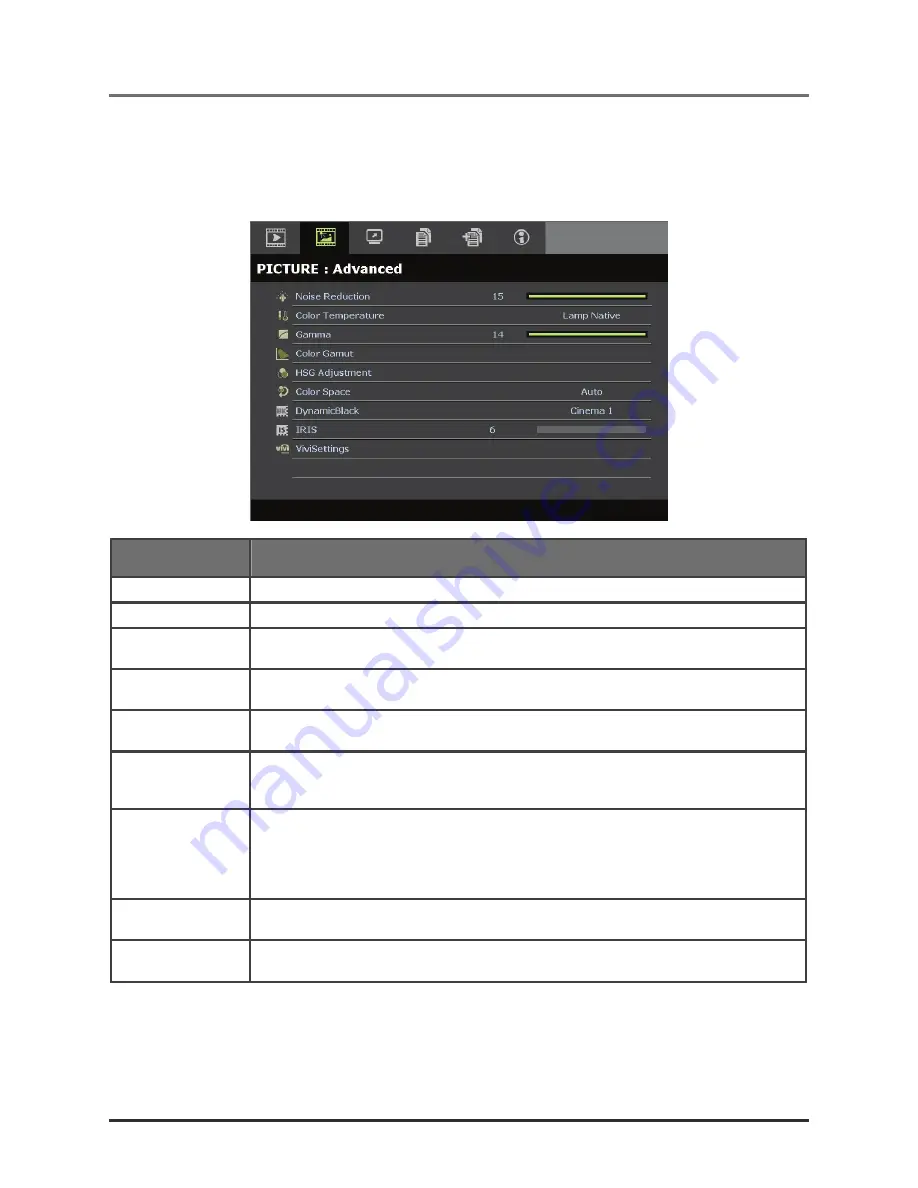
PICTURE: Advanced Menu
Press the
MENU
button to open the
OSD
menu. Press the cursor
◄►
button to move to the
PICTURE: Advanced
menu. Press the cursor
▲▼
button to move up and down in the
PICTURE: Advanced
menu. Press
◄►
to change values for settings.
I
TEM
D
ESCRIPTION
Noise Reduction
Press the cursor
◄►
button to adjust the Noise Reduction.
Color Temperature
Press the cursor
◄►
button to set the Color Temperature.
Press the cursor
◄►
button to adjust the gamma correction of the display.
Notes:
This function is only available in User 1/ 2/ 3 mode.
Gamma
Press the cursor
◄►
button to set the Color Gamut.
(Range: Native/
Cinema
/ HDTV/ EBU/ SMPTE-C)
Color Gamut
Press the
ENTER
button to enter the
HSG Adjustment
sub menu.
See
HSG Adjustment
on page
HSG Adjustment
26.
Press the cursor
◄►
button to set the Color Space.
(Range:
Auto
/ RGB/ SDTV/ HDTV)
Notes:
This function is only available when HDMI input source is selected.
Color Space
Press the cursor
◄►
button to set the DynamicBlack.
DynamicBlack enables the projector to automatically optimize the display of dark movie
scenes enabling them to be shown in incredible detail" to "the overall brightness of darker
scenes resulting in a better black level and incredible detail.
(Range:
Cinema 1
/ Cinema 2/ Off).
DynamicBlack
Press the cursor
◄►
button to adjust the IRIS.
(Range: 1 to 9).
IRIS
Press the
ENTER
button to enter the
ViviSettings
sub menu.
See
ViviSettings
ViviSettings
on page 26.
–
25
–
HDP2300 Users Manual


