


NOTES:
1. The indicator LED flashing red signifies critically low battery, recharge
immediately. If power is completely exhausted, the file you are recording will
be saved automatically before shutting down.
2. If your memory is full, pressing the recording on/off button will
cause the blue Indicator LED to stop and recording will not take place,
3. When LumenCam™ is connected to your computer via USB cable, it acts
as a separate drive where files may be stored.
Date/Time Reset:
If the date/time of your video does not match the local date/time, please
follow the these steps:
1. Set the date/time on your computer to match the local date/time;
2. Connect LumenCam™ to your computer via the USB cable provided;
3. Double-click the My Computer icon on your desktop, and then navigate
into the Mobile Disk directory. This is the directory that the LumenCam™
SD card uses;
4. Insert the CD provided into your computer’s CD drive;
5. Search your CD drive for a file named ‘getsystemTime.exe’, copy and
paste this file into the Mobile Disk folder;
6. Double click the file and wait for your system to automatically produce a
‘Reftime.txt’ file;
7. You may now close all folders and disconnect the USB cable, set up has
been successfully completed.
Formatting Memory:
It is highly recommended to use the software on the CD provided to format
LumenCam™ built-in memory. Using the functions of a Windows PC system
to format LumenCam™ will alter certain values, causing video file storage
time to become slower. Follow the instructions below to format:
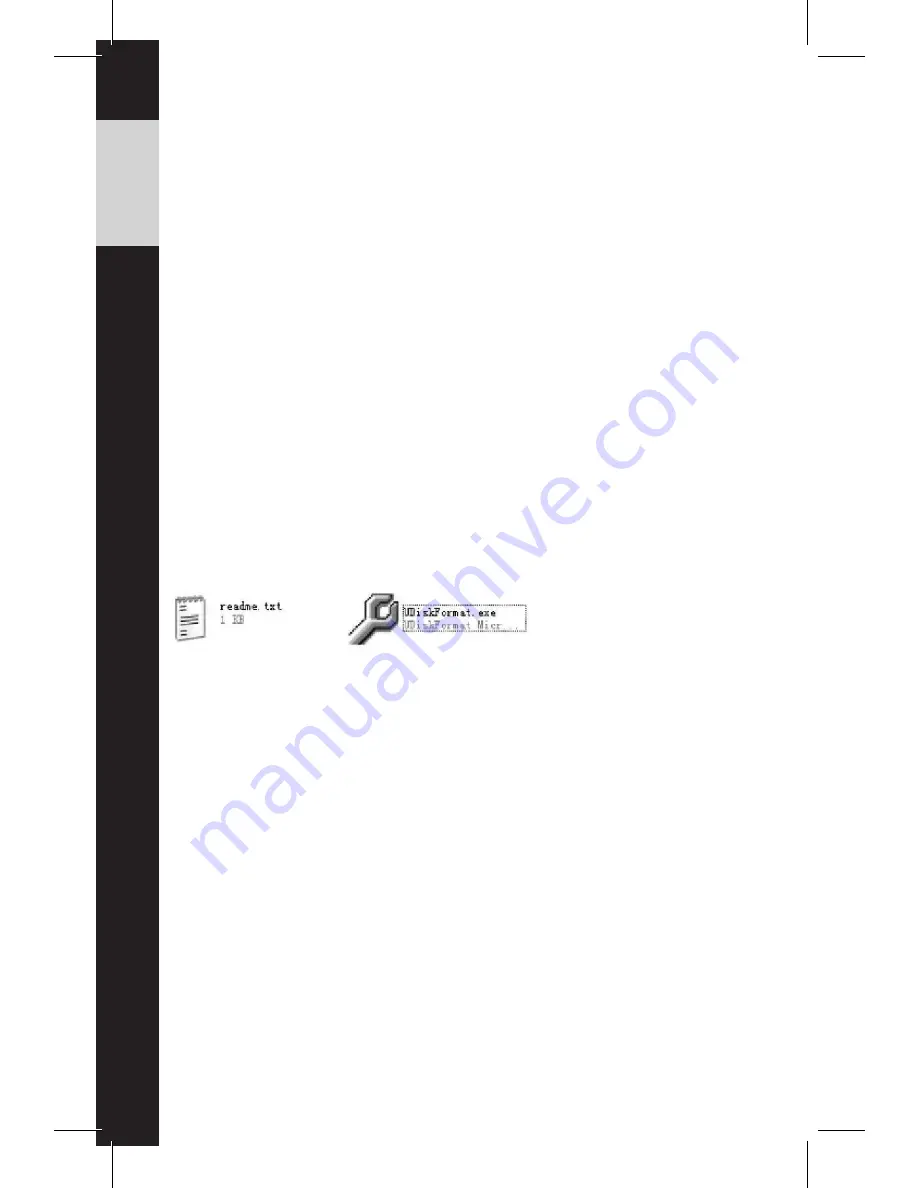
1. Insert the CD provided into your computer’s CD drive, and search your
CD drive for a file named ‘UDiskFormat.exe’ and double-click on this file:
-3-
www.LumenCam.com
Содержание LumenCam
Страница 1: ......


