10
11
Before use
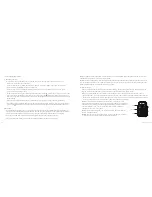
1. LCD segment screen
Turn the power switch to the “ON” position to check the battery power. If the battery level is low, charge it using the
supplied USB cable with a power adaptor or USB port of a PC. The red indicator light will stay on and the icons on the
LCD segment screen will be shown. The camera is now in normal preview state.
The icons shown on the LCD segment screen will indicate the following:
• Record mode: The icon indicates video recording mode and the icon indicates voice recording mode
• Photo shooting prompt: The icon will flash once when shooting one photo
• Power icon: The icon will be seen when the camera is on. The disappearance of the icon indicates that the
camera has either shut down or entered into standby mode
• Video recording duration: When the “Record” key is pressed once, the duration of the current video recording
file will be displayed in the middle of the screen, for example:
. It will stop when the “Stop” key is pressed
Note:
The video recording duration will be displayed on both the LCD segment screen and the TFT display screen
• Battery power: The icon indicates how much battery power is left. More black lines indicate more power and
less black lines indicate less power
Note:
The battery power indication icon will not be displayed when the camera is in standby mode or switched off
• USB connection: The USB mode icon
indicates whether the camera is connected to the computer. The green
indicator light on the left will flash slowly
Note:
The icon will only be displayed when the camera is connected to the computer
• TF card capacity indication: The icon indicates the capacity of the TF card. More black lines indicate more space and
less black lines indicate less space. The green indicator light on the left will remain on when the card is out of memory
Instructions for use
Startup
1. The camera can be used in two ways:
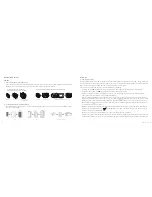
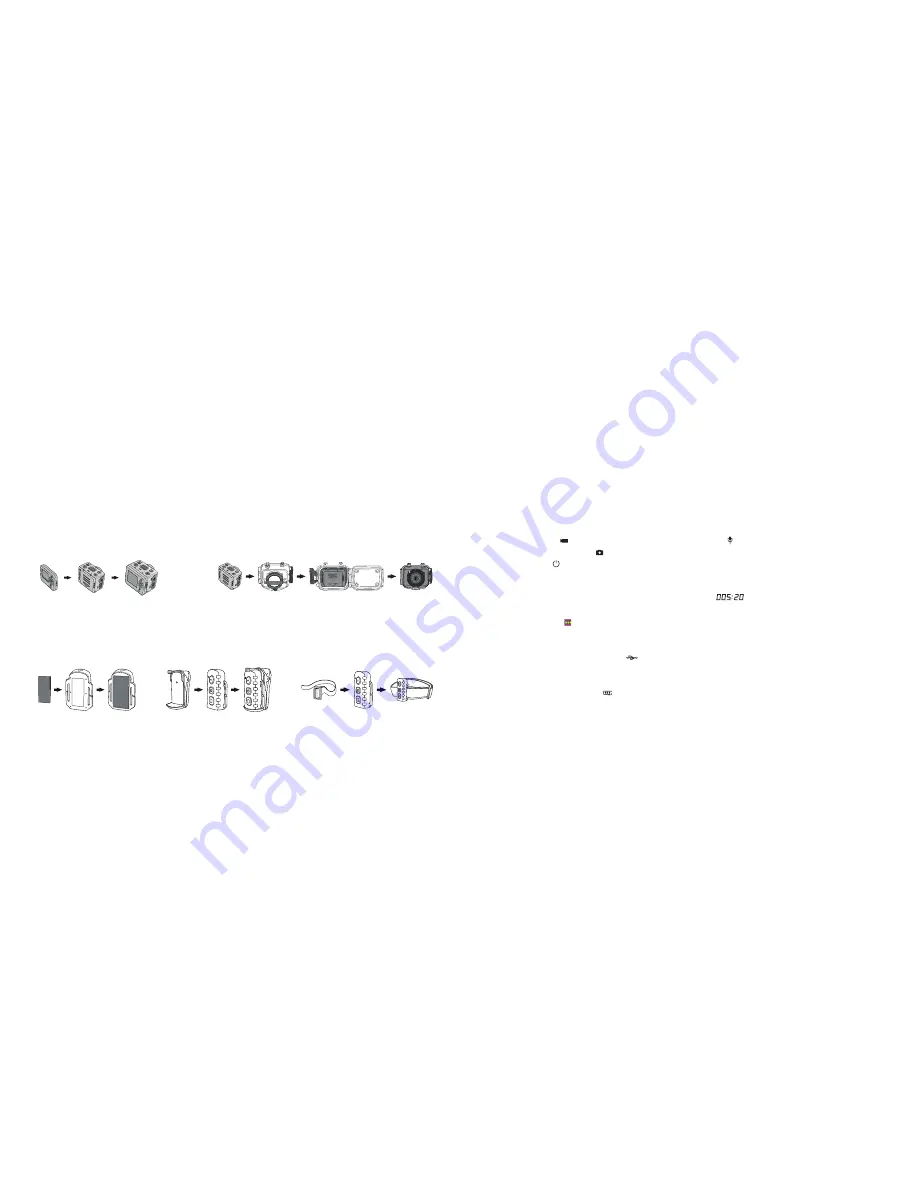
Either handheld or attached to various mount accessories. It can also be used underwater, with the waterproof case.
Note:
to remove the TFT display screen, press the push button and ease off carefully
2. Installing the remote control (optional)
An optional remote control can be purchased for use with the camera. Please use the accessories shown below
for correct installation
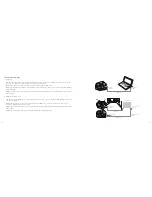
• Installation and removal of the
TFT display screen and main body
TFT display
Velcro
Clip
Binding tape (optional)
Main body
Main body
Install TFT display screen
onto the main body
Waterproof case
Install main body into the waterproof case
• Installation of the waterproof case and main body
[continued...]


