


37
SXRC Remote Control
Opera
tion
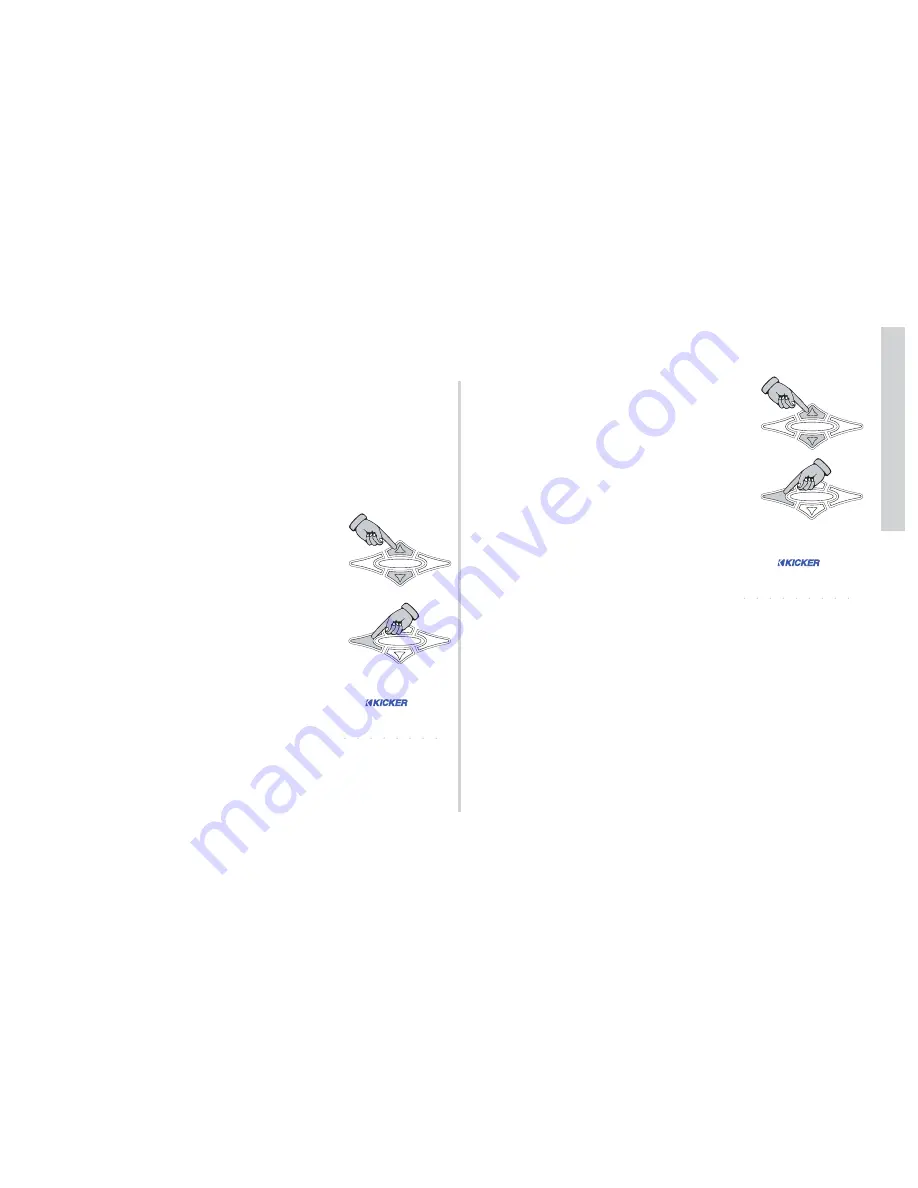
BYPASS DSP
MENU
- Here you can bypass all the DSP
processing for the selected SX Series amplifier and send the
RCA input signal directly to the amplifier.
Use the
UP
or
DOWN
keys to select from
BYPASS OFF
or
BYPASS ON
.
Press the
ESC
key to save your setting and
return to the AMP ADJ menu to select another
function to adjust.
NOTE:
While you are in the BYPASS DSP menu
the
SYS
indicator on the ISIS display is lit.
This indicates you are making adjustments
in the BYPASS DSP menu.
The BYPASS DSP function is a SYSTEM menu function and
that is why the
SYS
indicator is lit while adjusting the BYPASS
DSP function.
GAIN RANGE
MENU
- Here you can select the SX Series
amplifiers’ UltraMatch™ digital input gain range. The
UltraMatch™ gain structure features five selectable Gain Ranges
(1 volt, 2 volt, 4 volt, 8 volt and 16 volt).
In “Gear-Head” terms, the Gain Range and Gain adjustments
can be compared to the gear box and gas pedal of a race car.
The Gain Range represents what gear you’re in and the Gain
represents stepping on the gas. In this menu you are adjusting
the gear box. THE GAIN RANGE OF YOUR AMPLIFIER NEEDS
TO BE CORRECTLY ADJUSTED TO PROVIDE MAXIMUM
PERFORMANCE!
Use the
UP
and
DOWN
keys to scroll
through
1v range
,
2v range
,
4v range
,
8V Range
or
16v range
.
Press the
ESC
key to save your setting and
return to the AMP ADJ menu to select another
function to adjust.
NOTE:
While you are in the GAIN RANGE menu
the
SYS
and
GAIN
indicators on the ISIS
display are lit. This indicates you are
making adjustments in the GAIN RANGE
menu.
The GAIN RANGE function is a SYSTEM menu function and
that is why the
SYS
indicator and the
GAIN
are lit while adjusting
the GAIN RANGE function
HOME
ENT
ESC
HOME
ENT
ESC
1 v
v
r
r a
a n
n g
g e
e
SYS
MEM-1
GAIN
GAIN
EQ LPF HPF
KOMP
AMP1
LOCK
MEM-2
MEM-3
MEM-4
PHASE
MUTE
AMP2
LEFT
LEFT
RIGHT
RIGHT
HOME
ENT
ESC
HOME
ENT
ESC
b
b y p
p a
a s
s s
s
o
o f
f f
f
SYS
MEM-1
GAIN
GAIN EQ LPF HPF
KOMP
AMP1
LOCK
MEM-2
MEM-3
MEM-4
PHASE
MUTE
AMP2
LEFT
LEFT
RIGHT
RIGHT
Содержание SXRC
Страница 1: ......
Страница 85: ...85 SXRC Remote Control Notes Today s System Diagram Tomorrow s System Diagram...
Страница 86: ...86 SXRC Remote Control Notes My Future Drool System Cash Money Plan...
Страница 87: ...87 SXRC Remote Control Notes Pizza Delivery Earl s Thoughts...
Страница 88: ......


