background image

28 


PCD-BA-e-1211 

8.3.3 Selection of adjustment weight  


In  the  model  series  KERN  PCD,  the  adjustment  weight  can  be 
selected from pre-set nominal values (refer also to following table, 
factory  setting  with  grey  background).  In  order  to  achieve  high-
quality weighing results in the sense of the measuring technology, 
it  is  recommended  to  select  the  nominal  value  as  high  as 
possible.  The  non  delivered  adjustment  weights  can  be 
purchased from KERN as option. 

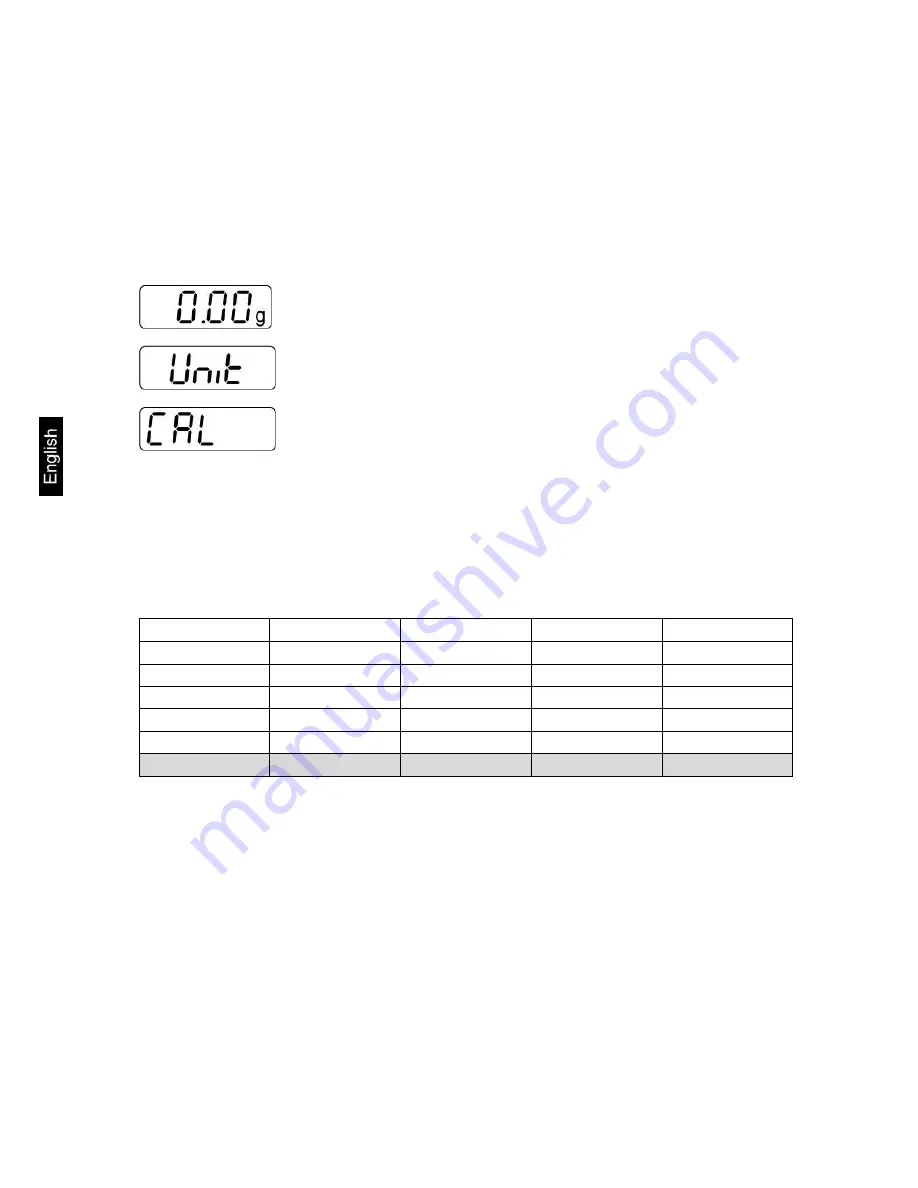
  In weighing mode keep the 

PRINT

 key pressed until 

[Unit]


appears. 

  Press the 

MODE


key several times until „

CAL

“ is displayed. 

  Acknowledge using 

SET

 key, the current setting is displayed. 

  Select the desired settings by pressing the 

MODE

 key. 

  Use the 

SET

 key to confirm selection. 


Possible Adjustment Points: 


PCD 250-3 

PCD 400-3 

PCD 2500-2 

PCD 4000-2 

PCD 10K0.1 

100 g 

50 g  

200 g  

500 g  

0.5 kg 

100 g 

250 g 

1000 g 

1 kg 

2 kg 

150 g 

300 g 

1500 g 

2 kg 

5 kg 

200 g 

350 g 

2000 g 

3 kg 

7 kg 

250 g 

400 g 

2500 g 

4 kg 

10 kg 


Содержание PCD

Страница 1: ...Ziegelei 1 D 72336 Balingen E mail info kern sohn com Phone 49 0 7433 9933 0 Fax 49 0 7433 9933 149 Internet www kern sohn com Operating instructions Precision balance KERN PCD Version 1 1 10 2012 GB...

Страница 2: ...ackaging return transport 7 5 Unpacking Setup and Commissioning 8 5 1 Installation Site Location of Use 8 5 2 Unpacking installation 8 5 3 Mains connection 11 5 4 Operation using a rechargeable batter...

Страница 3: ...hing function 30 8 3 6 Foot switch 31 8 3 7 Reset to factory setting 31 8 4 Interface parameters 32 8 4 1 Data transfer mode 32 8 4 2 Printout 33 8 4 3 Printout example 34 8 4 4 Baud rate 34 9 Data ou...

Страница 4: ...about Selection of adjustment weight see chap 8 3 3 250 g F1 400 g F1 Stabilization time typical 3 sec Operating temperature 5 C 35 C Humidity of air max 80 not condensing Dimensions completely assemb...

Страница 5: ...adjustment weight not added class Details about Selection of adjustment weight see chap 8 3 3 2500 g F1 4000 g F1 10 kg F1 Stabilization time typical 3 sec Operating temperature 5 C 35 C Humidity of...

Страница 6: ...structure of the balance may not be modified This may lead to incorrect weighing results safety related faults and destruction of the balance The balance may only be used according to the described c...

Страница 7: ...and maintained by trained personnel 4 Transport and storage 4 1 Testing upon acceptance When receiving the appliance please check packaging immediately and the appliance itself when unpacking for poss...

Страница 8: ...ur if a cold appliance is taken to a considerably warmer environment In this case acclimatize the disconnected appliance for ca 2 hours at room temperature Avoid static charge of goods to be weighed a...

Страница 9: ...in a way that facilitates operation and where it is easy to see 1 Display unit assembled For disassembly remove the assembly sheet by loosening the marked screws After that the display unit can be pla...

Страница 10: ...bled to an optionally available tripod KERN PCD A03 Assembly see installation instructions of the tripod or The balance must be installed in a way that the weighing plate is exactly in horizontal posi...

Страница 11: ...eplace the battery compartment cover For battery operation the balance has an automatic switch off function which can be activated or deactivated in the menu In weighing mode keep the PRINT key presse...

Страница 12: ...ts with the electronic balances the balance must have reached the operating temperature see warming up time chap 1 During this warming up time the balance must be connected to the power supply mains a...

Страница 13: ...nd keep it pressed in the display appears shortly CAL After that the exact size appears flashing in the display see chapter 8 3 3 of the adjustment weight Now set the adjusting weight in the centre of...

Страница 14: ...ption Function PRINT button Calculate weighing data via interface Call up menu keep key pressed until UNIT appears SET button Confirm settings in the menu Save and exit menu MODE button How to select...

Страница 15: ...or weighing 7 2 Switching Off ON OFF Press OFF button the display disappears 7 3 Weighing Place goods to be weighed on balance Wait for standstill control after the standstill control the weighing uni...

Страница 16: ...net weight will be indicated The taring process can be repeated any number of times e g when adding several components for a mixture adding The limit is reached when the whole weighing range is exhau...

Страница 17: ...RE button to zero Press repeatedly the MODE key until PtArE flashing appears Use the SET key to confirm The PRE TARE value is deleted the zero display appears 7 6 Plus minus weighings TARE For example...

Страница 18: ...it Original weighing of reference weight Count the items In weighing mode press MODE key shortly Reference piece number 5PCS appears flashing By pressing the MODE button several times other reference...

Страница 19: ...splay disappears 2 Weigh in component Press the SET button the zero display disappears is displayed on the right border of the display 3 Weigh in component and press SET key Net total sum weight of th...

Страница 20: ...ing mode press MODE key repeatedly until 100 is displayed flashing Put a reference weight which corresponds to 100 Store by pressing the SET key If the display stops flashing remove the reference weig...

Страница 21: ...items can be selected one after the other MODE CAL Change settings Acknowledge selected menu item using SET key the current setting is displayed Change the settings using the MODE key At any pressing...

Страница 22: ...setting is displayed Use the MODE key to change settings Press the TARE key Exit is displayed Either Acknowledge with SET key yes StorE is displayed Save SET key or reject PRINT key and exit the menu...

Страница 23: ...ither Any changes carried out are stored by pressing the SET key yes The balance returns automatically into weighing mode or To cancel changes press the PRINT key no The balance returns automatically...

Страница 24: ...nds see chapter 9 3 Pr PC Data output by pressing the PRINT key see chapter 9 3 AU PC Continuous data output see chapter 9 3 bA Pr Printout on barcode printer see chapter 9 4 AU Pr Autom data output o...

Страница 25: ...Background illumination of the display see chap 8 3 4 bL on Background illumination on off Background illumination off CH The background illumination will be switched off automatically 10 sec after ha...

Страница 26: ...66 Grain dependent on model gn 15 43235835 Pennyweight dependent on model dwt 0 643014931 Momme mom 0 2667 Tola tol 0 0857333381 Carat dependent on model ct 5 Freely selectable factor FFA xx xx Input...

Страница 27: ...a container on the balance When apportioning involves small variations of weight it is advisable to switch off this function If Zero Tracking however is switched off the weighing display becomes more...

Страница 28: ...e The non delivered adjustment weights can be purchased from KERN as option In weighing mode keep the PRINT key pressed until Unit appears Press the MODE key several times until CAL is displayed Ackno...

Страница 29: ...ent setting is displayed Select the desired settings by pressing the MODE key bl on Background illumination switched on Contrastful display which can also be red in the darkness bl off Background illu...

Страница 30: ...SET key the current setting is displayed Select the desired settings by pressing the MODE key ANL 3 Period 3 seconds ANL 5 Period 5 seconds ANL 10 Period 10 seconds ANL 15 Period 15 seconds ANL off An...

Страница 31: ...his function resets all balance settings to factory setting In weighing mode keep the PRINT key pressed until Unit appears Press the MODE button several times until rSt is displayed Acknowledge using...

Страница 32: ...fer mode In weighing mode keep the PRINT key pressed until Unit appears Press the MODE button several times until Pr is displayed Acknowledge using SET key the current setting is displayed Select the...

Страница 33: ...S Edition of the total weight Net Edition of net weight tAr Edition of tare weight N7E Edition of the stored weight PCS Edition of quantity AUJ Edition of piece weight Rqt Edition of the reference qua...

Страница 34: ...s Reference quantity Page forward feed when ended 8 4 4 Baud rate The baud rate defines the transfer speed vie the interface 1 Baud 1 Bit second In weighing mode keep the PRINT key pressed until Unit...

Страница 35: ...rate selectable at 1200 2400 4800 9600 and 19200 Baud Miniature plug in necessary 9 pole D Sub For operation with interface faultless operation is only ensured with the correct KERN interface cable m...

Страница 36: ...centage 1 2 3 4 5 6 7 8 9 10 11 12 13 14 15 16 17 18 M S N1 N2 N3 N4 N5 N6 N7 N8 N9 N10 B U1 U2 U3 CR LF d Format in case of fault 1 2 3 4 5 6 7 8 9 10 11 12 13 14 15 16 17 18 B B B B B B B B B B B E...

Страница 37: ...face w Function Weighing value for the weight stable or unstable is sent via the RS232 interface t Function No data are sent the balance carries out the tare function h Format for stable values for we...

Страница 38: ...e from factory previously it is necessary that KERN installs the respective software The Zebra printer and the balance must be connected to the delivered interface cable when they are switched off Aft...

Страница 39: ...ent suitable for stainless steel For stainless steel parts do not use any cleaning agents which contain sodium hydroxide solution acetic hydrochloric sulphuric or citric acid Do not use metal brushes...

Страница 40: ...No batteries inserted The displayed weight is permanently changing Draught air movement Table floor vibrations The weighing plate is in contact with foreign matter Electromagnetic fields static charg...

Отзывы: