2 4
Operations
KR-V999D (En/T)
Recording video
Recording
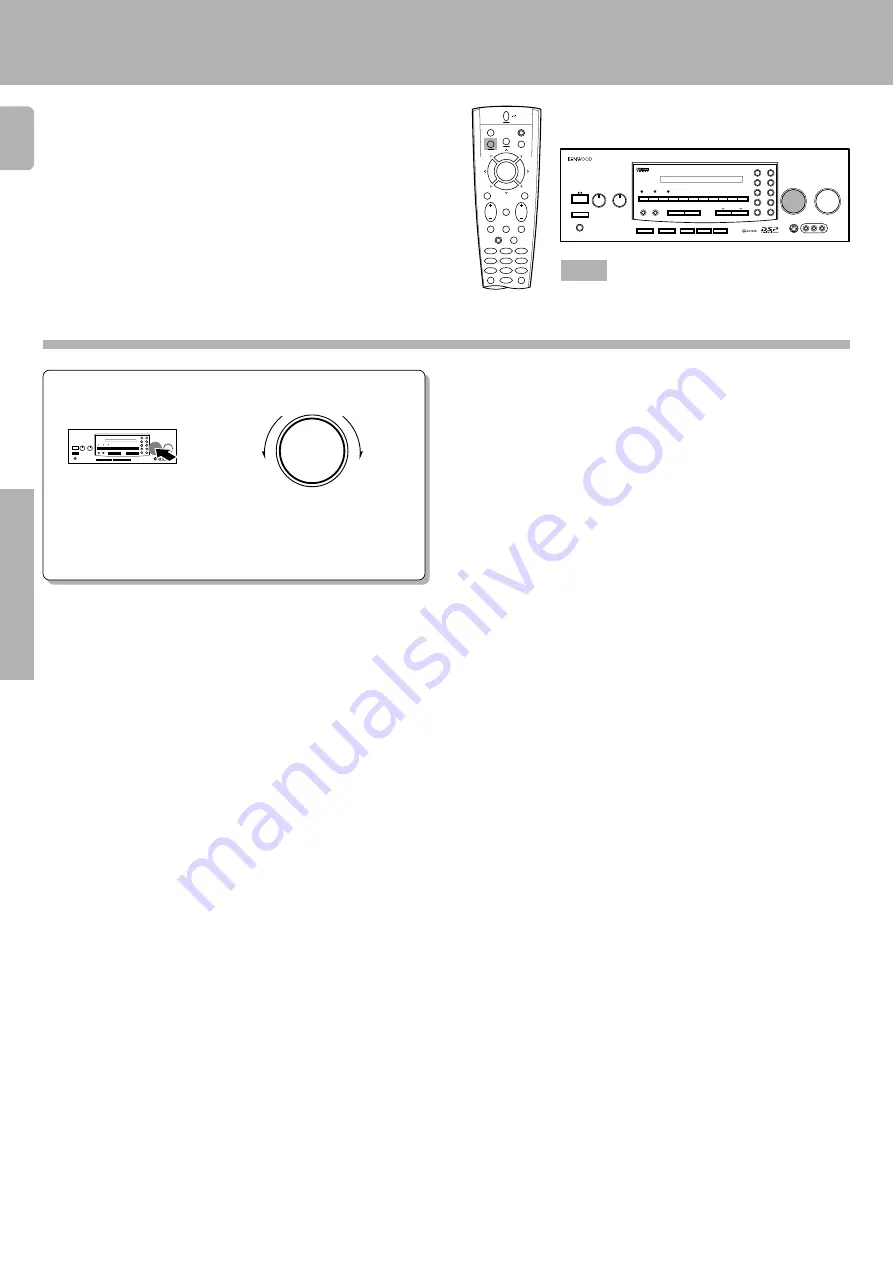
Keys or controls used in this operation.
PHONES
BASS
FLAT
TREBLE
FLAT
1
2
3
4
5
6
7
8
9
0
2-CH
DOWNMIX
STANDBY
LEVEL
INDICATOR
DIRECT
MEMORY
AUTO
BAND
TUNING
SPEAKERS
A
B
DOLBY
DIGITAL
PRO LOGIC
3 STEREO
STEREO
SOURCE DIRECT
DSP
DIMMER
MUTE
TAPE 2 MONITOR
INPUT SELECTOR
VOLUME CONTROL
S
−
VIDEO
VIDEO
AUDIO
−
VIDEO SURROUND RECEIVER KR-V999D
−
10
+10
−
10
+10
ON/STANDBY
DOWN
UP
AV AUX
L - AUDIO - R
LOUDNESS
TA/NEWS/INFO.
PTY
DISPLAY
+10/
PTY SEARCH
AUDIO
SHIFT
MACRO
TV
VIDEO
GUIDE
REC
MUTE
VOLUME
TUNING/SKIP
THEME
FAV
MENU
FUNCTION
SHIFT
SETUP
INFO
ALT AUD
TV/SAT/VID
REPEAT
RANDOM
+100
DISPLAY
ROOM B
ROOM A
ENT
+10
LISTEN
MODE
SOUND
SUBWOOFER
5
6
4
2
3
1
8
9
7
0
8
7
4
¢
6
BAND
P. CALL
P. CALL
POWER
-
ON
–
OFF
T R A I T R
thermally reactive advanced instantaneous transistor
POWER
1
Select the source you want to record.
2
Set the video deck to record.
3
Start playback, then start recording.
INPUT SELECTOR
• When recording to a VCR connected to the VIDEO1 jacks, select a
source other than VIDEO1.
• When recording to a VCR connected to the VIDEO2 jacks, select a
source other than VIDEO2.
• To record a digital source, connected to the VIDEO 2, 3, or 4 jacks, turn
the
INPUT SELECTOR
to select the appropriate copmponent, then
press the
STEREO
key.
When making a digital recording, operations other than volume adjust-
ment may cause the sound to clip during recording.
• The AV AUX jacks on the front panel provide a convenient way to
connect a video camera (playback only).
• When recording a Dolby Digital (AC-3) source, press the
STEREO
key
to light the
"2 CH DOWNMIX"
indicator.
Содержание KR-V999D
Страница 39: ...3 9 KR V999D En T Operations ...
Страница 63: ...6 3 KR V999D En T Preparations Operations Other ...


