background image

6

Remote Control

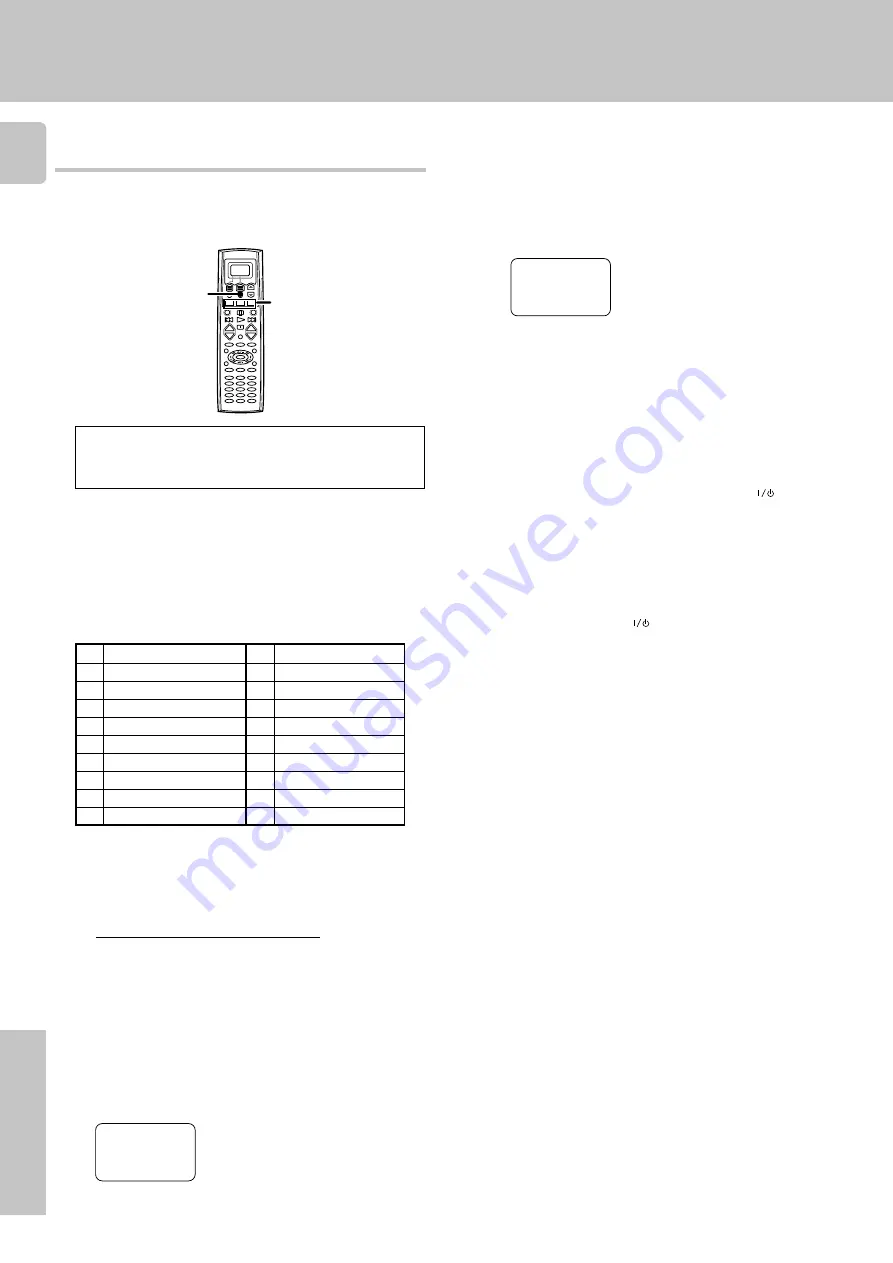
The macro play function allows you to set the remote to control several
components in succession. After completing this setup, you can perform
a series of operations automatically. Enter the setup codes for the
components you want to control beforehand.

Preparing for automatic operations

(MACRO play)

Getting the most from your remote control

1

Make a plan of the macro play you want to Setup.

The order of the operations may be fairly complex and you may
not be remember all of the necessary commands during the
setup procedure.
Use the space provided below to write down the operations in
the order you are going to enter them.

1

!

2

@

3

#

4

$

5

%

6

^

7

&

8

*

9

(

0

)

• The example below shows the plan for step 

4

 (which occupies a total

of 6 steps) :

1

TV + AV. POWER

2 steps

2

FUNCTION SHIFT + 3

2 steps

3

MOVIE

1 steps

4

AV. POWER

1 steps

Total

6 steps

• If you attempt to store more than 20 steps, “

Full

” appears and exit

the macro programming mode.

• Enter channel numbers (for the monitor TV, etc.) exactly as you would

using the original remote.

• When you select the input by using the 

MUSIC

MOVIE

, or 

TV

 key,

it is count 1 step even if you press these keys several times.

2

Press and hold the MACRO key for more than 2 seconds.

• “

MACRO MEMORY

” appears in the display.

Select MACRO

MACRO MEMORY

Menu

Select MACRO

MACRO1

Menu

Press the MUSIC, MOVIE, or TV key to select the macro
location. (MACRO1, 2, and 3 respectively)

3

• You can store up to 3 different macros, one at each key:

MOVIE 

=


"

MACRO 1

", MUSIC


=


"

MACRO 2

", TV


=


"

MACRO 3

"

• The light flashes once when you select the macro location.
• Pressing a key other than 

MUSIC

MOVIE

, or 

TV

 cancels the macro

program mode.

Press the keys to be operated in order.

4

5

Press the MACRO key so that the light flashes twice.

• The macro is stored at the locations specified in step 

3

. If another

macro was previously stored at the same location, it is erased.

Repeat steps 

1

 through 

5

 to program up to 3 macros.

This completes the macro programming procedure.

EXAMPLE:

1

Press the TV key, then press the AV.POWER 

 key to turn

on the TV.

2

Press the F. SHIFT key, then press the "3" (INPUT SEL.) key
to set the TV to the appropriate video input.

3

Press the MOVIE key to select the LD player registered at
VIDEO 2.

4

Press the AV.POWER 

 key to turn on the LD player.

This example shows you how to create a macro that; turns on the TV,
sets the TV to the appropriate input, selects the receiver's input selector
to LD, and turns on the LD player.  All you have to do is insert the laser
disc!

• Make sure you start the next operation within 8 seconds of complet-

ing the previous one. If more than 8 seconds elapses between any two
steps, exit the macro programming mode.

• In order to allow verification of the remote control mode, the name of

the selected input appears in the receiver's display when the 

MUSIC

,

MOVIE

, or 

TV

 key is pressed.  When the 

MUSIC

 or 

MOVIE

 key is

pressed the receiver's input also changes.

When

 MOVIE

 is pressed

MACRO

MUSIC, MOVIE,
TV

+

+

During opration, make sure you start the next step within 8
seconds of completing the previous one. If more than 8
seconds elapses between any two steps, the remote control
unit exits from the MACRO play mode.

• Up to 20 steps can be memorized for each macro.

Содержание B60-4611-00

Страница 1: ...ceiver In order to make full use of the functions of the remote control be sure to read the section of this manual entitled Getting the most from your remote control It contains a detailed explanation of how to operate the remote control and make the necessary settings The quick start guide describes the operation of the following keys 1 Display operation 1 key Use this key to go back to the previ...

Страница 2: ...play operation 2 Enter key Step 5 Press the 5 keys to select the com ponent that you want to register then press the display operation 2 Enter key Step 6 Press the 5 keys to select the maker of the component that you want to reg ister then press the display operation 2 Enter key Step 7 Press the 5 keys to select the setup code Step 8 Press the AV POWER key to see if you can turn the component on a...

Страница 3: ...ey or 5 keys The display operation 1 key and display operation 2 key work as the function key displayed in the display above The display goes off automatically when you do not operate for more than 8 seconds In this case press the display operation 1 key display operation 2 key or 5 keys When the display goes off Press the display operation 1 key repeatedly until Menu appears in the display The di...

Страница 4: ...han one setup code enter another setup code and try again or TUNING key can also be used instead of the AV POWER key If the component is already on pressing the AV POWER key will turn it off Repeat steps 3 to to register additional components until all components have been registered Press the display operation 2 Enter key The display returns to the setup display To returns to the initial display ...

Страница 5: ...ration of other components for a list of keys available with each component RC The operation mode remains set at the component specified in step 2 To return control to the original component press SHIFT and then press the MUSIC or MOVIE key to return to the original control mode Pressing any other keys after the SHIFT key cancels the shift function and sends the normal code associated with the res...

Страница 6: ...3 The light flashes once when you select the macro location Pressing a key other than MUSIC MOVIE or TV cancels the macro program mode Press the keys to be operated in order 4 5Press the MACRO key so that the light flashes twice The macro is stored at the locations specified in step 3 If another macro was previously stored at the same location it is erased Repeat steps 1 through 5 to program up to...

Страница 7: ... until 01 IR appears in the display Press the 5 keys to select 01 IR then press the Enter key The setup display appears 3 The input selecting display appears Press the 5 keys to select the input that you want to delete then press the Enter key 4 Press the 5 keys to select Delete 5 Press Enter 6 The setup code is deleted MACRO MUSIC MOVIE TV 04 Video2 03 Video1 Back Enter 02 Surround 01 IR Home Ent...

Страница 8: ... the key of the remote control unit To delete the memory stored on the key Press the Clr key in step 4 Cleared appears in the display Tne memory previously stored is cleared To operate other components 1 Press the MUSIC MOVIE or TV key to select desired input source 2 Press the desired key 1 Point the infrared ray system part of the other remote control unit to the remote sensor of the remote cont...

Страница 9: ... keys to select the memory you want to operate 4 Press the Enter key To delete the stored memory Press the Clr key in step 5 Cleared appears in the display and the memory that is selected in step 4 is erased 1 Press the MUSIC MOVIE or TV key to select desired input source You can restore the setup codes or memories to their original default settings Cleared appears in the display and the remote se...

Страница 10: ...USIC key to select CD 2 Press the Menu key repeatedly until SetUp appears in the display 3 Press the 5 keys to select All Read and press the Enter key The loading time may take a few moments Load the CD TEXT data of the CD player to the remote control unit 1 Press the MUSIC key to select CD 2 Press the Menu key repeatedly until SetUp s appears in the display 3 Press the 5 keys to select Disc Title...

Страница 11: ...isplay operation 2 Enter key When you operate by using the keys When you operate by using the display TUNING BAND ENTER AUTO MONO RANDOM REPEAT INPUT SEL 2 1 3 5 4 6 8 7 9 0 10 100 11 10 12 DISPLAY TV SELECT SELECT THEME AUDIO FAVORITE EXIT INFO LAST CHANNEL BAND AUTO MONO TUNING 2 TUNING 3 P CALL fi P CALL Numeric keys TUNING BAND ENTER AUTO MONO REC ENTER Play B 8 Pause B 7 Stop B 1 Rewind B Fas...

Страница 12: ... SEL Display operation 01 Thumb Up 02 Thumb Down 03 Jump 04 Instant Replay 05 Quick Skip 06 Exit 07 11 Extend1 5 Numeric keys CH CH Slow Slow ENTER 1 Rewind Fast forward Play Pause Stop Skip Skip OSD PAGE FUNCTION SHIFT commands REPEAT RANDOM DISPLAY Display operation 01 Frame Time 02 Side A or A B 03 Side B 04 08 Extend1 5 TUNING BAND ENTER RANDOM REPEAT INPUT SEL 2 1 3 5 4 6 8 7 9 0 10 100 11 10...

Страница 13: ...1 3 5 4 6 8 7 9 0 10 100 11 10 12 DISPLAY TV SELECT SELECT THEME AUDIO FAVORITE EXIT INFO LAST CHANNEL FUNCTION SHIFT commands INPUT SEL SELECT THEME FAVORITE INFO EXIT LAST CHANNEL Display operation 01 A B C 04 08 Extend1 5 MENU MENU TITLE GUIDE GUIDE PAGE UP PAGE DOWN fi RANDOM F SHIFT REPEAT INPUT SEL 2 1 3 5 4 6 8 7 9 0 10 100 TV SELECT SELECT THEME AUDIO FAVORITE EXIT INFO LAST CHANNEL DISPLA...

Страница 14: ...o control The microprocessor of the remote control malfunctions Remedy Replace with new batteries to preserve the currently registered setup information Turn the subwoofer ON Register a setup code or Non IR code at the respective input s RC3 Press the MUSIC MOVIE or TV keys to select the appropriate operation mode Replace with new batteries Operate the remote control unit within the controllable r...

Отзывы: