2
Remote Control
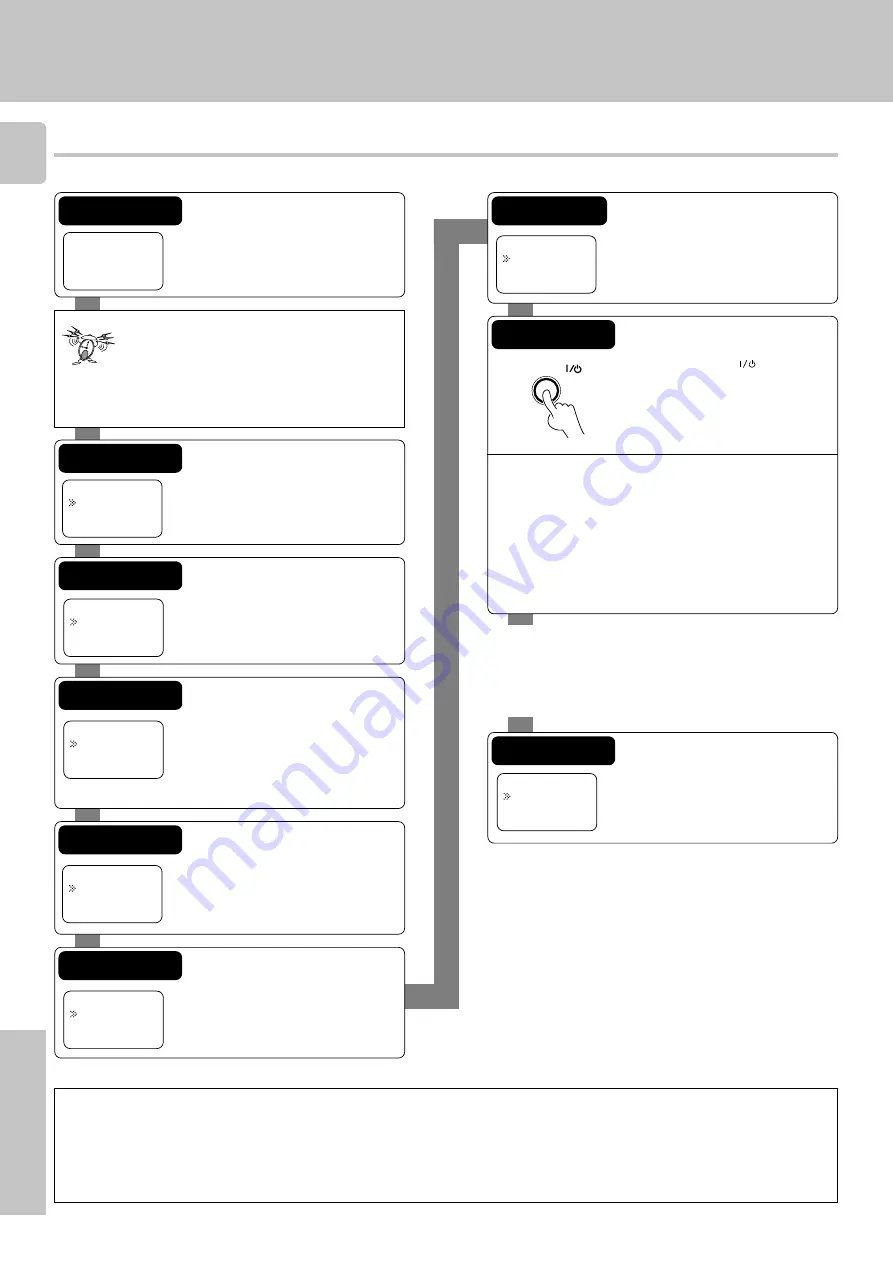
Register the setup codes for your audio and video components
Automatic input naming
In the initial factory setting, the remote control already has provisional component names registered for each input. Before you register setup codes, pressing
the input keys of the remote control causes the display to change from the factory preset input names of the receiver (VIDEO1, VIDEO2, etc.) to the input
names registered in the remote control (VCR1, VCR2, etc.). Once you have registered the appropriate setup codes for your components, pressing the input
keys of the remote control causes the display to change to the actually connected component names (LD, DVD, etc.) for which you have registered setup
codes.
VCR
Video1:
Menu
AV.POWER
Step 1
Press the
display operation 1
key re-
peatedly until “
Menu
” appears in the dis-
play.
Step 2
Press the
display operation 2 [Menu]
key repeatedly until “
01.IR
” appears in
the display.
For step 1 through step 9, make sure you
start the next step within 8 seconds of
completing the previous one. If more than
8 seconds elapses between any two steps,
press the display operation key so that
the display appears.
Step 3
Press the
5
/
∞
keys to select “
01.IR
”,
then press the
display operation 2
[Enter]
key.
Step 4
Press the
5
/
∞
keys to select the input
that you want to register, then press the
display operation 2 [Enter]
key.
Step 5
Press the
5
/
∞
keys to select the com-
ponent that you want to register, then
press the
display operation 2 [Enter]
key.
Step 6
Press the
5
/
∞
keys to select the maker
of the component that you want to reg-
ister, then press the
display operation
2 [Enter]
key.
Step 7
Press the
5
/
∞
keys to select the setup
code.
Step 8
Press the
AV.POWER
key to see if
you can turn the component on and off.
If your component has a mechanical
POWER switch that cannot be operated
by remote control unit, press the
dis-
play operation 2 [Enter]
key and
dis-
play operation 1 [Home]
key, and se-
lect the component by pressing the
MUSIC
,
MOVIE
, or
TV
key, then press
the PLAY (
‹
) key or TUNING (
2
3
) key
to test it.
If the component does not respond when you try to
control it, return to step 7 and enter the next setup
code on the list. Repeat this procedure until you find
the code that matches the component. When the
component does not respond, select "
Nothing
."
Step 9
Press the
display operation 2 [Enter]
key to store the code.
Repeat steps
3
through
9
to enter the codes for each
component you want to control.
Press the
display operation 1
key repeatedly until “
Menu
”
appears in the display.
If you accidentally exit the registration mode by pressing the
wrong key, you will not lose any setup codes you have
already saved.
>
02.Surround
>
01.IR
Back Enter
>
Aiwa
>
Kenwood
Back Enter
>
02:Nothing
>
01:0056
Back Enter
>
04.Video2
>
03.Video1
Back Enter
>
02.Surround
>
01.IR
Home Enter
>
06.Cable
>
05.VCR
Back Enter
>
02.Surround
>
01.IR
Home Enter


