EN
6.
MIG/MAG WELDING
NOTE!
Welding fumes may be dangerous to your health. Ensure that there is ample ventilation
during welding! Never look at the arc without a face shield specifically designed for arc welding!
Protect yourself and your surrounding area from the arc and hot welding spatter!
NOTE!
Always wear protective clothing, gloves, face and eye shields suitable for welding. It is
recommended that you make practice welds before you commence welding your main work piece.
NOTE!
The work piece will be very hot. Protect yourself and others at all times.
You can start welding after you have made the necessary preparation described throughout
these instructions.
Providing you ensure that the equipment is correctly prepared and set for the material type
and joint to be welded, you will achieve exceptionally high quality welding results.
•
Ensure that the correct filler wire type and size is selected for the work piece.
•
Ensure that the correct wire liner and contact tip size is fitted to the welding gun.
•
Ensure that the correct shielding gas type is connected and the flow rate adjusted before
welding starts.
•
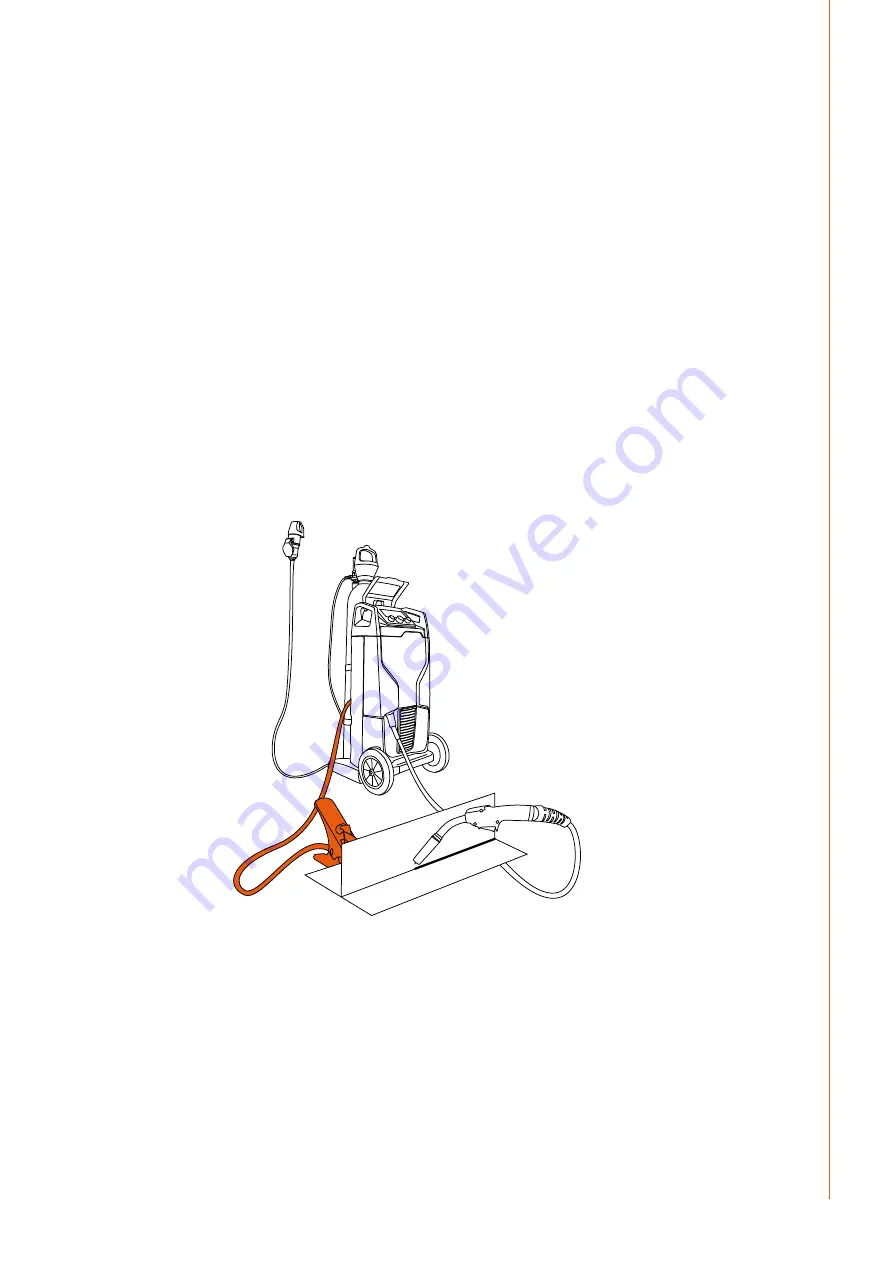
Ensure the earth return clamp is connected to the work piece
•
Ensure that you are wearing the correct safety equipment before you start welding
– including: suitable welding clothing, the correct welding face shield with a suitable
shade welding lens, welding gloves and when necessary, a welding mask.
NOTE!
Please read section 1.2.2 before proceeding further.
FE 32
Having checked that the equipment is prepared in the correct way for the welding task ahead,
and that you are wearing the necessary protective equipment, you are ready to commence
welding.
MIG/MAG welding can be performed down hand, vertically and overhead: either right to left
(right handed operators) or left to right (left handed operators)
First, present the welding gun nozzle to a practice work piece. The gun nozzle should be
approximately 15 mm away from the surface of the work piece and weld joint. If welding a T
fillet joint, the gun should be held at an angle of approximately 45 degrees, bisecting the 90
degree joint at the midway point. Starting at the right hand side of the joint (right handed
operators only), lean the gun backwards slightly, so the gun nozzle is pointing forwards,
towards the centre of the work piece. This is called a 'pushing technique' and is suitable for
most applications.
27
© Kemppi Oy / 1442


