Copyright © 2002 - 2014 KEMP Technologies, Inc. All Rights Reserved. Page 11 / 37
High Availability (HA)
Feature Description
6.
Specify the desired shared IP address in the
HA Shared IP address
field and click
Set
Shared Address
.
7.
A confirmation message may appear. Click
OK
.
8.
A message may appear asking to reconnect to the shared IP address. Click
OK
.
Do not reboot or reconnect at this time.
9.
Enter the IP address of the passive (slave) unit in the
HA Partner IP address
and click the
Set Partner address
button.
10.
A confirmation message will appear. Click
OK
.
11.
Configure any other settings as needed.
12.
Click
Reboot Now
.
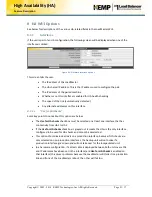
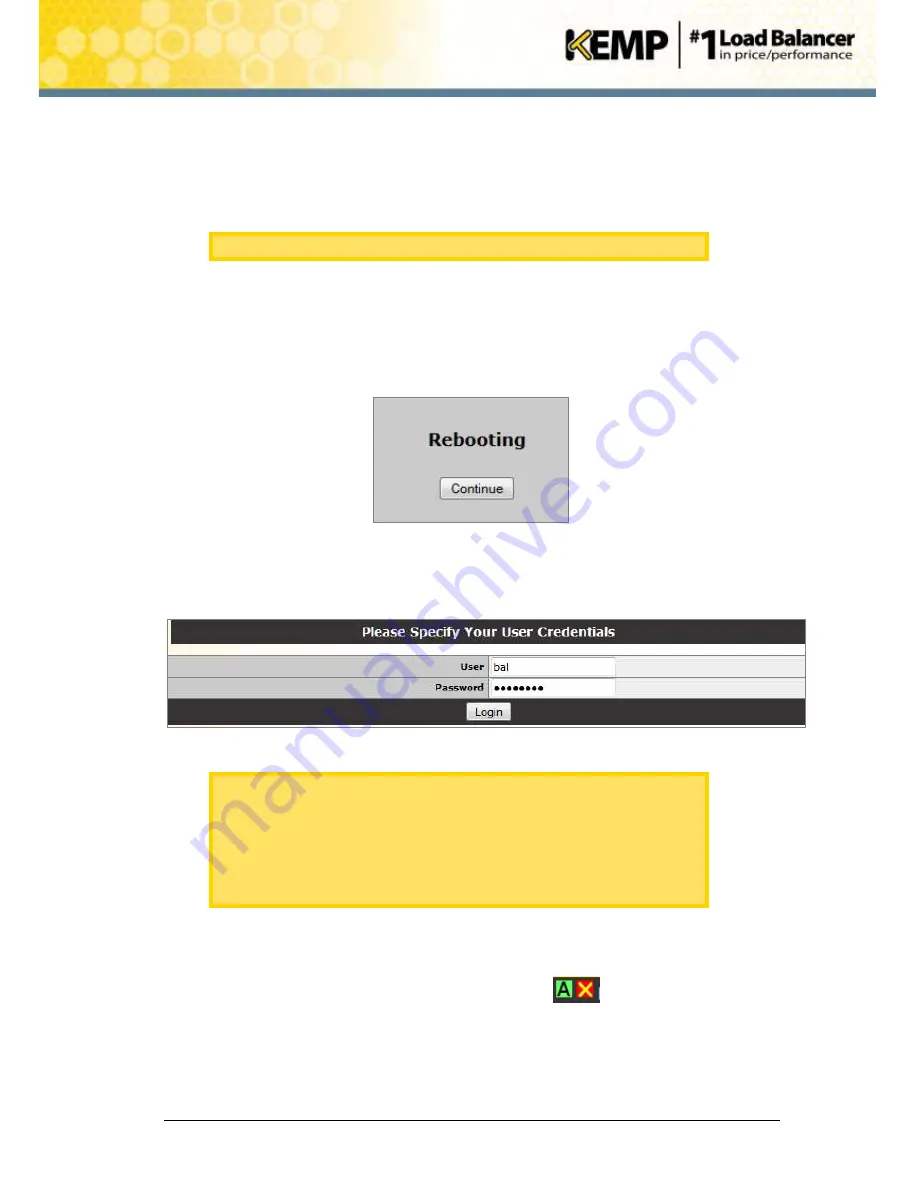
Figure 5-5: Rebooting message
13.
Click
Continue
.
14.
Refresh the page after the LoadMaster has rebooted (this may take a few minutes).
Figure 5-6: Log in screen
A log in screen appears. After logging in, a different menu will appear than
before. This is the
Local Administration
menu displayed for HA units.
This menu has far fewer options. Only configuration settings pertaining to
that specific unit are accessible via the
Local Administration
option. All
management of the HA units should be done via the shared IP address. To
see the full menu and configure the units, access the WUI of the shared IP
address, which was specified above.
15.
Log in to the shared IP WUI by entering the shared IP address in the address bar of the
browser and pressing
Enter
.
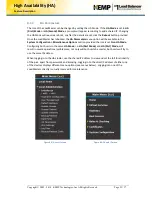
In the top-left of the screen there will be 2 indicator squares.
These squares indicate the
status of the HA pair. The left square always represents HA1 and the right represents HA2. The
A
represents which unit is active. The first or second HA unit can be opened by clicking the
relevant status icon. Green and green status colors indicate a properly paired configuration.


