


Setting System Parameters
63
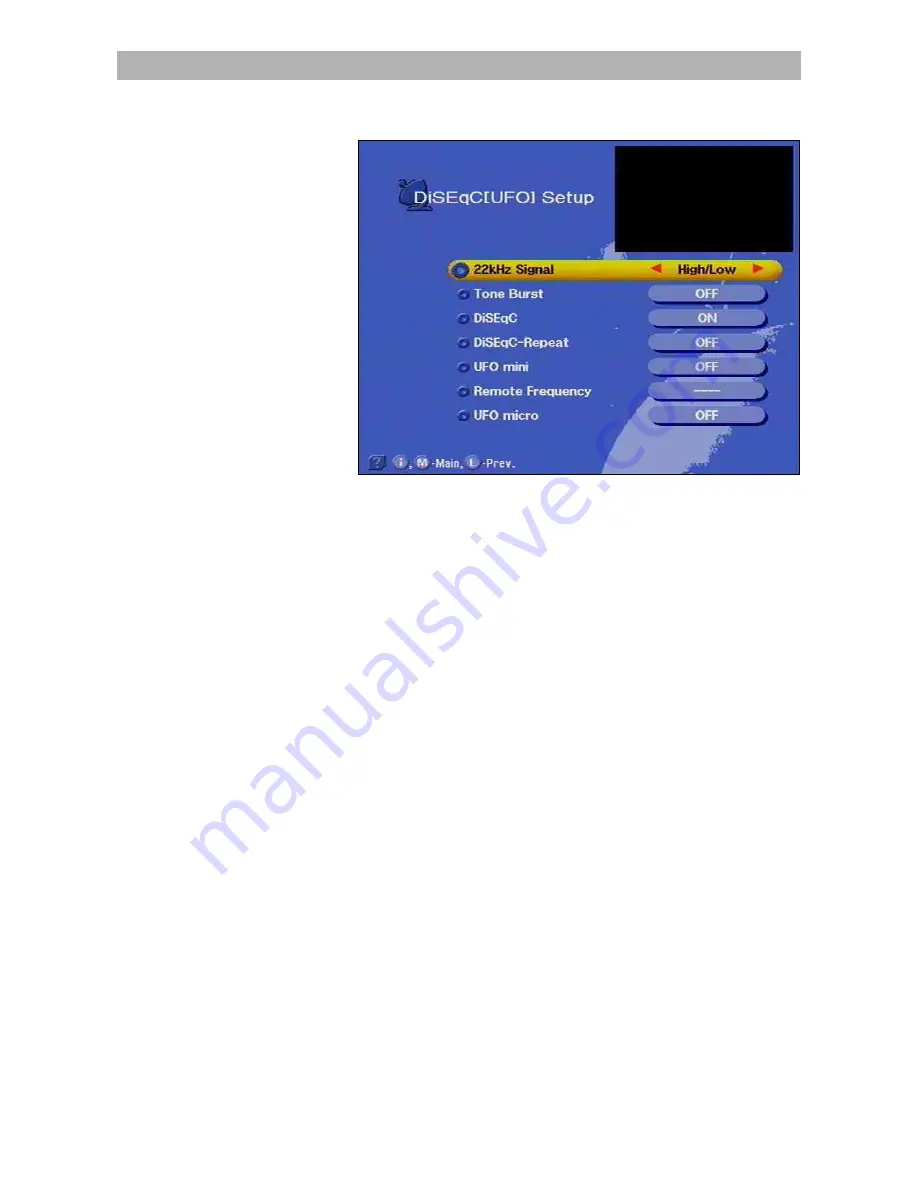
DiSEqC [UFO] Set-up
You should only make changes in this menu, when the receiver is
connected to another receiving system with different features or if
changes have been made to the receiving system.
Pay close attention to the instructions of your Sat IF system. Before
each change, you should note the settings on the form at the end of
this operating manual.
Press the menu buttons
,
and
to open the DiSEqC
menu.
22 kHz signal
In this menu point you can determine whether the 22 kHz signal is to
be used to switch over between the low and high frequency range of a
satellite or between 2 satellite positions.
Tone burst and DiSEqC signal
A DiSEqC control signal is necessary if more than four control criteria
are required in a receiving system.
The setting option, i.e. tone burst or DiSEqC, which is required, de-
pends on the components of the receiving system.
Refer to the description of the components (switching matrices) of the
receiving system..
Содержание UFD 540
Страница 1: ...Operating manual DVB Caravan Receiver UFD 540 Order no 260 515 ...
Страница 2: ...2 ...
Страница 7: ...Safety Instructions 7 Safety Instructions ...
Страница 79: ...79 ...


