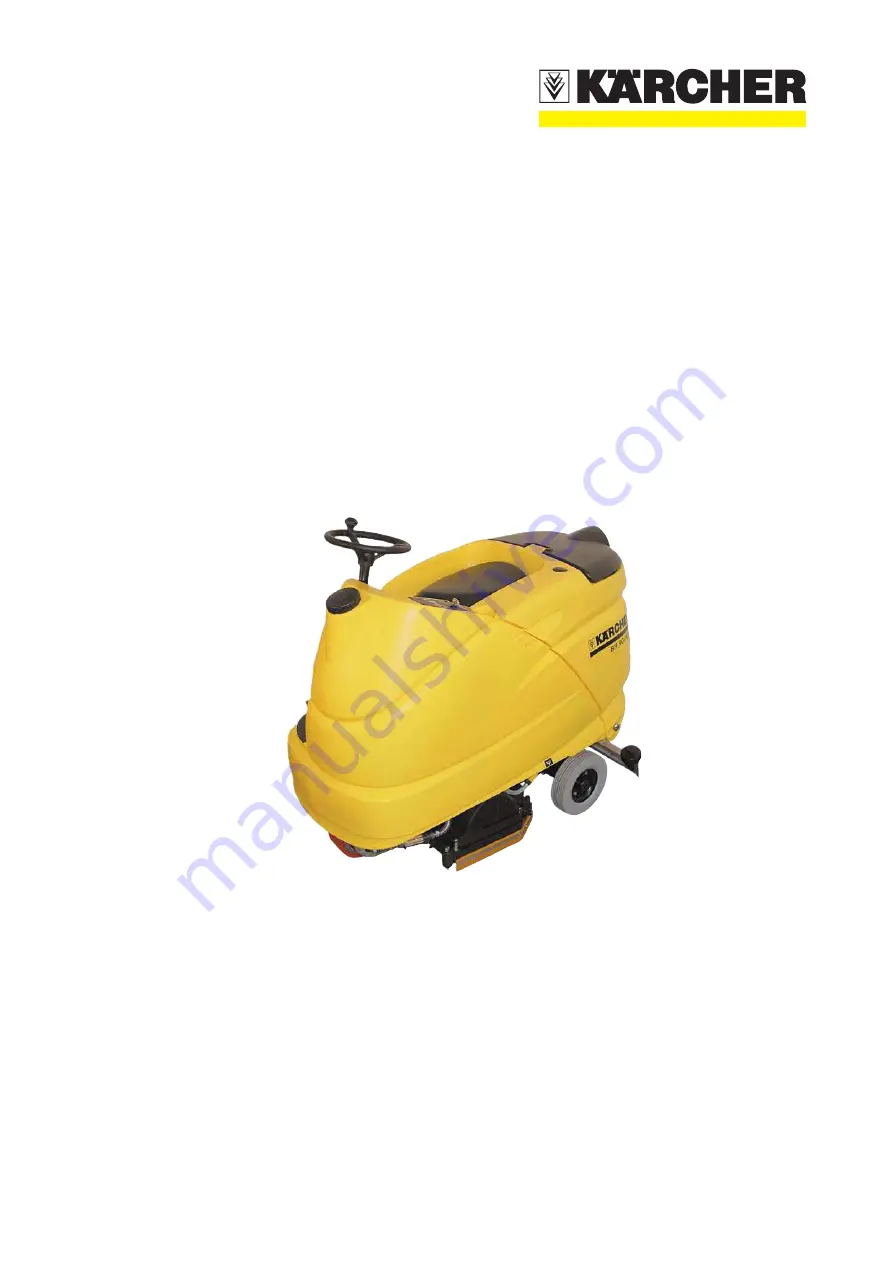
New Unit Information 03.2004
BR/BD 75/140 RBR/BD 90/140 R
1.246- . . .
New Unit Information
5.905-888
Страница 1: ...New Unit Information 03 2004 BR BD 75 140 R BR BD 90 140 R 1 246 New Unit Information 5 905 888...
Страница 2: ...float switch Water feed to brush head with water pump Water flow control with electric metering val ve 10 positions Air bleeder valve for quick bleeding of the wa ter hose at the brush head only BR h...
Страница 3: ...p fresh water tank 4 Fresh water tank 5 Cover main control printed circuit board 6 Central battery connector X1 7 Drive unit pedal 8 Front wheel wheel hub motor 9 Lateral sealing strip spring loaded 1...
Страница 4: ...board 2 Brush head BR version 3 Lateral sealing strip spring loaded 4 Coarse dirt pan BR version only 5 Supporting castor for suction bar optional 6 Suction bar straight version 7 Deflector wheel suc...
Страница 5: ...ng the rubber strips 4 Star handle for installing the suction bar 5 Rubber strip 6 Wing nut for adjustment of suction bar inclination 7 Bracket suction bar 8 Lifting motor M30 for lowering and raising...
Страница 6: ...Page 6 71 Unit Functions BR BD 75 140 R BR BD 90 140 R New Unit Information 03 2004 1 Tank cover 2 Fluff strainer air intake suction motor 3 Float switch S17 4 Seal tank cover Dirty water tank 1 2 4 3...
Страница 7: ...n 2 Front wing nut for securing the mounting plate 3 Deflector wheel 4 Spring for lateral sealing strip mounting plate 5 Lateral sealing strip 6 Mounting plate for sealing strip spring loaded 7 Adjust...
Страница 8: ...Functions BR BD 75 140 R BR BD 90 140 R New Unit Information 03 2004 Brush head BD Version 1 Brush head BD version 2 Deflector roller 3 Disc brush 4 Side sealing strip spring loaded 5 Brush head brac...
Страница 9: ...ole 2 Connecting terminal plus pole 3 Connection cable 4 Battery G1 5 Central battery connector X1 EMERGENCY STOP 6 Air outlet hose suction motor 7 Suction motor M3 EC long life 8 Dirty water tank Bat...
Страница 10: ...rminal minus pole 2 Connecting terminal plus pole 3 Connection cable 4 Battery G1 5 Central connector X1 EMERGENCY STOP 6 Filling hose 7 Suction motor M3 EC long life 8 Dirty water tank Battery 1 2 3...
Страница 11: ...ircuit board A1 4 Central connector X1 lower section 5 Central connector X1 upper section with handle EMERGENCY STOP function All the unit s electrical components are connec ted to the block battery v...
Страница 12: ...90 140 R New Unit Information 03 2004 Battery charger 1 Central connector X1 upper section with handle 2 Plug for connection with the battery charger 3 Battery charger 4 Central connector X1 lower se...
Страница 13: ...BR BD 75 140 R BR BD 90 140 R Unit Functions Page 13 71 New Unit Information 03 2004 Control panel 1 2 3 4 5 6 7 8 9 10 11 12 13 14 15 16 17 18 19 20 21 22 23 24 25 26 27 28 29 and ORIGINAL REVISED...
Страница 14: ...ush pressure push button Increases the brush pressure 9 Brush motor push button Activates the brush motors The brush motors only start up if the drive pedal is pressed 10 Indicator light green Flashes...
Страница 15: ...end point voltage In addition a one time acoustic alarm signals Lights up if battery voltage has dropped below the deep discharge protection voltage 28 Wall Floor Ceiling Nozzle push button Switches...
Страница 16: ...nction 7 Suction motor push button Switches the suction motor ON OFF and simultaneously lowers raises the suction bar Suction motor continues to run for approx 10 sec after being switched off 8 Increa...
Страница 17: ...tes water pump and metering valve The water pump does not start unless the drive pedal has first been pressed and the brush motors are activated 23 Display 2 line 16 characters line 24 Increase water...
Страница 18: ...head lowers Suction bar lowers Water pump is switched on Metering valve opens Indicator lights 10 14 21 and 25 continuously light up Note The suction motor remains active irrespective of the drive ped...
Страница 19: ...it Information 03 2004 Control panel printed ciruit board view reverse side 1 Connection cable to main control printed circuit board 2 Control panel printed circuit board A2 3 Key switch S1 4 Flat cab...
Страница 20: ...nit Information 03 2004 Control panel printed ciruit board view reverse side 1 Connection cable to main control printed circuit board 2 Control panel printed circuit board A2 3 Key switch S1 4 Flat ca...
Страница 21: ...BR BD 75 140 R BR BD 90 140 R Unit Functions Page 21 71 New Unit Information 03 2004 Main control printed circuit board 15 16 17 18 19 20 21 5 6 7 8 9 10 11 12 13 14 1 2 4 3 ORIGINAL...
Страница 22: ...on suction motor X15 12 Fuse drive unit motor F2 13 Electric connection battery X19 14 Electric connection drive motor X13 sw 15 Electric connection drive motor X12 rt 16 Electric connection battery X...
Страница 23: ...BR BD 75 140 R BR BD 90 140 R Unit Functions Page 23 71 New Unit Information 03 2004 Main control printed circuit board 1 4 5 6 7 9 2 8 10 11 12 13 14 15 16 17 18 19 20 3 21 22 23 REVISED...
Страница 24: ...ection drive motor X301 14 Fuse brush motor F3 15 Electrical connection brushmotor X400 16 Electrical connection brushmotor X400 17 Fuse suction motor F4 18 Electrical connection suction motor X700 19...
Страница 25: ...d and wheel hub motor The steering head 7 is mounted to the steering rod bearing 2 by a fastening nut 3 Drive wheel Drive whell with electromagnetic brake 1 Retaining bolts steering column 2 Steering...
Страница 26: ...the seat 2 must be lifted at the rear and pushed back with a jolt The seat released from its latch and can be tilted to one side 1 Seat contact switch S16 2 Seat 3 Terminal strip circuit diagram EXT X...
Страница 27: ...ront on the left hand side beneath the fresh water tank Water filter ALT Water pump M4 The water pump transports the fresh water to the brush head The water pump is located at the front beneath the fr...
Страница 28: ...etering valve in 10 steps with the servo motor Metering valve ORIGINAL 5 6 7 Air bleeder valve only BR head If the water pump is switched off and the meter ingvalveisclosedtheairbleedervalve 3 opens a...
Страница 29: ...ater pump ON 0 Volt if water pump OFF 3 24 Volt if water pump ON 0 Volt if water pump OFF Earth 0 Volt 4 Not used Control voltage for servo motor 1 8 Volt metering valve max opened 3 8 Volt metering v...
Страница 30: ...ing slightly towards the rear Brush head from below Brush head from above 8 6 10 11 9 5 Side sealing strip 6 Brush roller front 7 Side sealing strip 8 Drive rear brush roller 9 Fresh water distributio...
Страница 31: ...2 6 Fresh water inlet right side 7 Retainer plate sealing strip right 8 Sealing strip right 9 Drive motor M2 1 disc brush right 10 Fresh water inlet left 11 Brush head BD version 14 Adaptor disc brush...
Страница 32: ...ter pump M4 9 Air bleeder valve 10 Water distribution pipe 11 Brush rollers 2x rotational direction towards each other 12 Drive belt 13 Brush motor M2 M2 1 14 Brush head 15 Coarse dirt container only...
Страница 33: ...lamp 29 Warning beacon light push button 4 Warning beacon light indicator lamp 1 Work light push button 3 Work light indicator lamp 2 Increase water flow rate push button 24 Magnet brake activated ind...
Страница 34: ...ress the water pump 22 push button again Indicator light 21 green goes off Water pump switches off Water metering valve closes completely Press reduce water flow 20 push button Suction bar lowers as l...
Страница 35: ...er pump switches on Indicator light 21 green lights up Suction bar rises Metering valve remains closed Pre selected direction of travel is switched off Indicator light 14 15 goes off Press the Wall fl...
Страница 36: ...g a direction of travel push button ORIGINAL Press forward drive 13 push button Seat contact switch must be closed by loading sitting on the seat Indicator light 14 green lights up Magnetic brake is r...
Страница 37: ...or light 21 green goes off Water pump switches off Press reduce water flow 20 push button Suction bar lowers as long as the push button is pressed Press increase water flow 24 push button Suction bar...
Страница 38: ...ing nozzle 28 push button again The Wall floor ceiling nozzle indicator lamp 29 goes out The water metering valve closes Press the warning beacon light 4 push button Indicator light 1 green lights up...
Страница 39: ...A I_brushhead x xA Brush head lifting motor current resolution 0 1A I_brake x xA Magnet brake current resolution 0 1A tap_voltage x xV Control voltage of the water metering valve resolution 0 1V brush...
Страница 40: ...unit is switchedoffusingthekeyswitchbeforethepush button reverse drive 17 has been pressed the settings will not be saved When switched back on the unit then changes back to the origi nal basic settin...
Страница 41: ...se the increase water flow 24 push button to scroll forwards in the menu Press the reduce water flow 20 push button to scroll reverse in the menu Setup menu Change settings Press the Increase brush pr...
Страница 42: ...brush to Stopp 3s 1 3 sec Delayed switching off of the brush rollers if the unit is at a standstill Max brush Current 80A 50 80 A 10A increment Maximum operating current of both brush motors Scrubbing...
Страница 43: ...r Check replace fuse F1 F2 Check the auxiliary contact in the battery plug connection Check replace key switch Check the connection cable of the main instrument panel printed circuit board Replace mai...
Страница 44: ...lockage and adjust as necessary see chapter Drive sensor Electromagnetic brake adjustment error travel U XX The two digit code XX provides information about the cause of the fault fault XX 0C 00 11 20...
Страница 45: ...connections to the main control printed circuit board for interruptions breaks and correct any faults Check the function of both brush motors and their carbon brushes replace any defective parts brush...
Страница 46: ...moving or the battery connector is pulled out Turn key switch to position 1 Insert battery connector battery empty charge The deep discharge protection voltage has been reached The cleaning operation...
Страница 47: ...the unit can no longer be used for cleaning The drive motor current is reduced As of 70 C the unit can only travel along a flat surface The lights and horn continue to function error buscommunication...
Страница 48: ...just the limit switch in the suction bar lifting motor Check the connection cables to the suction bar lifting motor eliminate fault Replace the suction bar lifting motor error vacuum motor Check repla...
Страница 49: ...ny of the buttons when switching on the unit with the key switch If the fault remains replace the instrument panel Troubleshooting REVISED Note If the control panel printed circuit board or the main c...
Страница 50: ...n the lower section of the central connection plug 2 Check replace the key switch S0 Unplug the upper section of the central con nection plug 1 Set the multimeter to the ohm measuring ran ge Turn the...
Страница 51: ...nscrew the water filter 1 at both ends of the hose If dirty clean replace Check water hose to brush head for blok kages kinks and remove replace as neces sary Check the water hose from the tank to the...
Страница 52: ...140 R New Unit Information 03 2004 Metering valve Y2 ORIGINAL Check function of metering valve Y2 and replace as necessary Check function of metering valve replace if nec essary see also chapter water...
Страница 53: ...oves at one side install new rubber strips in reverse order 1 2 3 4 5 6 Suction bar individual parts Suction bar installed 7 7 1 Rubber strip retainer 2 Metal spacer 3 Deflector wheel 4 Retainer bolt...
Страница 54: ...n replace the seal at the dirty water tank cover Check the dirty water tank seal 2 for damage and dirt clean replace as necessary Clean fluff strainer in the dirty water tank The fluff strainer 1 can...
Страница 55: ...Micro switch adjustment If the suction bar does not reach the most upper or lower position and or has no movement the micro switches must first be checked before replacing the lifting motor Using a s...
Страница 56: ...tch off when the max level of the dirty water in tank has been reached Check float switch 1 for freedom of move ment Unscrewtheretainingscrewatthefloatswitch 1 Remove float switch 1 from the bracket a...
Страница 57: ...t 8 Allow the brush head to run in the test mode By doing so the brush head will align itself to the floor surface While running the brushes first tighten the fa stening nut 8 with the fastening bolt...
Страница 58: ...he brush pattern 2 3 The brush pattern of both brush rollers must be parallel They are adjusted using the side adjusting screws 1 The brush pattern of the rear brush 2 should be set so that it is appr...
Страница 59: ...sion Loosen wing nut 1 Remove wing nut 5 Remove cover 4 Remove cover 6 Loosen the 4 retaining screws 10 on the motor Remove the drive belt 7 Install a new drive belt increase the belt ten sion and tig...
Страница 60: ...approx 2 3 mm 078 1 18 in The cams 9 and 10 are fixed to the shaft 8 of the variable speed motor by means of set screws When adjusting note the rotational di rection of the shaft 8 1 Lifting motor M20...
Страница 61: ...ush head BD version Check replace disc brushes BD version Raise the brush head Lift up the disc brushes 2 rotate then by ap prox 45 degrees and then remove them from below Install the new disc brush i...
Страница 62: ...printed circuit board Switch unit on Connect the voltmeter to terminal X6 connec tion1and2 seediagrambelow andmeasure the supply voltage If the value exceeds the tolerance of 0 25 V the main control p...
Страница 63: ...the memo button to page through the dis play until accelerator x xV appears The in strument panel can be unscrewed and tilted to the side to enable it to be read while adjusting the sensor Loosen the...
Страница 64: ...t be 0 8 mm 032 in when removed Remove the mounting bolts 5 and remove the magnet coil 1 Check the gap between the pressure plate 2 and the magnet coil 1 with the feeler gauge Make an even adjustment...
Страница 65: ...irection of travel 4 Lightly press on the drive pedal The Parking brake must audibly unlock and the indicator light on the control panel must go out If this is not the case check the brake lever for e...
Страница 66: ...switch to setting I 6 Attach the test connector to the 7 pin terminal strip X1 next to the main processor The connector is pin coded Do not connect it with force After approx 3 sec the error message...
Страница 67: ...direction of travel 4 Lightly press on the drive pedal The Parking brake must audibly unlock and the indicator light on the control panel must go out If this is not the case check the brake lever for...
Страница 68: ...ed circuit board cover to the instrument panel Key switch 15 control panel Main control printed circuit board 30 Use a antistatic wristband during disassembly The wire plugs are coded they can not be...
Страница 69: ...ad is resting on the floor Open the terminal strip box on the brush head and disconnect the wires Disconnect the brush head from the brackets and pull it out to the side Remove the brush motor Roller...
Страница 70: ...wires If the lifting motor has to be replaced carry out the adjustments before installing Suction motor 30 The wires must be separated from the suction motor when replaced Drive pedal assembly 15 Not...
Страница 71: ...ectrical connection M8 BAT 9 0 Nm Electrical connection M10 BAT 17 0 Nm Printed circuit board see page 21 and 22 Electrical connection M6 3 9 Nm Electrical connection M8 9 0 Nm Technical specification...