– 3
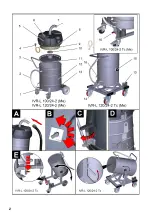
Illustration on the inside of the front
cover
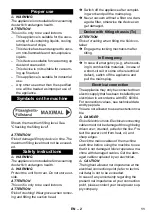
1 Guiding rolls with fixed position brake
2 Drain hose
3 Push handle
4 Power cord
5 Suction head
6 ON/OFF switch
7 Suction hose connection
8 Lock
9 Filter
10 Screwed sealing plug
11 Deflector plate
12 Liquid reservoir
13 Accessories compartment
14 Handle
15 Tilting device
16 Unlocking lever
Illustration on the inside of the front
cover
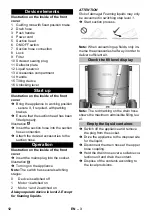
Bring the appliance to working position
- secure it, if required, with parking
brakes.
Ensure that the suction head has been
fitted properly.
Illustration
Insert the suction hose into the suction
hose connection.
Attach the desired accessories to the
suction hose.
Illustration on the inside of the front
cover
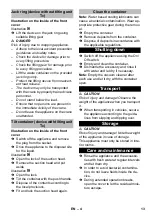
Insert the mains plug into the socket.
Illustration
Turning on the Appliance
Note:
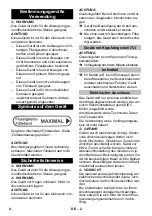
The switch has several switching
stages:
Always operate device in level 2. Except
for foaming liquids.
ATTENTION
Risk of damage! Foaming liquids may only
be vacuumed in switching step level 1.
Start suction process.
Note:
When vacuuming up fluids, only im-
merse the accessories half way in order to
deliver sufficient air.
Note:
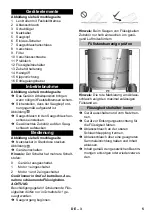
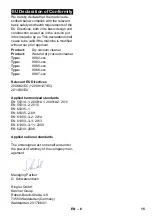
The red marking on the drain hose
shows the maximum admissible filling lev-
el.
Switch off the appliance and remove
the plug from the socket.
Drive the appliance to the disposal site
for the liquid.
Disconnect the drain hose at the upper
hose coupling.
Hold the drain hose over a suitable col-
lection unit and drain the content.
Dispose of the contents according to
the local provisions.
Device elements
Start up
Operation
0
Device is switched off
1
Motor 1 switched on
2
Motor 1 and 2 switched on
Check the fill level display
Empty the liquid container.
12
EN


