12
M
M
M
M
M
M
M
M
A
A
A
A
A
A
A
A
C
C
C
C
C
C
C
C
1
1
1
1
1
1
1
1
0
0
0
0
0
0
0
0
0
0
0
0
0
0
0
0
9999----4
4
4
4 Adjusting of
Adjusting of
Adjusting of
Adjusting of stitch length
stitch length
stitch length
stitch length
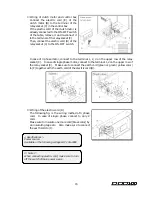
Loosen bolt A with a 9.5mm T-wrench.
Then turn screw J as required.
To decrease the stitch length, turn it clockwise.
To increase the stitch length, turn it
counterclockwise (see the illustration on the right).
9999----5555 Lubrication
Lubrication
Lubrication
Lubrication
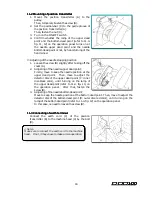
Lubricate the oil in properly to the oil hole (Z)
regularly, after taking the rubber-plug (T) out from
the motor cover (B).
9999----6666 Position of sensor
Position of sensor
Position of sensor
Position of sensor
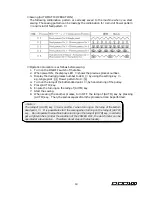
1. Initial position sensor (Refer to 9-1.)
Disassemble the motor cover (B). After loosing the screw (E), adjust the position at
1mm between the proximity sensor (H) and the detector (G).
At this adjustment, the mark (E of 9-1) on the motor shaft lever and the mark (G of
9-1) on the motor mounting plate should be aligned.
After loosening the screw (L), adjust the right-left position of the detector (G), in
order to set it to the center of the place (K) of the proximity sensor (H).


