【
10
】
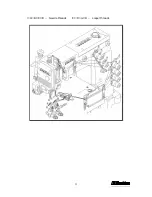
ADJUSTING THE REAR PULLER DEVICE
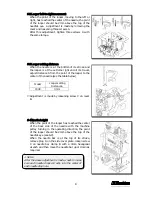
10-1 Upper puller angle adjustment
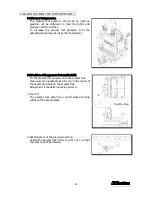
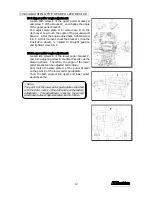
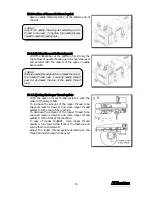
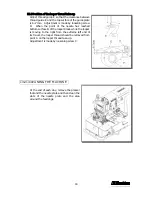
Loosen both screw E of the upper puller bracket G
and screw F of the bracket R, and change the angle
of the upper puller bracket.
And adjust scale plate H to scale mark D on the
cloth cover how much the angle of the curved waist
band is. After the angle adjustment, tighten screw
E & F. At this moment, check the bracket J ( See the
illustration above), is located to straight position
and tighten screw E & F.
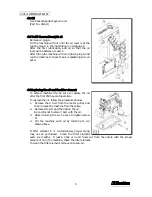
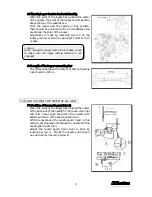
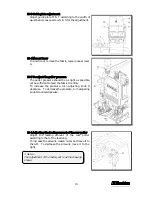
10-2 Lower puller angle adjustment
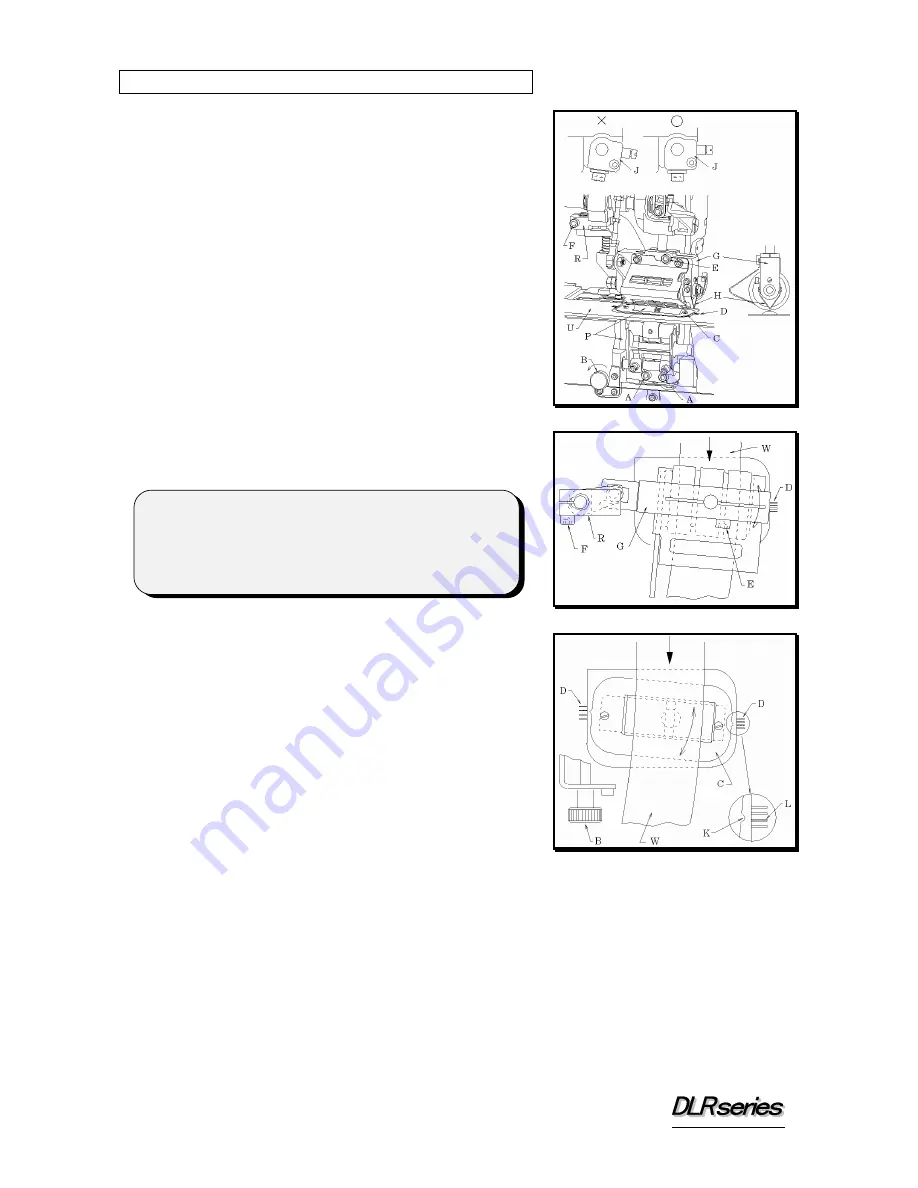
Loosen two screws A of the lower puller bracket P,
and turn adjusting screw B counter-clockwise as the
drawing shows. Therefore, the angle of the lower
puller bracket can be adjusted horizontally.
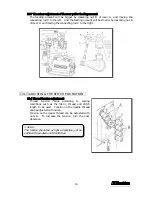
And, match the scale plate H of the puller bracket
on the point K of the lower puller guide plate.
Then, the both angle of the upper and lower puller
would be same.
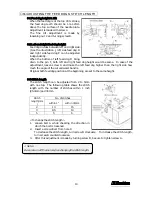
< Note >
The point K of the lower puller guide plate is matched
with the third mark L of the cloth plate on the factory
adjustment. This adjustment is set for the curved
waistband radius of apporoximately 600 to 700mm.
12


