K A B T R O N I C S A S S E M B L Y I N S T R U C T I O N S
World Clock Kit Page 12
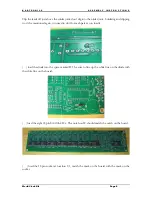
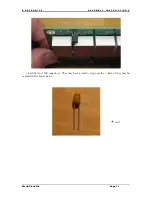
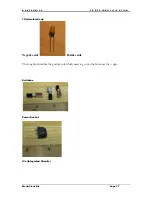
Load the two connectors as shown below. Seat them flush against the board and level so they will
connect with adjacent boards. It is easy to get them slanted when you flip the board over and
solder, so be careful.
If you are building a display board, seat the 18 pin PIC16F648 IC carefully into the IC socket with
pin 1 up.
Your display board is done and ready to use.
Once you have all the display boards and the controller board built, read the configuration section
to set up the clock.
Содержание World Clock
Страница 1: ...World Clock Operating and Assembly Manual...
Страница 32: ...KABtronics S C H E M A T I C World Clock Kit Page 32 Circuit Board Views...
Страница 33: ...KABtronics S C H E M A T I C World Clock Kit Page 33 Top Side Copper Bottom Side Copper Silk Screen Schematic...
Страница 34: ...KABtronics S C H E M A T I C World Clock Kit Page 34...
Страница 35: ...KABtronics S C H E M A T I C World Clock Kit Page 35...
Страница 36: ...KABtronics S C H E M A T I C World Clock Kit Page 36...
Страница 37: ...KABtronics S C H E M A T I C World Clock Kit Page 37...


