

- 13 -
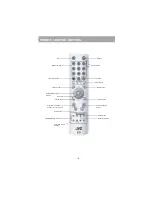
FAVOURITE MODE
Use [LEFT] or [RIGHT]buttons to toggle Favourite
Mode. You can enable / disable the Favourite Mode
by means of these keys.
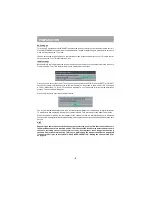
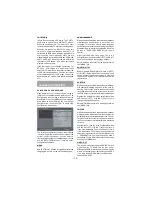
PARENTAL SETTINGS
Use [UP] or [DOW N] buttons to go to Parental
Settings option. Press OK button to enter Parental
Settings Menu. A box asking for the lock key is
displayed. There is only one key which is set to
“0000” initially. Enter lock key. If it is incorrect, it is
returned back. If it is correct, the Parental Settings
Menu including following items is displayed: There
you can set/reset locking for the Main Menu, or the
Installation Menu to restrict access. If the menu lock
is disabled, there will be free access to the menu
system. You can change the lock key.
Maturity Lock: use [UP] or [DOWN] buttons to go
to Maturity Lock option. Use [LEFT] or [RIGHT]
buttons to toggle Maturity Lock Mode. When set, this
option gets the m aturity inform ation from the
broadcast and if this maturity level is disabled,
does not show video-audio.
Menu Lock: use [UP] or [DOWN] buttons to go to
Lock Menu option. Use [LEFT] or [RIGHT]buttons
to toggle Menu Lock Mode.
OFF:
All menus are unlocked.
MAIN MENU: Main Menu is accessible only with the
correct lock key.So the user can’t add, delete,
rename, channels, can’t set timers.
INSTALLATION: Installation menu is locked.So the
user can’t add channels. Changes will be updated
after exiting ‘Configuration Menu’.
Set Lock Key: use [UP] or [DOW N] buttons to go
to Set Lock Key option. Use OK button to enter new
password. New Password Menu is displayed. Use
NUMERIC buttons to enter new password. New
Password is asked twice for confirmation. If both
passwords are four digits long and the same, the
password is changed. It is updated after exiting the
Parental Menu.
Enter PIN CODE:use [UP] or [DOWN] buttons to
go to Enter PIN code option. Use OK button to enter
new password. New Password Menu is displayed.
Use NUMBER buttons to enter new password. New
Password is asked twice for confirmation.
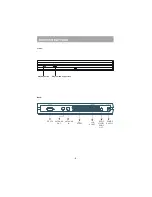
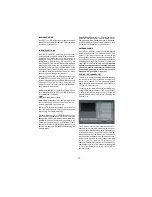
ANTENNA POWER
Use [UP] or [DOW N] buttons to go to Antenna
Power Supply Setting. The setting will be OFF as
default. If you want connect the receiver to an
active antenna that is an instrument amplifying the
received signal then you must change the Antenna
Power Supply setting to ON. The DVB-T receiver can
supply 30mA (5V active antenna output).
Please do
not use a normal passive antenna (do not short
circuit the ANT IN connector) while Antenna
Power Supply setting is ON. This may cause
breakdown in your DVB-T receiver
.
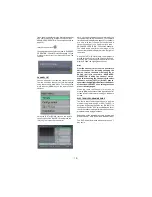
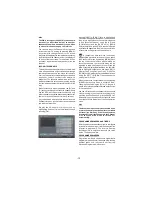
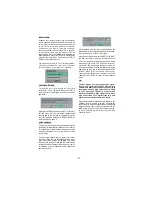
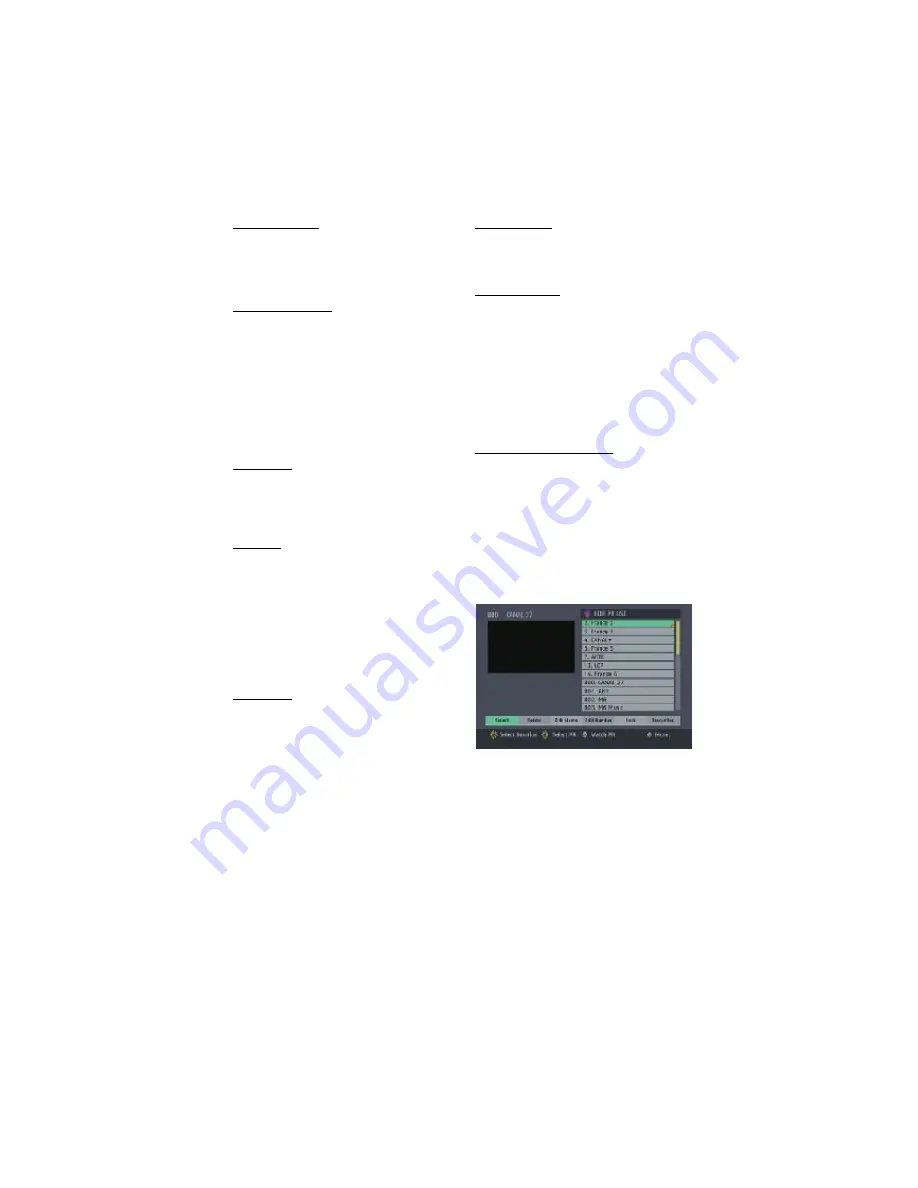
EDITING THE CHANNEL LIST
The digital terrestrial television channels found by
the receiver when first installed are storedin its
memory as a channel list. This list can be altered
and amended to remove unwanted channels and to
suit your own preferences.
First bring up the Main Menu with the [MENU] key
on the remote control handset. Then, using the [UP]
or [DOWN] keys on the remote control, choose the
Edit PR list and press the [OK] key, to display the
Channel List.
T he Chan nel List scree n displays the list of
channels in the receiver's memory, with a quarter-
screen image window showing the selected channel,
and can be used to change channels for viewing,
delete channels from the memory, edit the name of
the channel as it appears in the list and on-screen,
lock a channel against viewing by younger members
o f t h e f a m i l y, a n d s e t u p f a v o u r i t e
channels.Channel List functions are carried out on
one channel at a time. The channel to be affected
is first highlighted in the list using the [UP] or
[DOW N] keys.