13
English
Crossover Frequency Setting
Small speaker cannot reproduce the bass sound very well. So, if you
have used a small speaker any for the front, center, or rear channels,
this receiver automatically reallocates the bass elements, originally
assigned to the channel for which you have connected the small
speaker, to another channel (for which you have connected the large
speaker).
If you have selected “LARGE” for all speakers (see page 12), this
function will not take effect. To use this function properly, you need
to set this crossover frequency level according to the size of the
small speaker connected.
This function takes effect in the following cases:
- When playing a source using Dolby Pro Logic, Dolby Digital,
or DTS Digital Surround.
- When using the DAP modes.
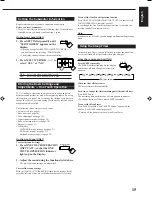
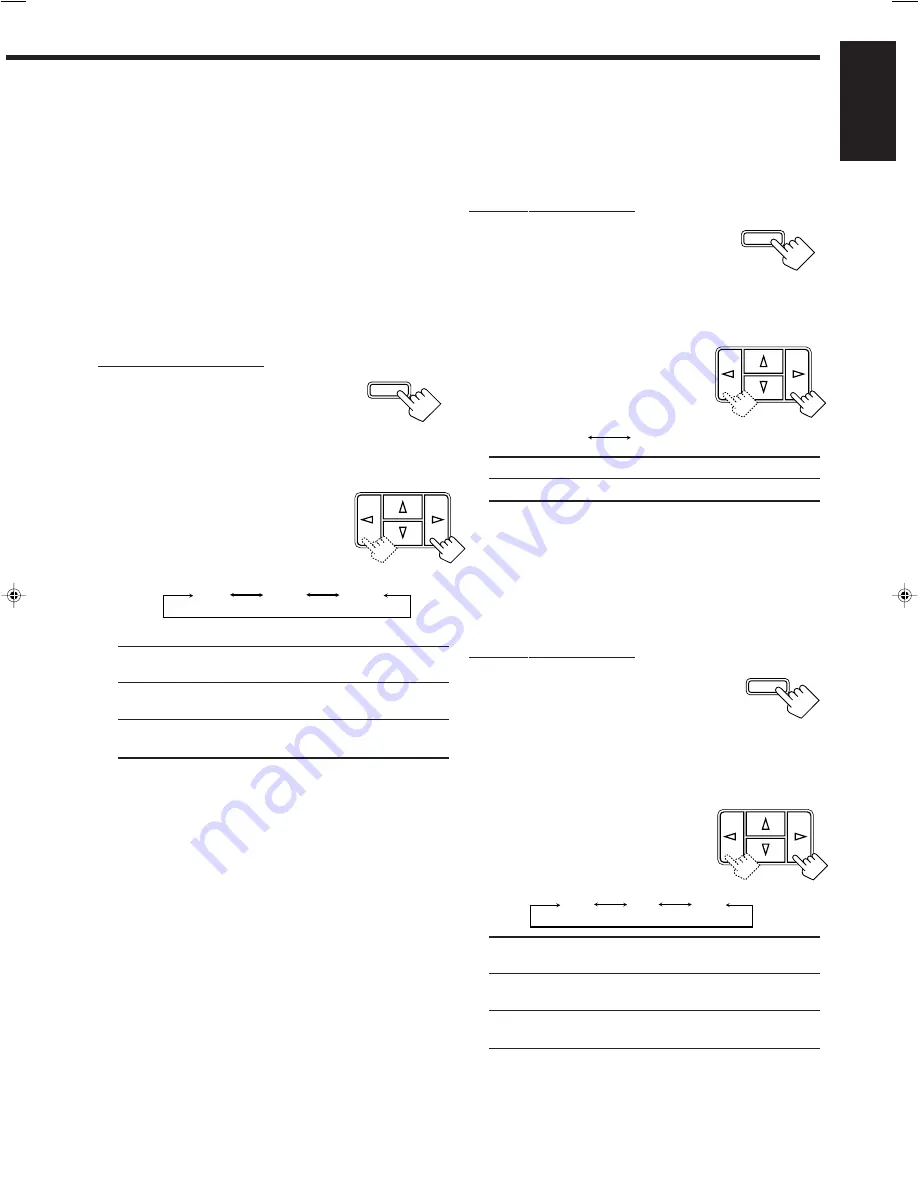
On the front panel ONLY:
1. Press SETTING repeatedly until
“CROSSOVER FRQ” (Crossover
Frequency) appears on the display.
• Once you have pressed SETTING, MULTI CURSOR
%
/
fi
can be also used for selecting “CROSSOVER FRQ.”
• The display changes to show the current setting.
2. Press MULTI CURSOR
@
/
#
to
select the crossover frequency level
according to the size of the small
speaker connected.
• As you press it, the display changes to show the following:
• Use the following comments as reference when adjusting.
80Hz:
Select this when the cone speaker unit built in the
speaker is about 4
3
/
4
inches (12 cm).
100Hz:
Select this when the cone speaker unit built in the
speaker is about 3
15
/
16
inches (10 cm).
120Hz:
Select this when the cone speaker unit built in the
speaker is about 3
3
/
16
inches (8 cm).
SETTING
MULTI CURSOR
80Hz
100Hz
120Hz
Low Frequency Effect Attenuator Setting
If the bass sound is distorted while playing back a source using
Dolby Digital or DTS Digital Surround, follow the procedure below.
• This function takes effect only when the subwoofer (LFE) signals
come in (with “SUBWOOFER” set to “Yes”).
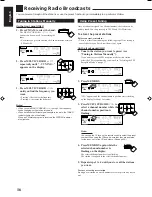
On the front panel ONLY:
1. Press SETTING repeatedly until
“LFE ATT” (Low Frequency
Effect Attenuator) appears on the
display.
• Once you have pressed SETTING, MULTI CURSOR
%
/
fi
can be also used for selecting “LFE ATT.”
• The display changes to show the current setting.
2. Press MULTI CURSOR
@
/
#
to
select the low frequency effect
attenuator level.
• As you press it, the display changes to
show the following:
0dB:
Normally select this.
10dB:
Select this when the bass sound is distorted.
Dynamic Range Compression Setting
You can compress the dynamic range (difference between maximum
sound and minimum sound) of the reproduced sound. This is useful
when enjoying surround sound at night.
• This function takes effect only when playing back a source using
Dolby Digital.
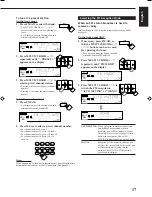
On the front panel ONLY:
1. Press SETTING repeatedly until
“D. RANGE COMP.” (Dynamic
Range Compression) appears on
the display.
• Once you have pressed SETTING, MULTI CURSOR
%
/
fi
can be also used for selecting “D. RANGE COMP.”
• The display changes to show the current setting.
2. Press MULTI CURSOR
@
/
#
to
select the appropriate item about
the compression level.
• As you press it, the display changes to
show the following:
OFF:
Select this when you want to enjoy surround with its
full dynamic range. (No effect applied)
MID:
Select this when you want to reduce the dynamic
range a little. (Factory setting)
MAX:
Select this when you want to apply the compression
effect fully. (Useful at night)
SETTING
MULTI CURSOR
0dB
10dB
OFF
MID
MAX
SETTING
MULTI CURSOR
EN08_17.RX-6100V[C]
00.2.3, 6:40 PM
13


